Hello everybody! Today I wanted to do another nails post because I’ve only done two of these and I know you guys really love these, so I hope y’all like this one too. I am doing nail art with sharpies for an easy beginners nail idea.
What you will need:
- A nail polish color of your choice (black or white would be best)
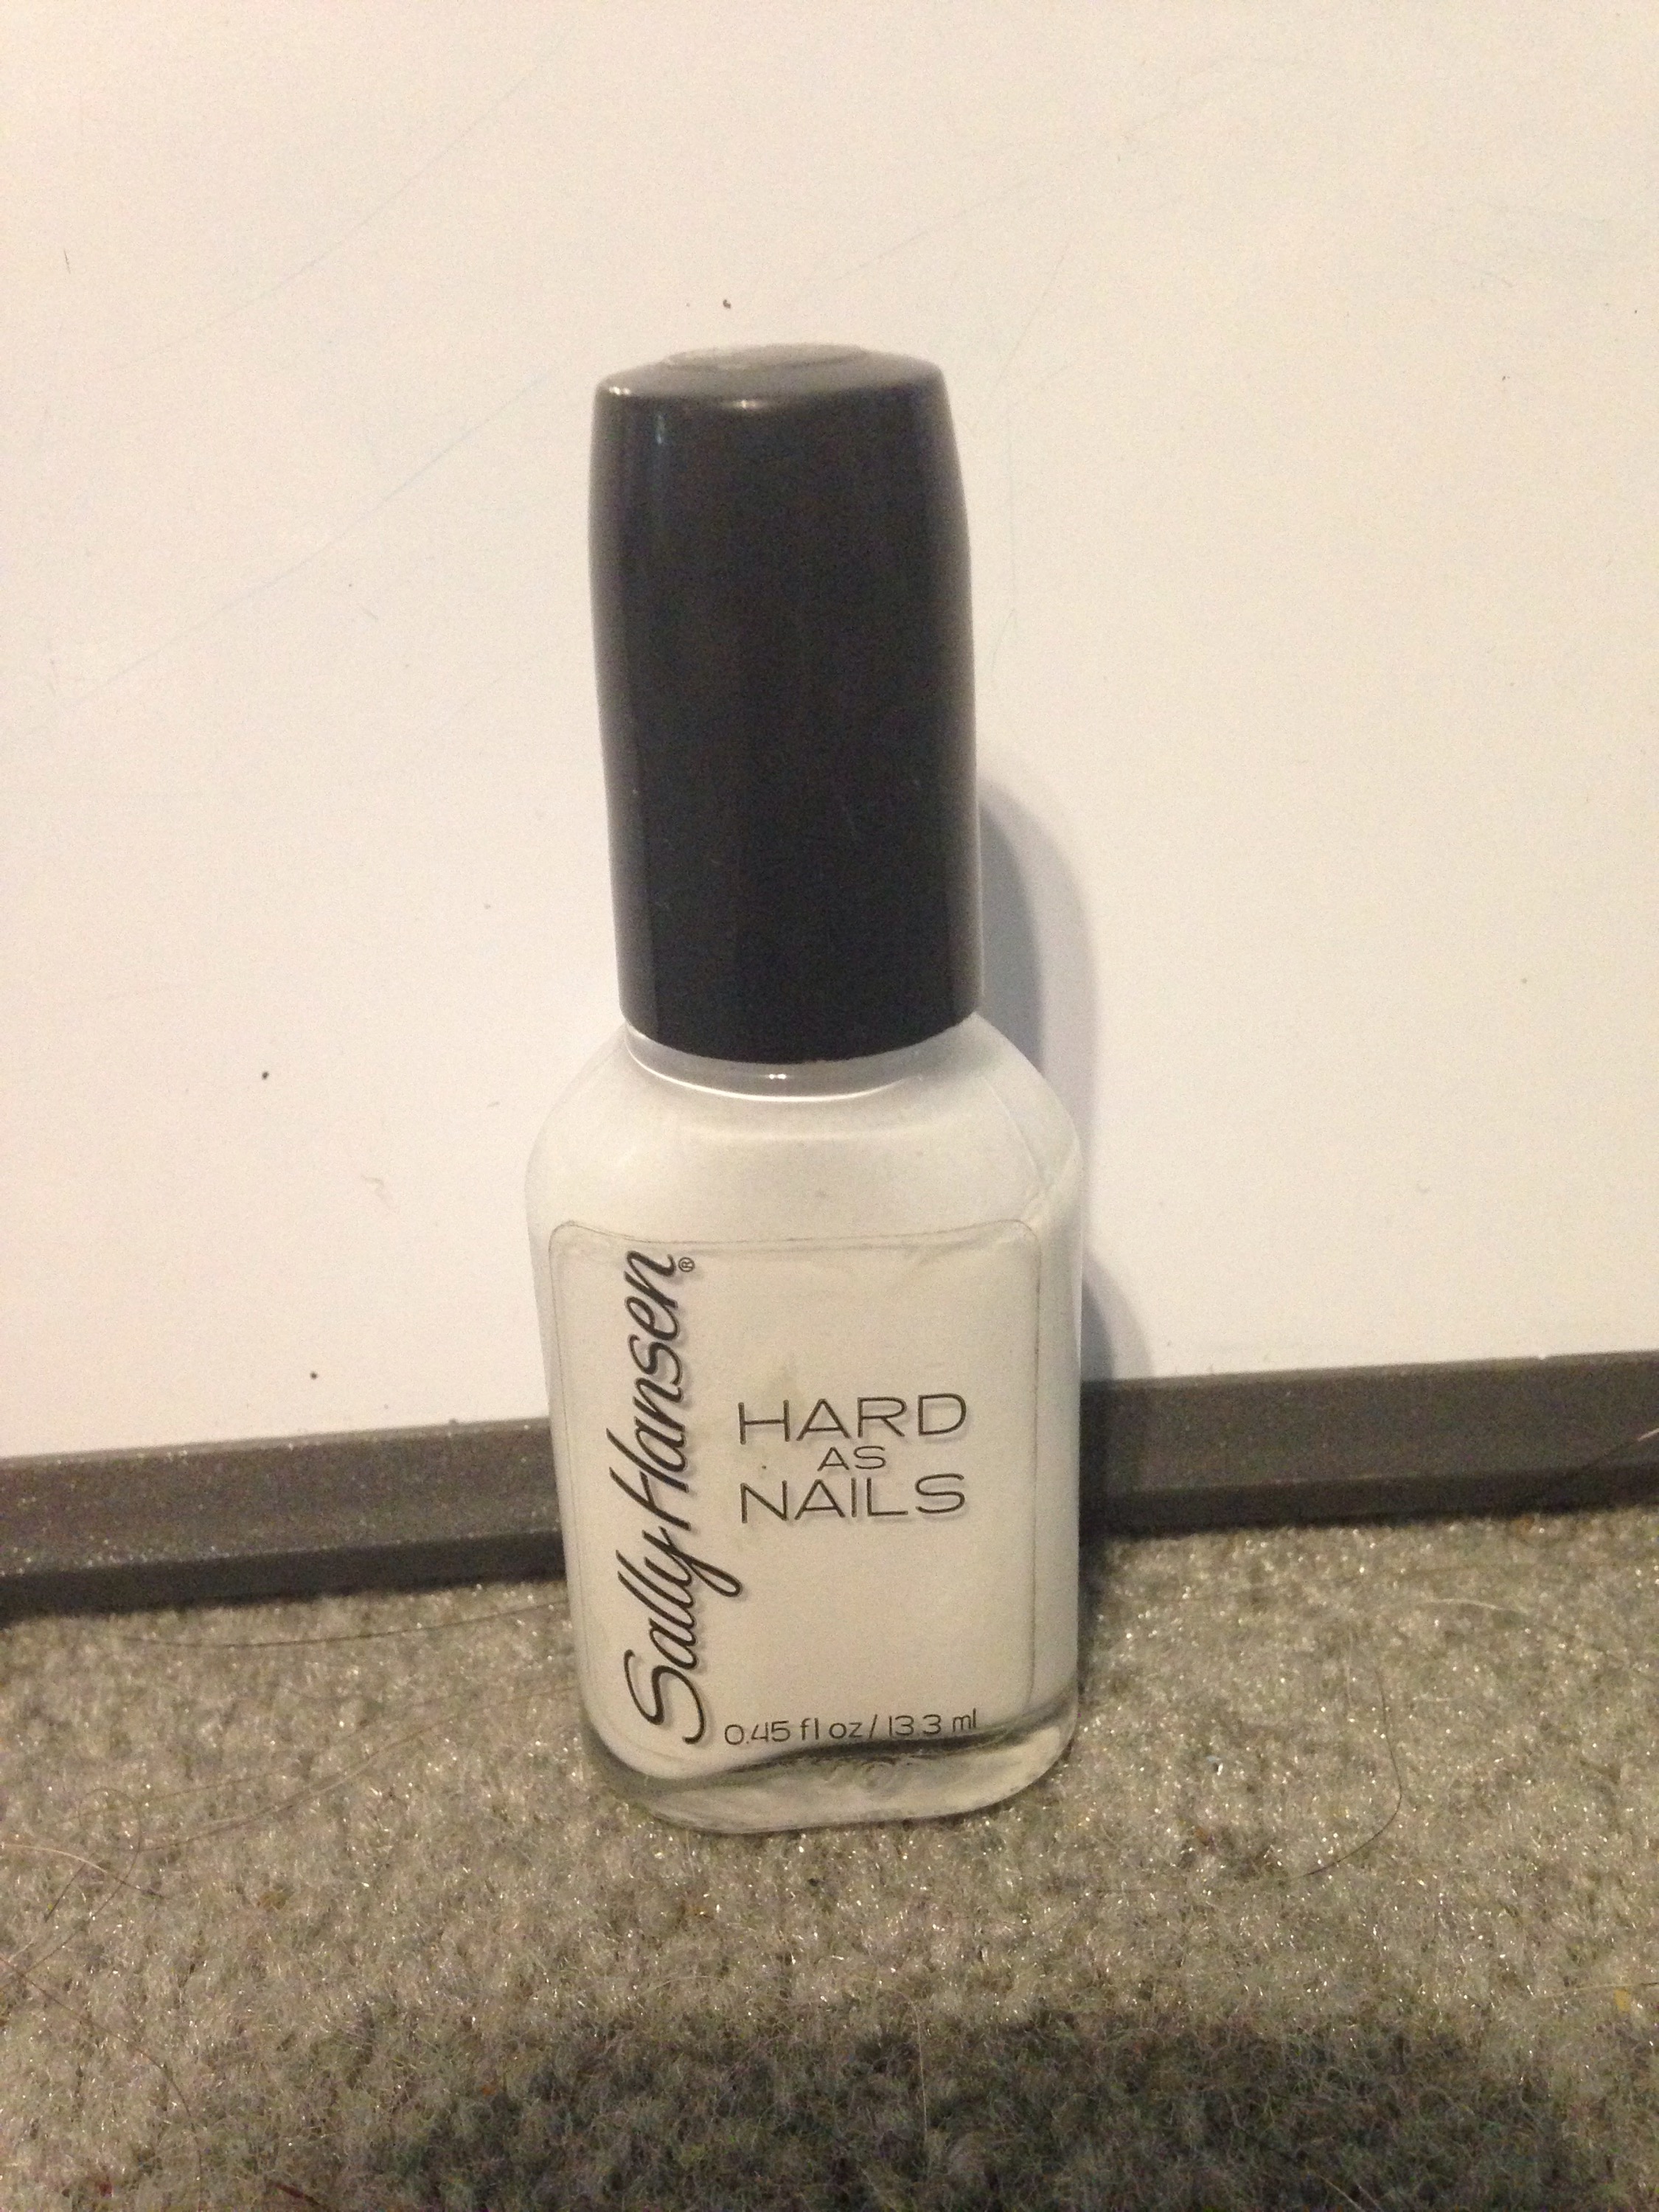
I used Sally Hansen in Hard To Get
- A clear top coat (and a base coat if you have some)
- A sharpie color of your choice (I found that metallic sharpie is best)
Step 1: Paint on your clear base coat if you have it.
Step 2: Paint on your nail polish color with as many coats as you need for it to be opaque.

Step 3: Once your nail polish has dried, make a design or pattern with sharpie. (It may be hard for the sharpie to show up, so I would recommend to dot the sharpie to let the ink pool up a bit.)
Step 4: Once the sharpie has dried, gently paint on the topcoat. If you do not do this carefully, the sharpie ink could smear and it won’t look good unless that’s the kind of look you’re going for.

Step 5: Clean up the excess nail polish around the nails.
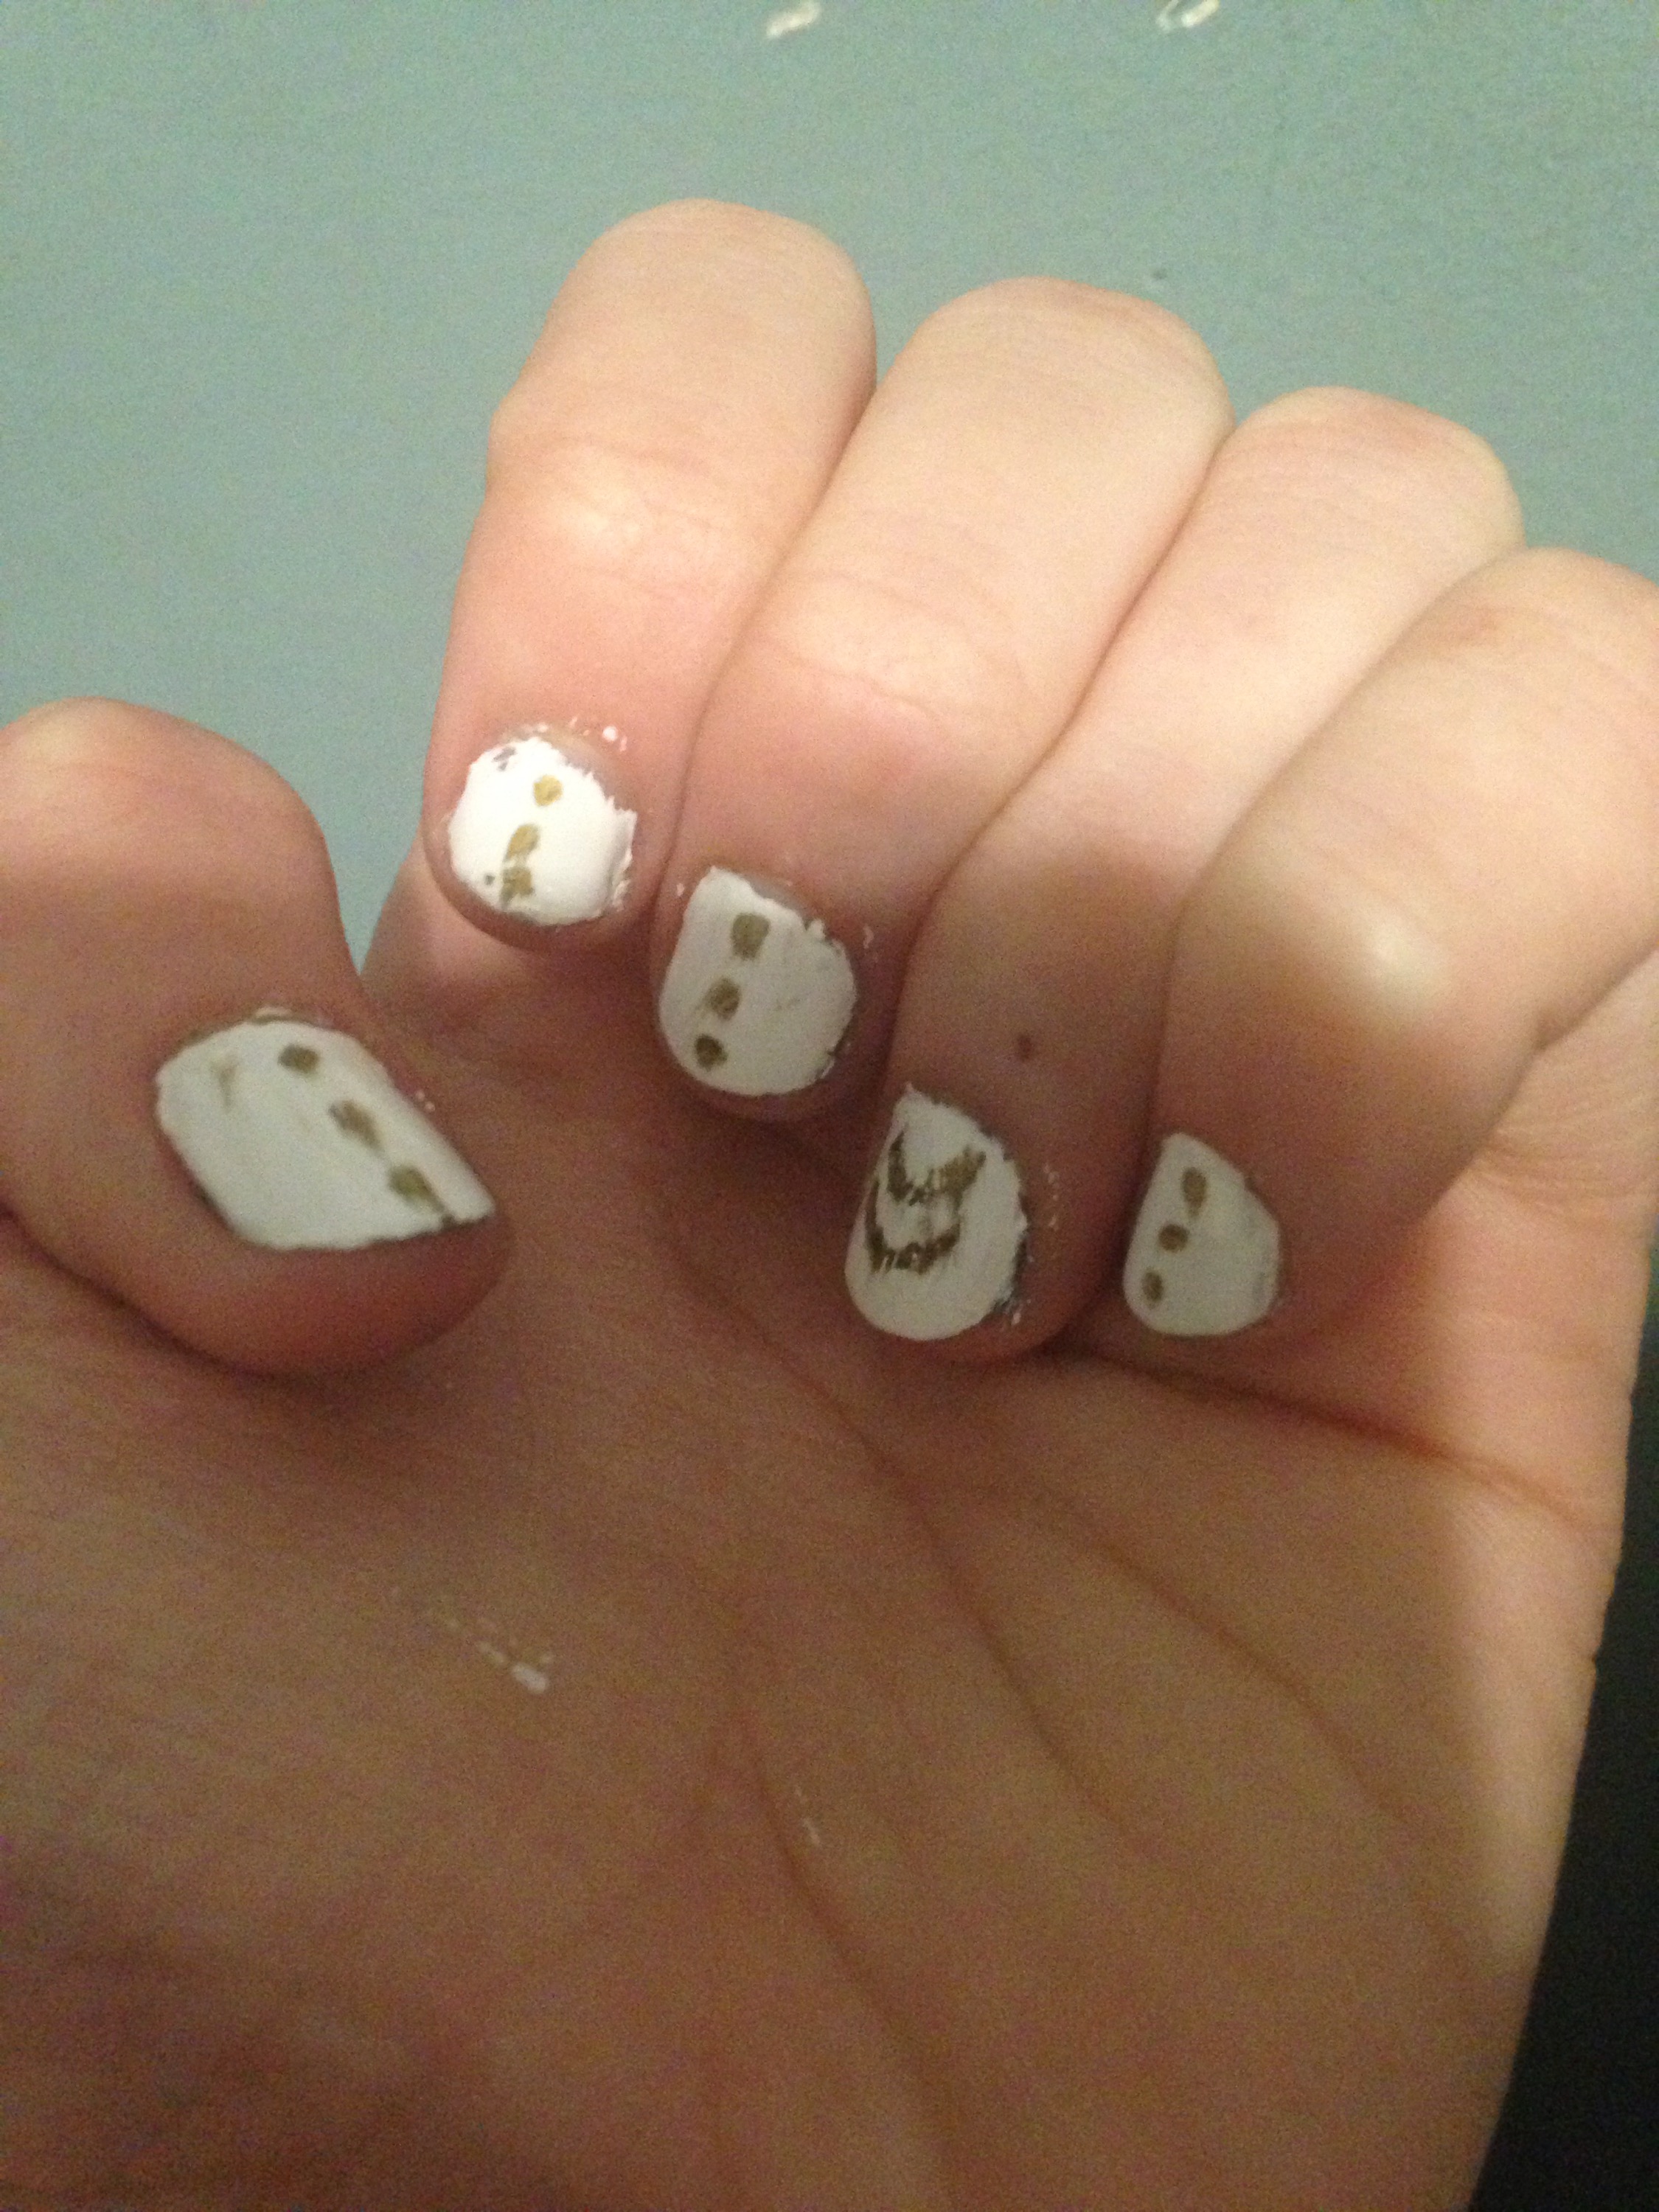
And you’re done! This is so easy and quick, and looks like you put a lot of time and effort into it when you didn’t. This is a great way for beginners to do nail art, or good if you don’t have much time, but want more than just plain nails. I love how this turned out, and I will definitely do it again. I hope you guys enjoyed this post, and see you next time!
