
Hello everyone! I did my nails a few days ago and they turned out beautifully, so today I’m going to show you guys how to do it too. Let’s get started!
What you will need:
- A paper plate
- Paper towels
- 3 nail polish colors
- Clear top coat nail polish
- Clear base coat nail polish
- 2 disposable straws


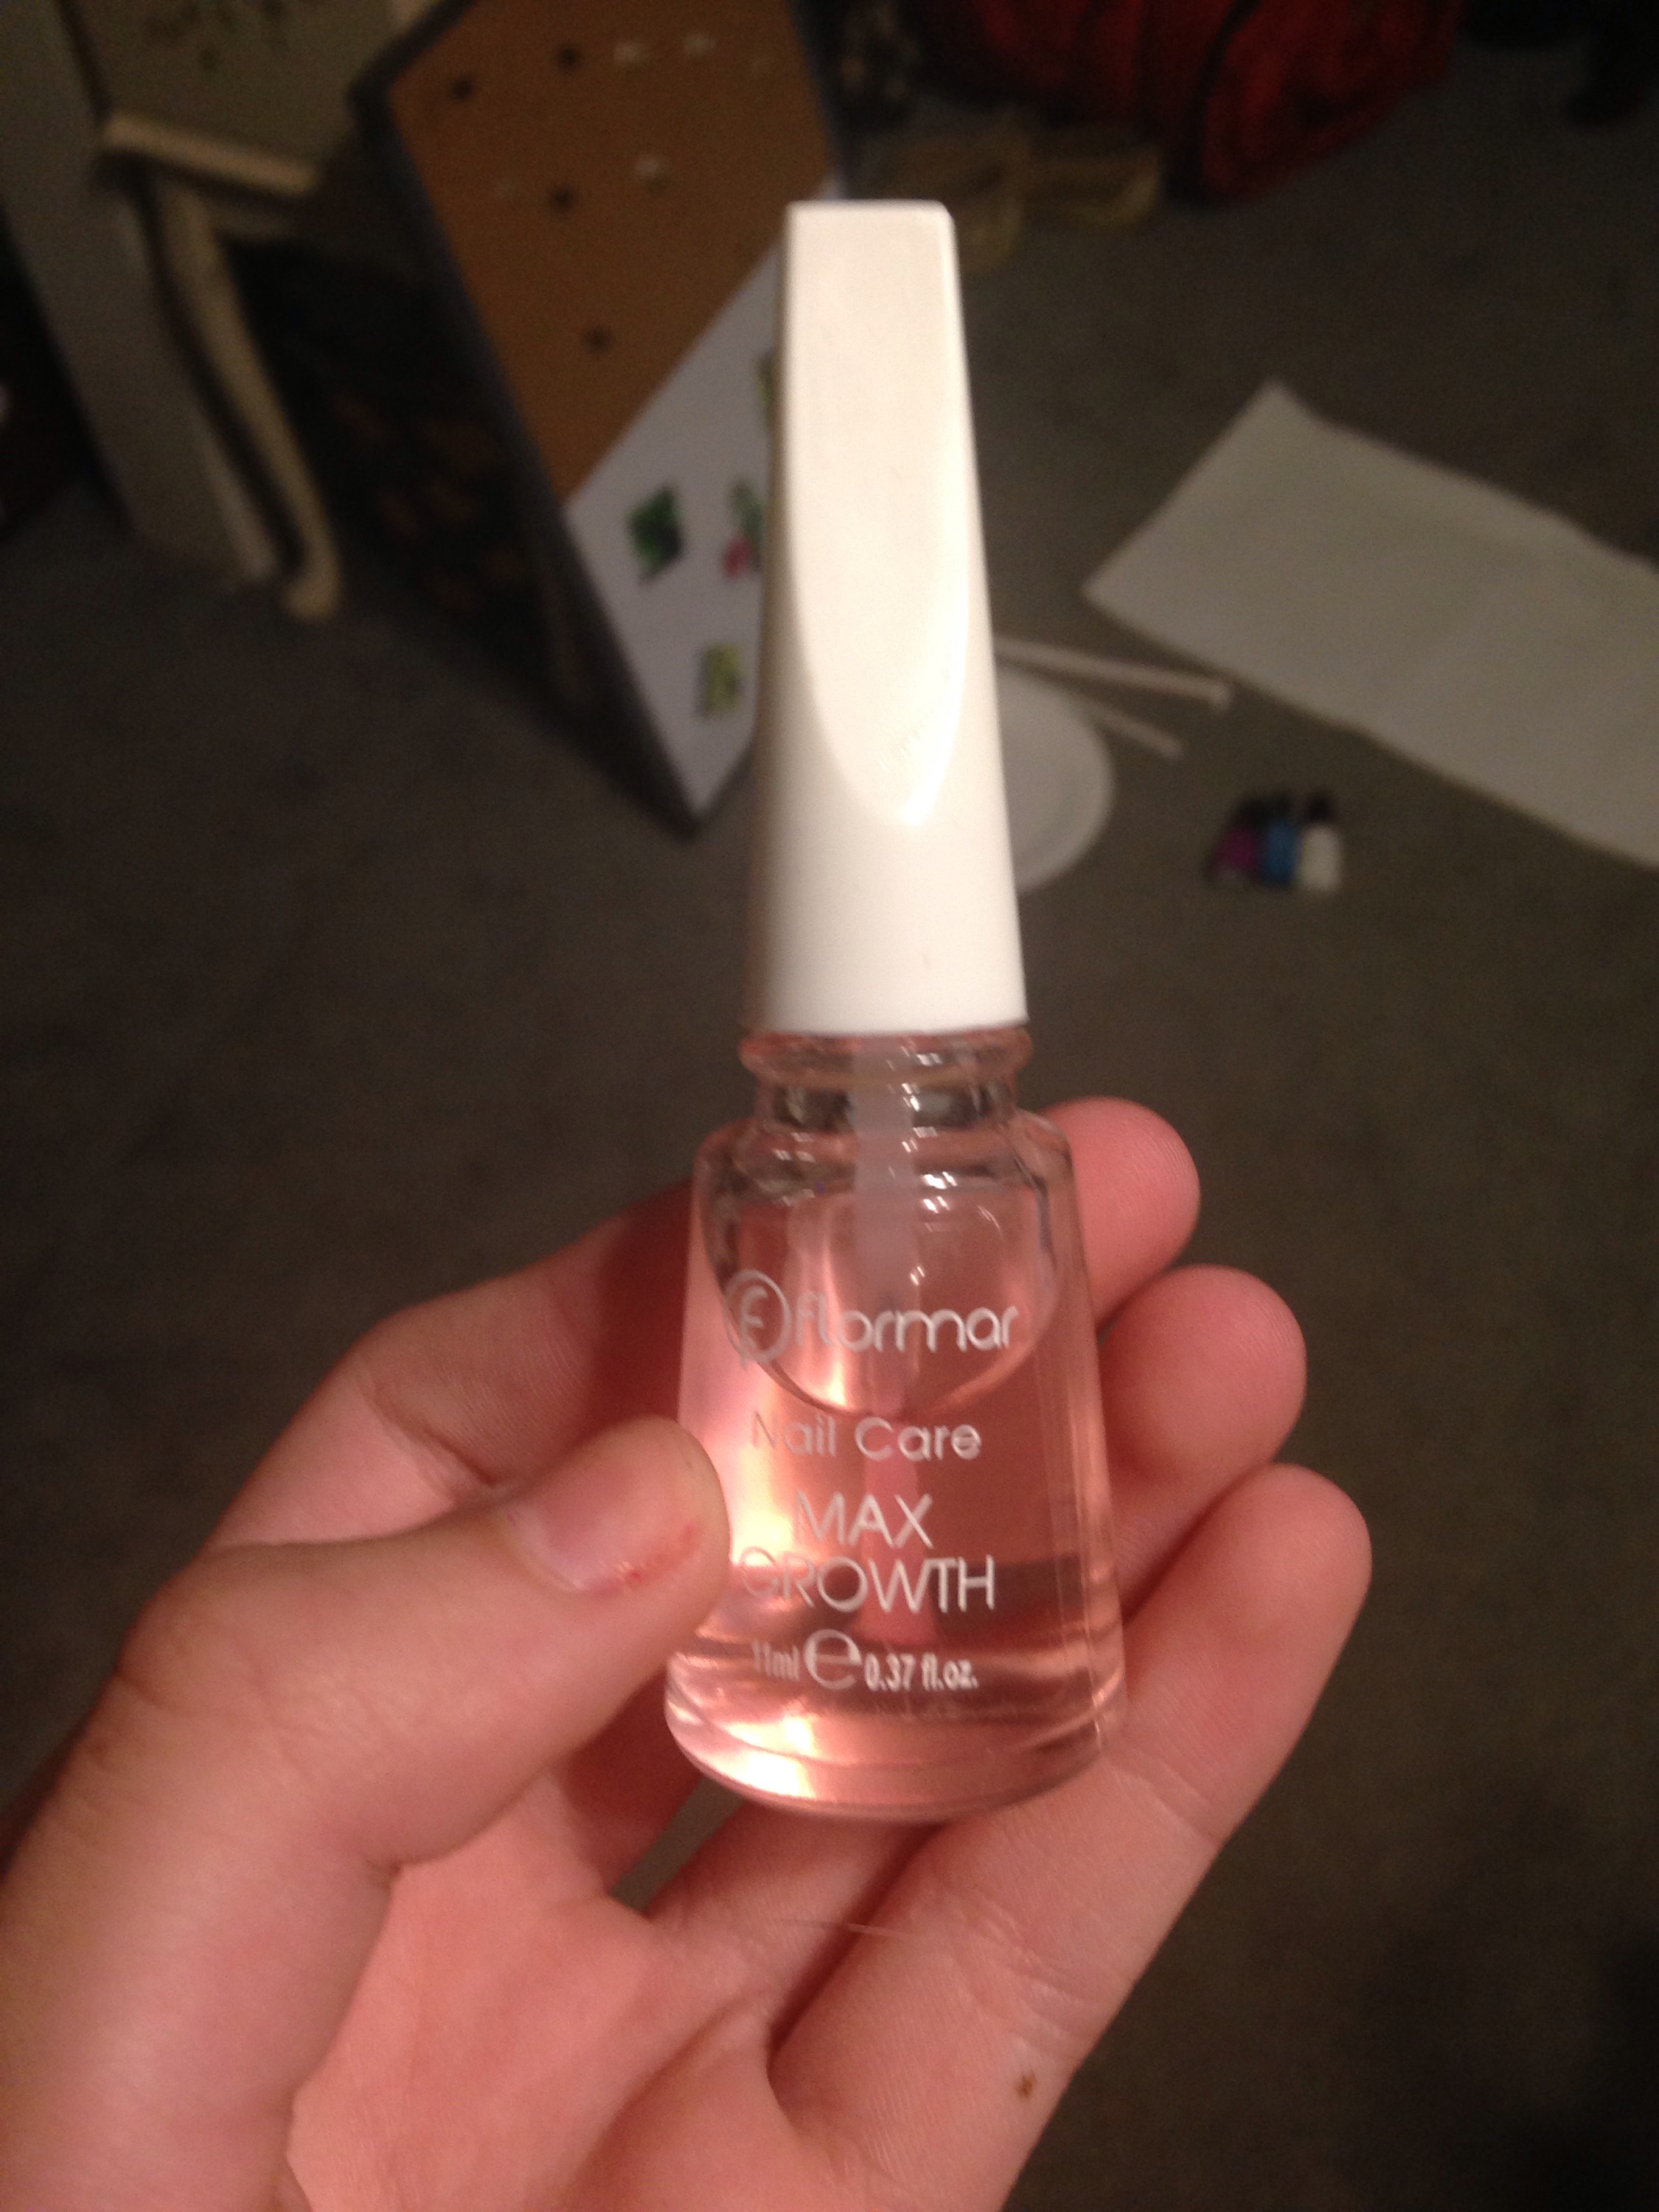
Step 1: Put the base coat on your nails.
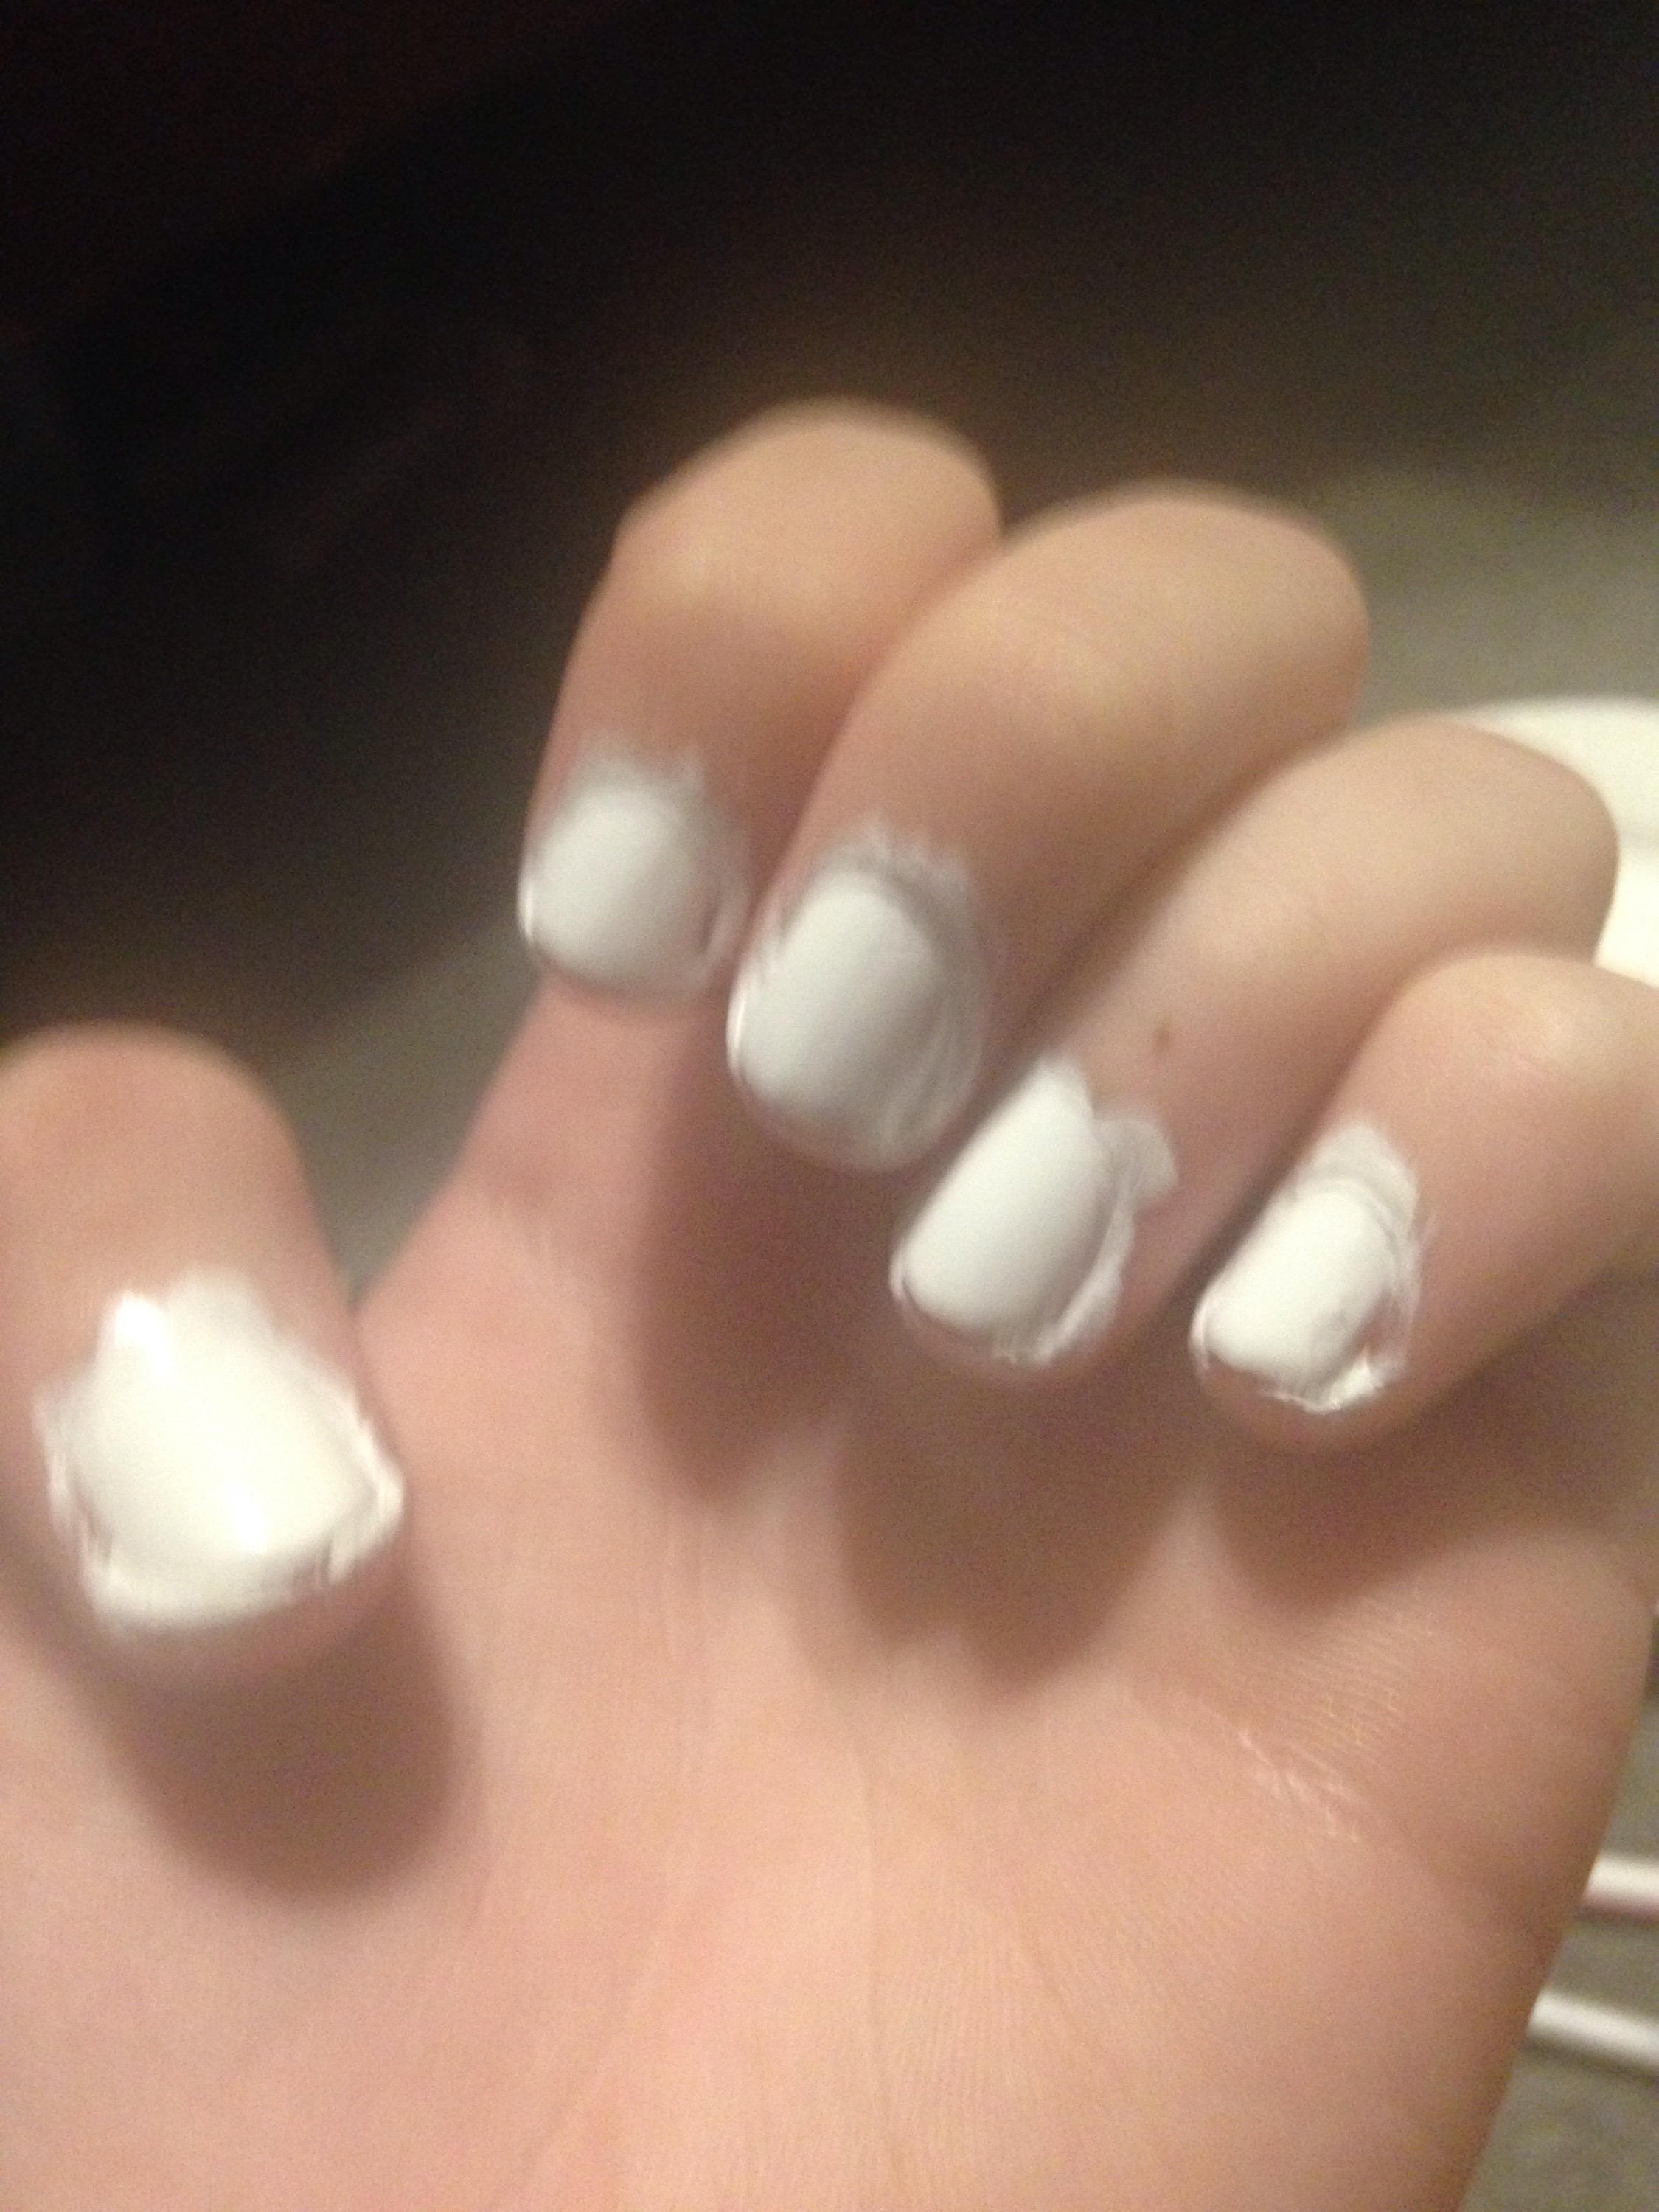
Step 2: Paint your nails with one color for the desired base color
Step 3: Put one color of nail polish on the plate. (About the amount shown down below for your fingernails.) Only do this for one color because the other color will be dry by the time you’re ready to use it if you put it on the plate.

Step 4: Take one of your straws and dip it in the nail polish. Make sure some of the nail polish is inside the straw, or it won’t work. Then blow out of the other side of the straw over one of your nails to create a splatter effect. Below is an example of what it should look like.

Step 5: Repeat step 4 for all of your nails.
Step 6: Repeat steps 3-5 with the other nail polish color.
Step 7: Put the clear top coat on your nails after they have dried a bit.
Step 8: Let your nails dry for a couple of hours, then clean up the edges around your nails if needed.
Finished Product:

I think this is a really cool and easy nail art DIY that anyone can do. This also looks amazing if you do it in red, white, and blue for the 4th of July. I really enjoyed doing this, and I hope you guys do too. See you next time!
