Hi everybody! I’m sorry I didn’t post on WordPress Saturday. I tried but when I posted it, the app crashed and hadn’t saved any of my work. I also didn’t have any extra time to retype my post so I just didn’t post. But today I have a really cool room decor DIY that I’m going to tell you how to do. So let’s get right into it!
What you will need:
- Water colors of various colors and shades (5 at a minimum but more for more variety)
- Water (obviously)
- A paintbrush- make sure it’s not super cheap, so the bristles don’t come out
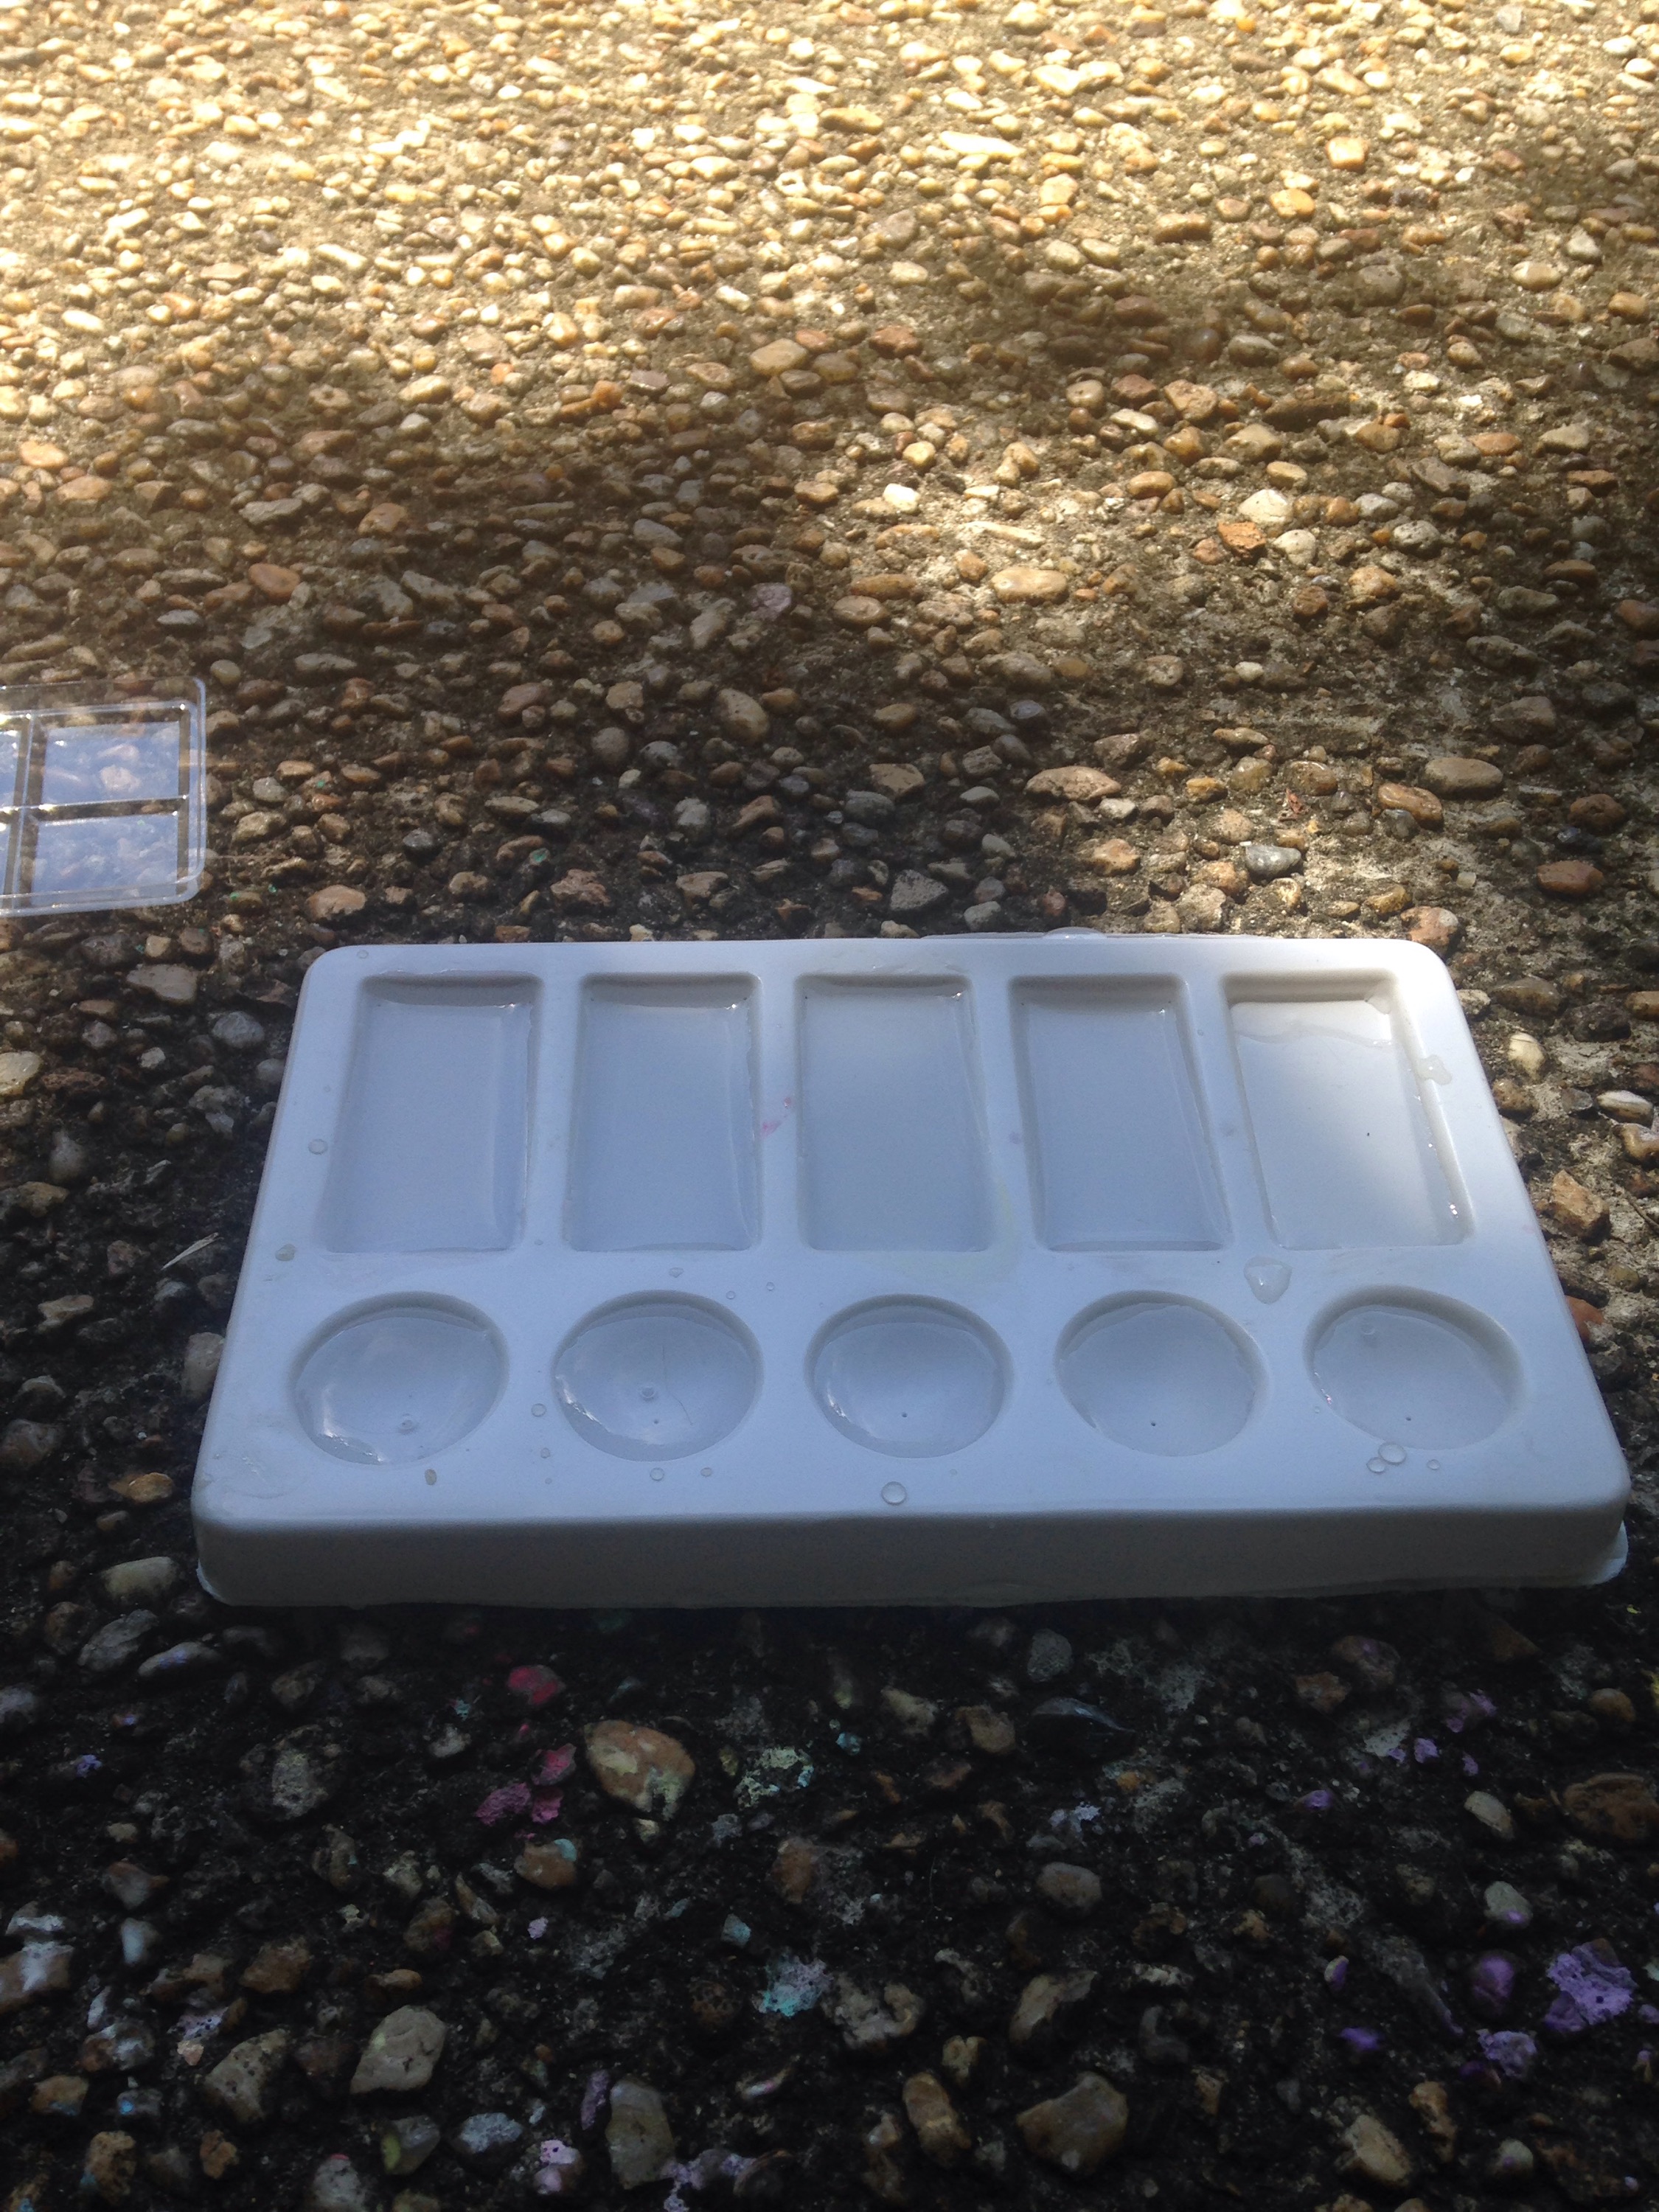
- A water dish
- Thick white paper (it should be fine as long as it’s thicker than printer paper)
- Twine
- Clothes pins or some kind of clip
- Circular object to make a stencil with
- Pencil
- Scissors


^ I used the top of this gum container as a stencil for the circles
Step 1:
Place your circular object on your paper and trace it with a pencil, then cut out the circle. Trim the edges of the circle to make it more round if you would like.
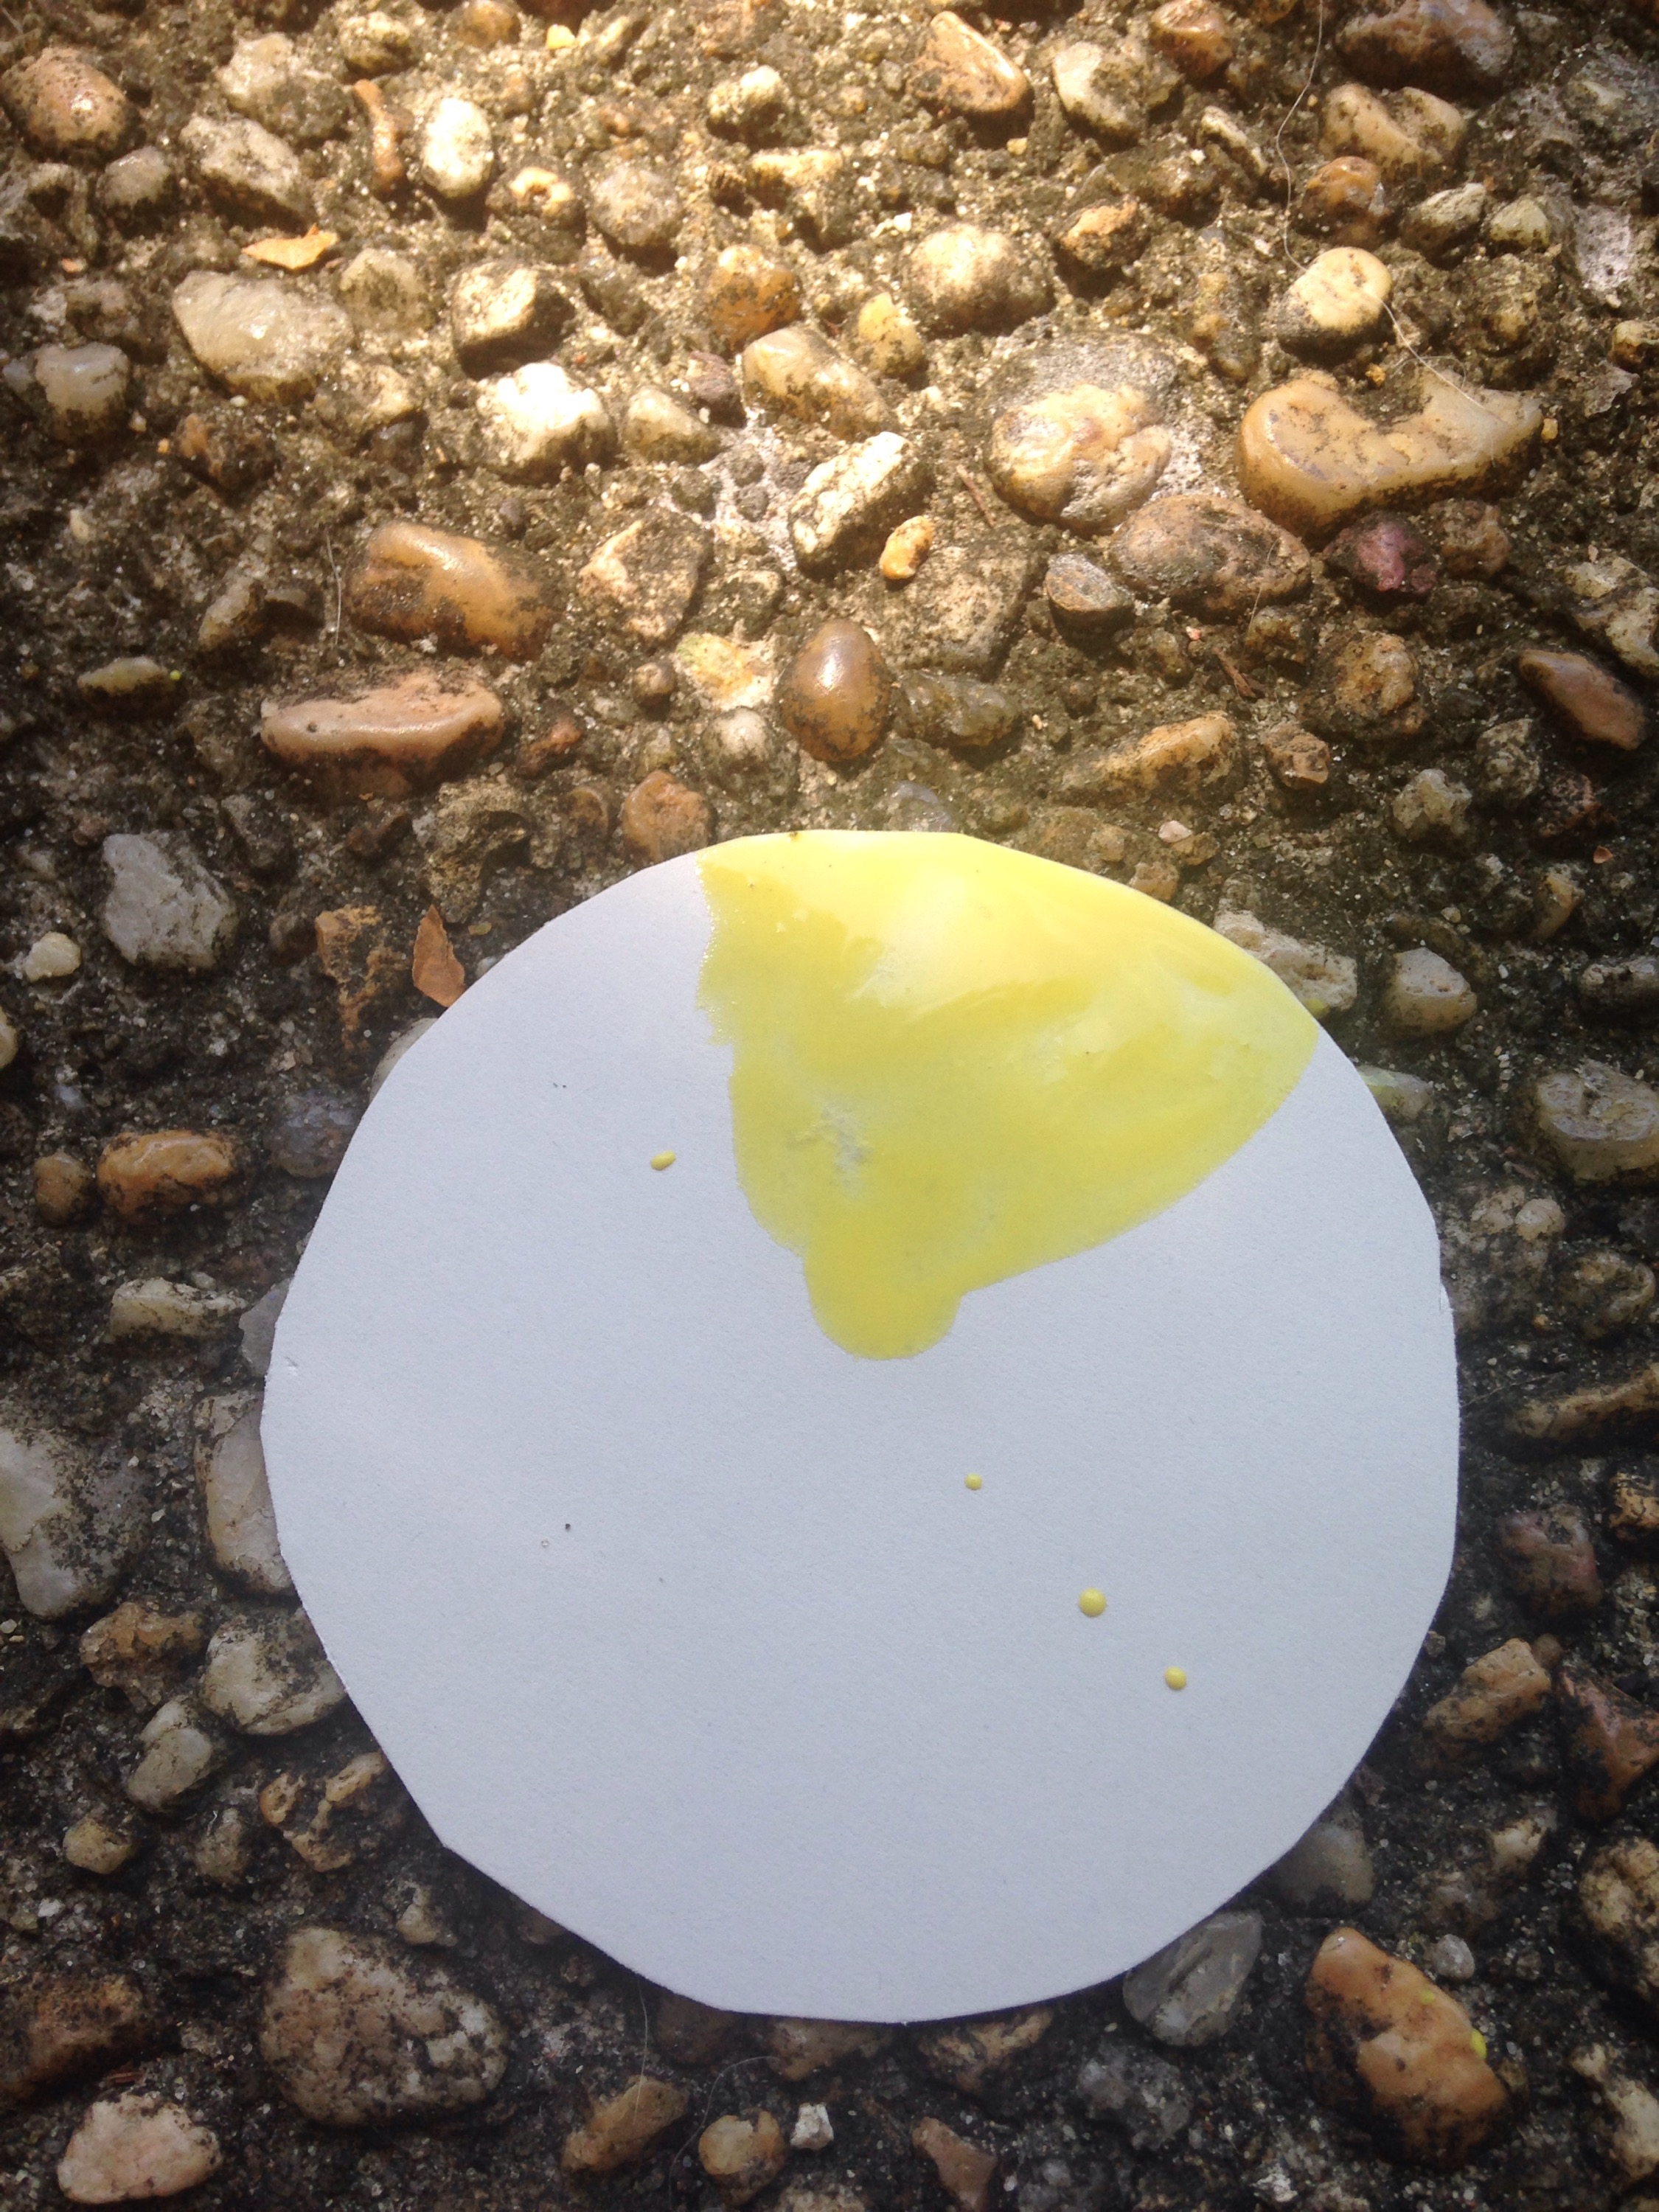
Step 2:
Put some water on your brush and mix it with your desired water color. (You may need a bit more water if you’re using new water colors) Then paint roughly 1/5 of the circle with color. It’s ok if it’s not very pigmented and watery, you can always do a second coat.
Step 3:
Then repeat step 2 with four other colors, putting them right next to each other.

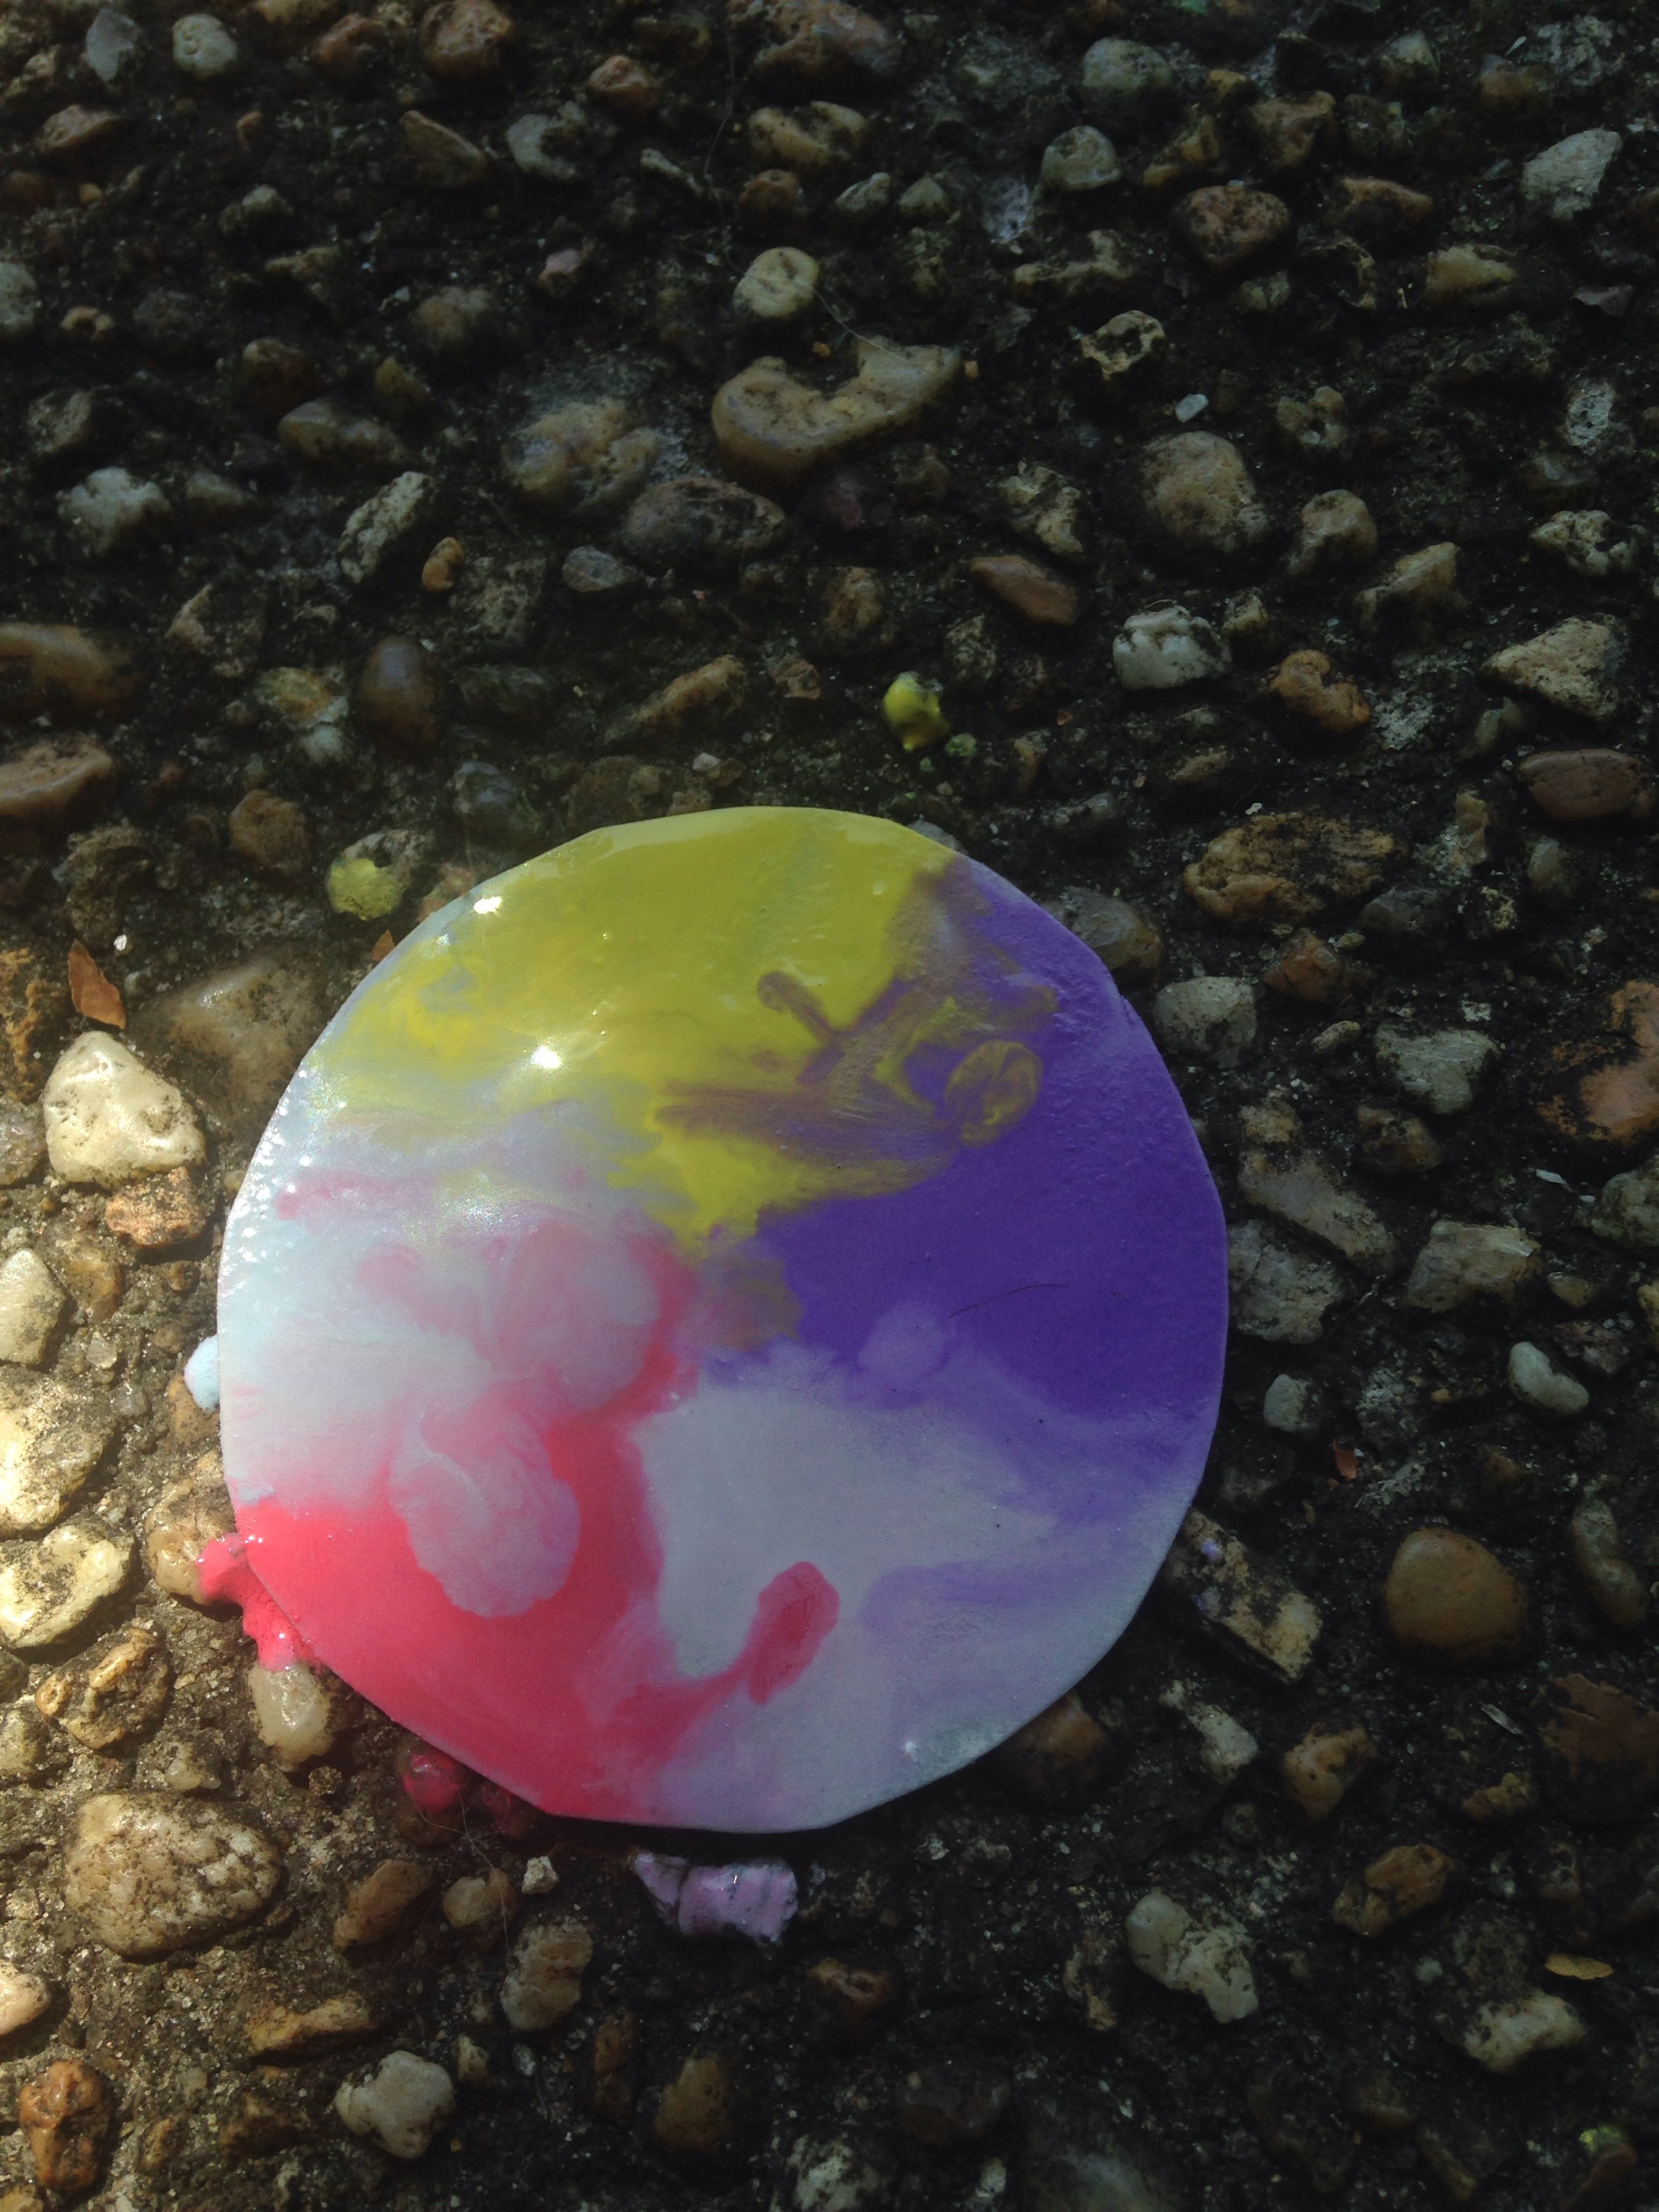
Step 4:
Next, get more water than before on your brush and use it with your first color, so the color is more pigmented. Quickly rinse the brush and repeat with the two colors surrounding it, and swirl the colors a bit with your brush, but not too much. Do this for all of the colors on the circle. Then set your circle aside.
Step 5:
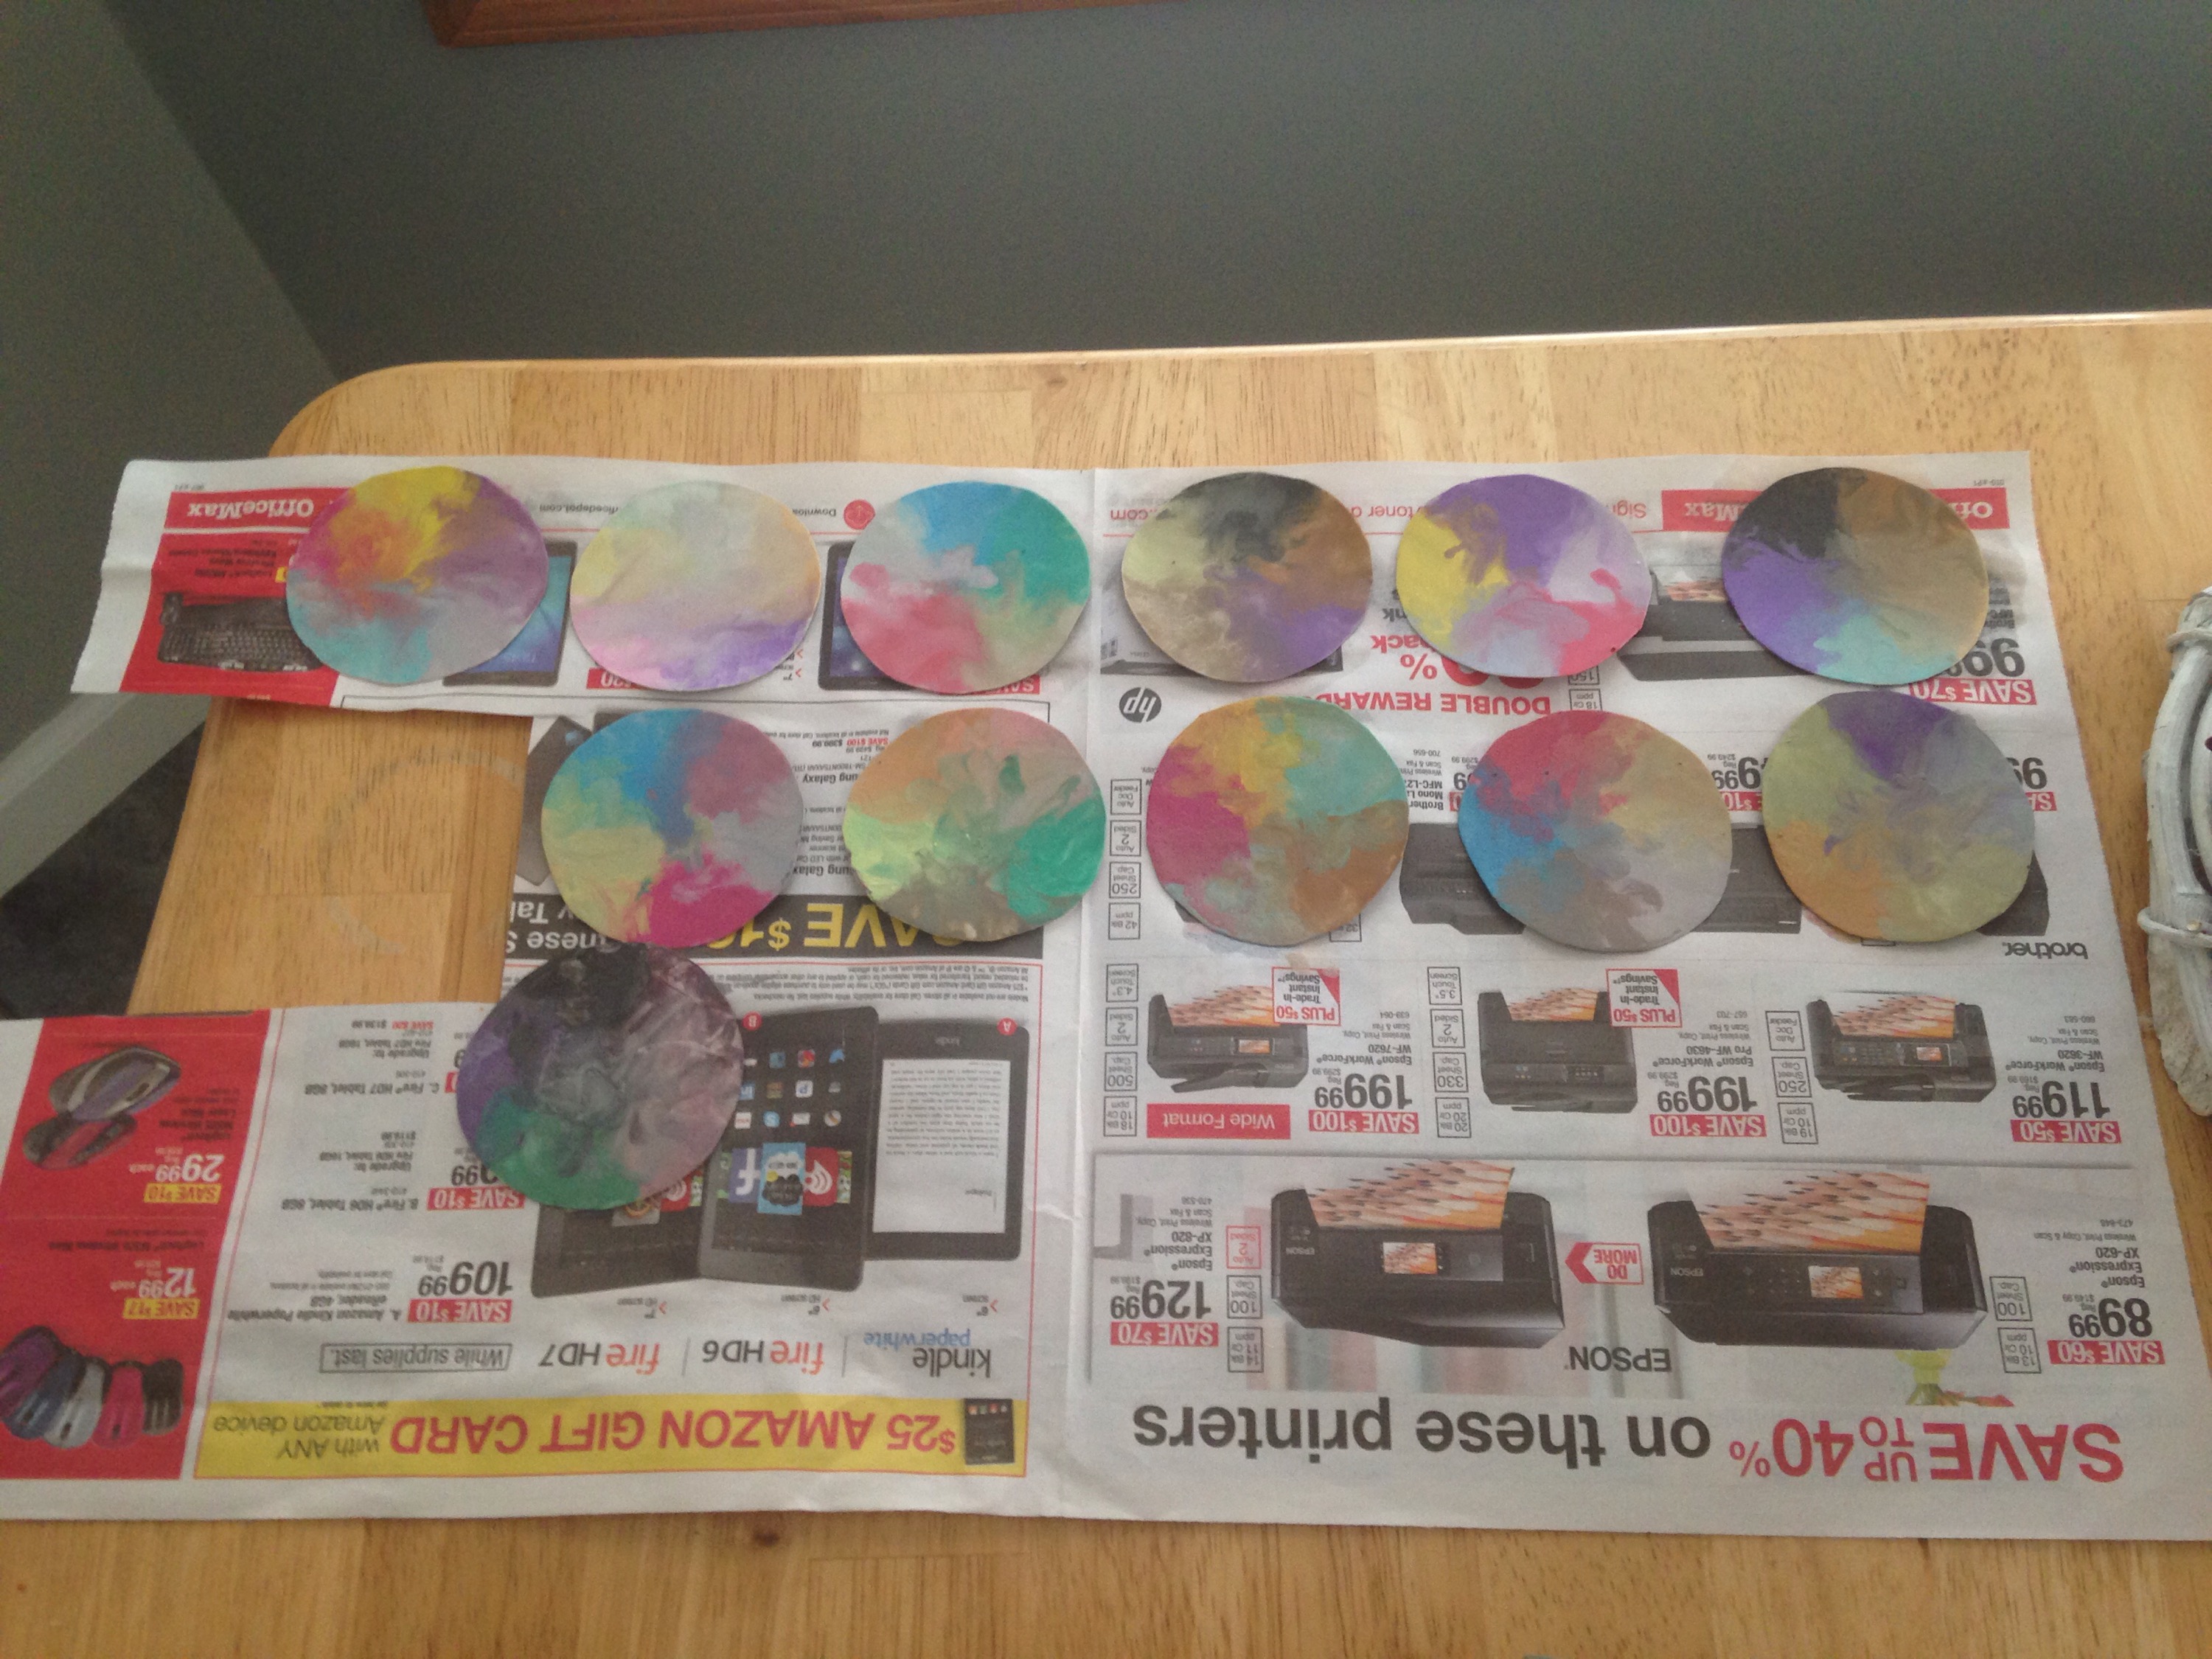
Continue steps 1-4 until you have about 12-15 circles, or however many you think would be accurate for the length of the garland you will make. Next, set your circles on newspaper to dry overnight.
Step 6:
Next, take some twine and stretch it across where you want your garland and cut a little more than you need for the length. You can nail the twine into the wall, or tie it into something. (I tied mine between something hanging from my ceiling and my curtain rod)
Step 7:
Then get your clips and your circles once they’re dry, and clip your circles onto the twine. Now you have a beautiful water color garland! I think this looks super cool, sort of like tie-dye.


That’s all for today’s post! I hope you guys liked it and will try it out. See you next time!
