7 Ways to Relieve Stress and Feel Good

Hi guys! Today I wanted to share a bit of a different post with you all. Lately I’ve been under more stress than usual, with new classes at school, and challenging school work among other issues, so I thought that I would share some things that help me to relieve stress and feel better overall. I hope these ideas help you as much as they help me, and let’s get started!

1- Yoga or Another Physical Activity 

I’m definitely not a very athletic person, but I’ve discovered that yoga is one type of exercise that I absolutely love. It’s very relaxing and calming. Typically, I go on Pinterest to find new yoga poses and things like that but I decided to turn to YouTube and I found a great channel. 

It’s called Yoga by Candace. 

She posts some yoga routines of various lengths and skill level types, as well as different intensities. Yoga is by far the best thing to relax myself, but this feeling of relaxation can be achieved with other types of exercise. Exercise is supposed to help with relieving stress and boosting your mood so if you have a little free time on your hands then it’s a great thing to do. 

2- A Hot Bath

Most people probably know this, but a hot bath can do wonders for stress. I like to take it up a notch with bath bombs from Lush. They give the bath nice color and scent to add to your relaxation. 

3- Cleaning or Organizing

This is not very often, but sometimes I really get in the mood for reorganizing or cleaning something. I’m not per say a ‘neat’ person but occasionally, organizing things gives me a nice satisfaction. 

4- Call a Friend

If you’re like me, you tend to prefer texting to calling just because you can do other things at the same time and it isn’t distracting. But once in a while, it feels great to call a friend and actually hear their voice. It’s nice to be able to have them cheer you up if you’re in a bad mood, listen to you rant, or just to have a nice, long phone conversation. 

5- Get Caught Up With Your Favorite TV Show Or Start Watching a New One

I started watching pretty little liars on winter break and I’ve been watching it since. I’m only at the beginning of season 4, but it’s very entertaining and nice to just take a little break. 

6- Watch Some YouTube Videos 

I tend to watch YouTube quite often, but I watch a wide range of subjects from comedy to beauty and more. I’ve really been into watching beauty box unboxings and things like that, so I can learn about new products and brands and see if I want to try them out. Sometimes it can also be nice to sit down and watch some entertaining comedic videos to take your mind off of things. 

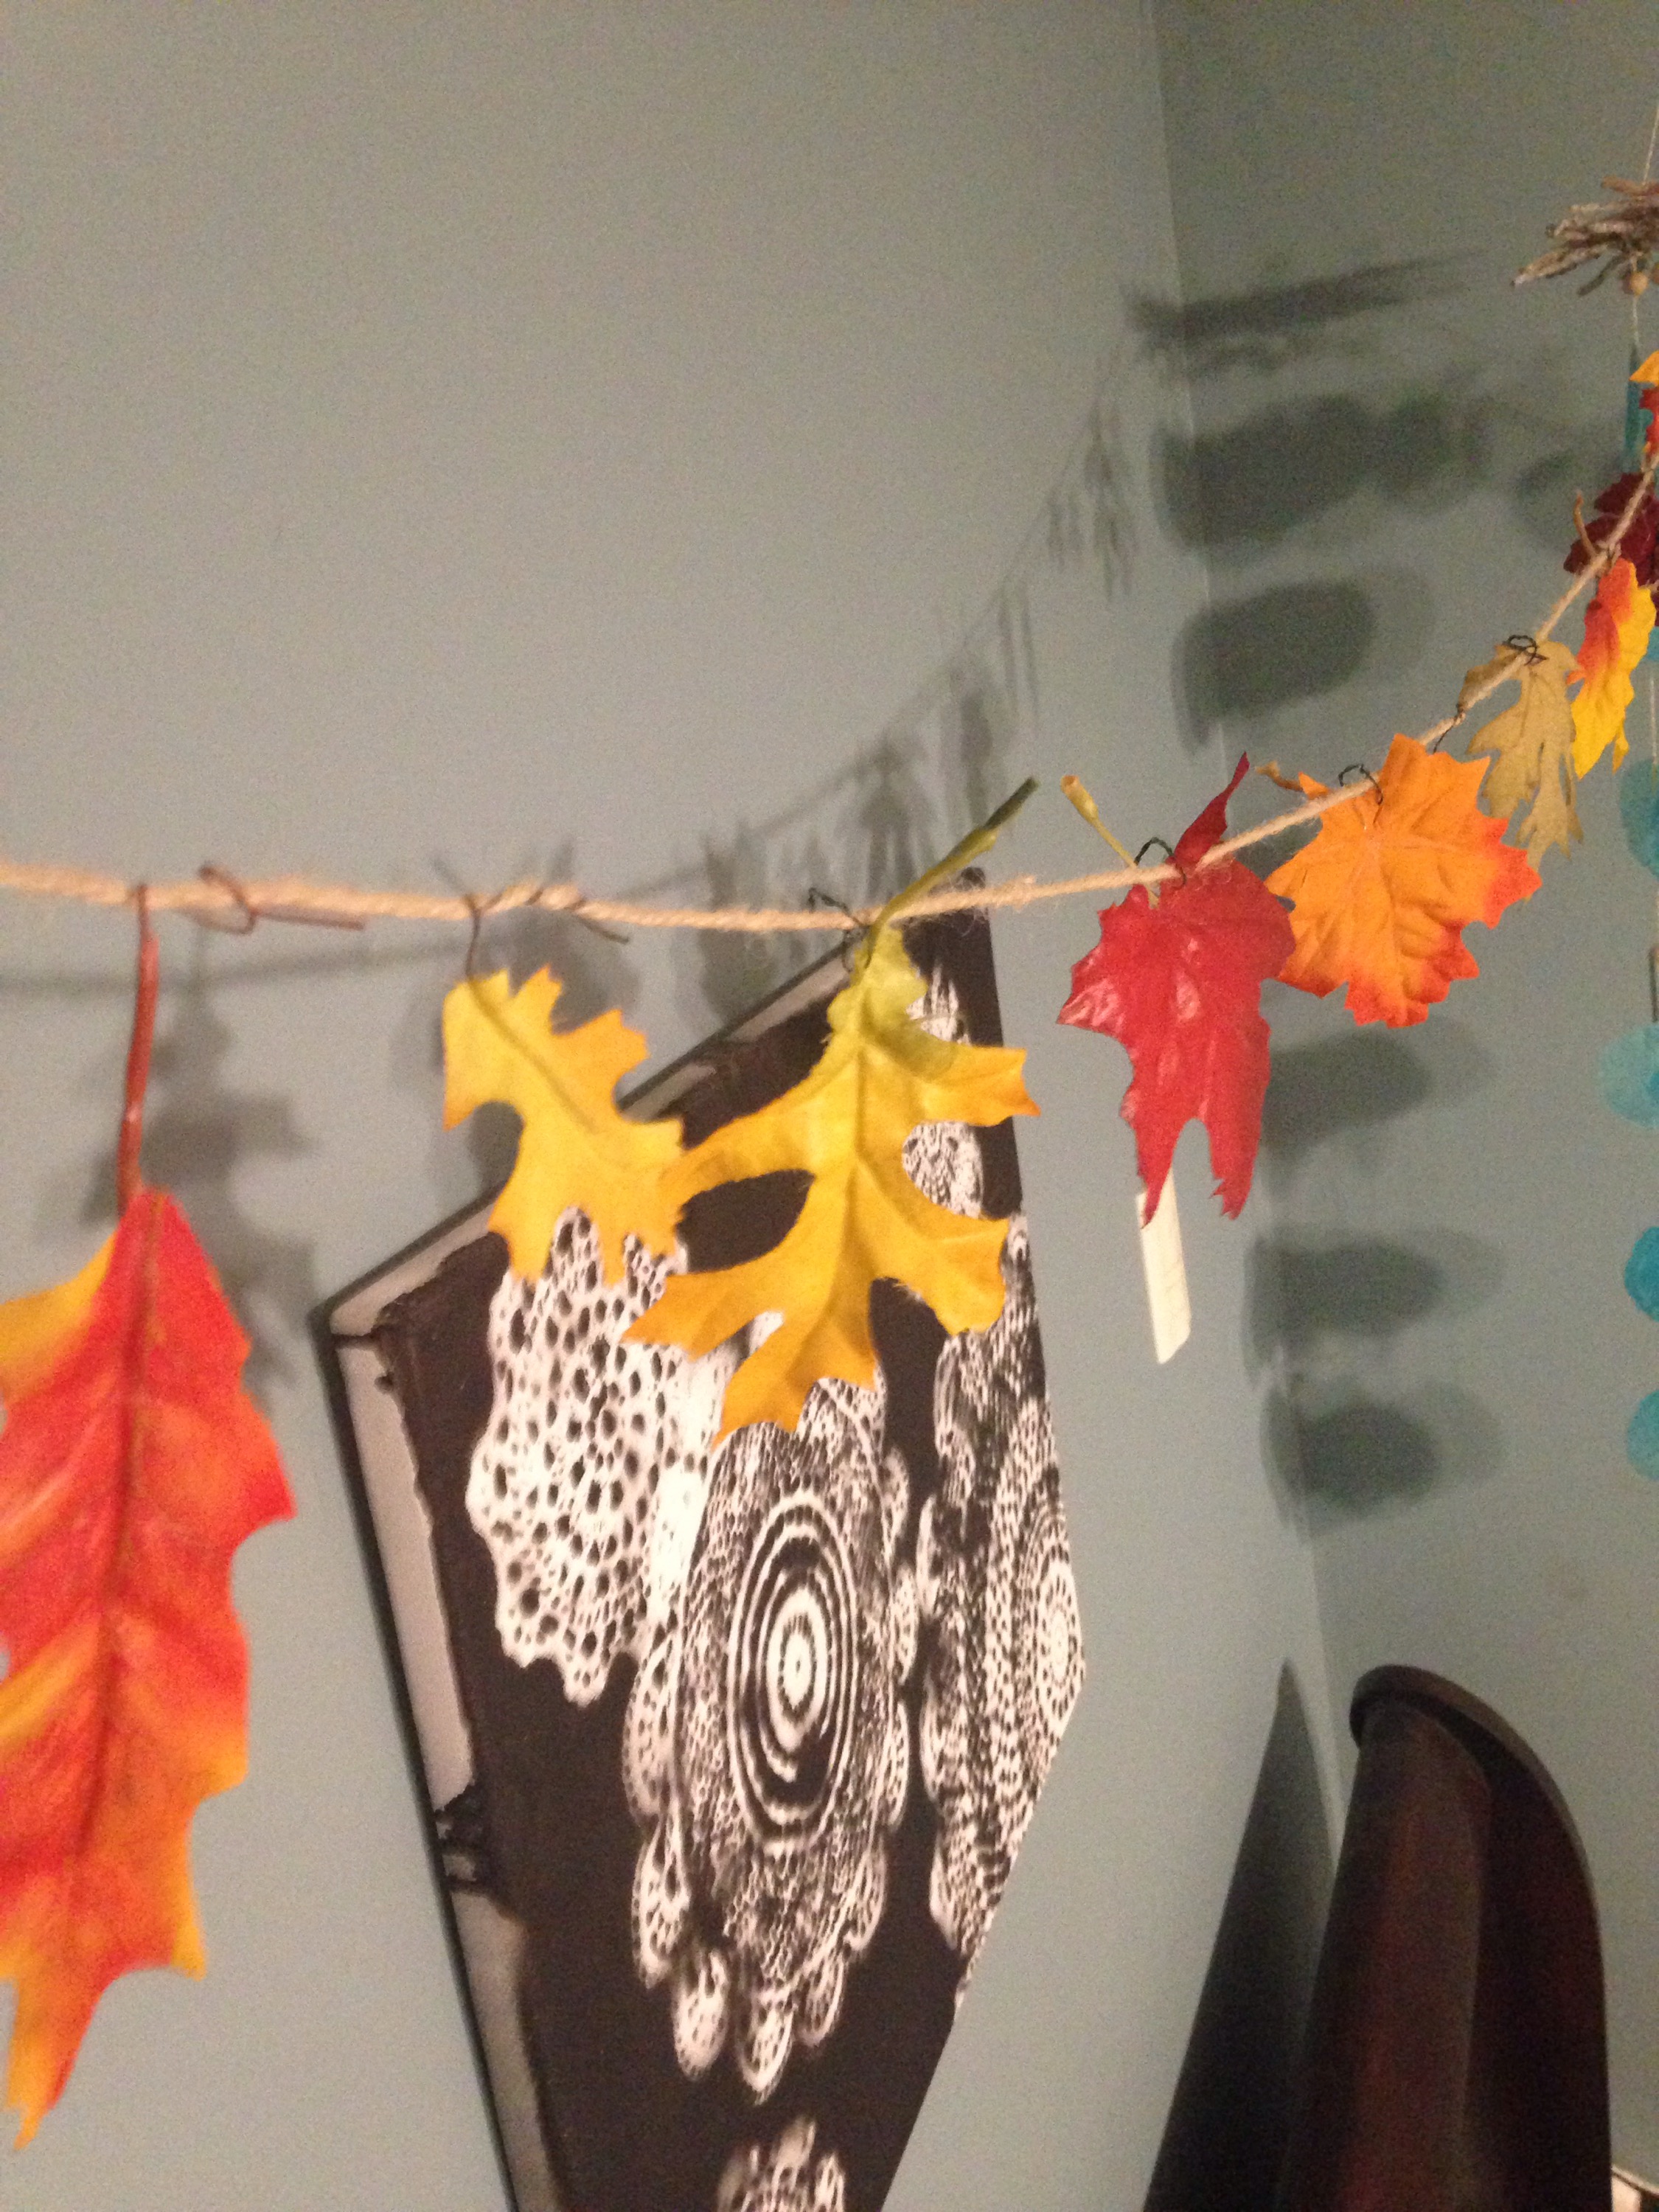
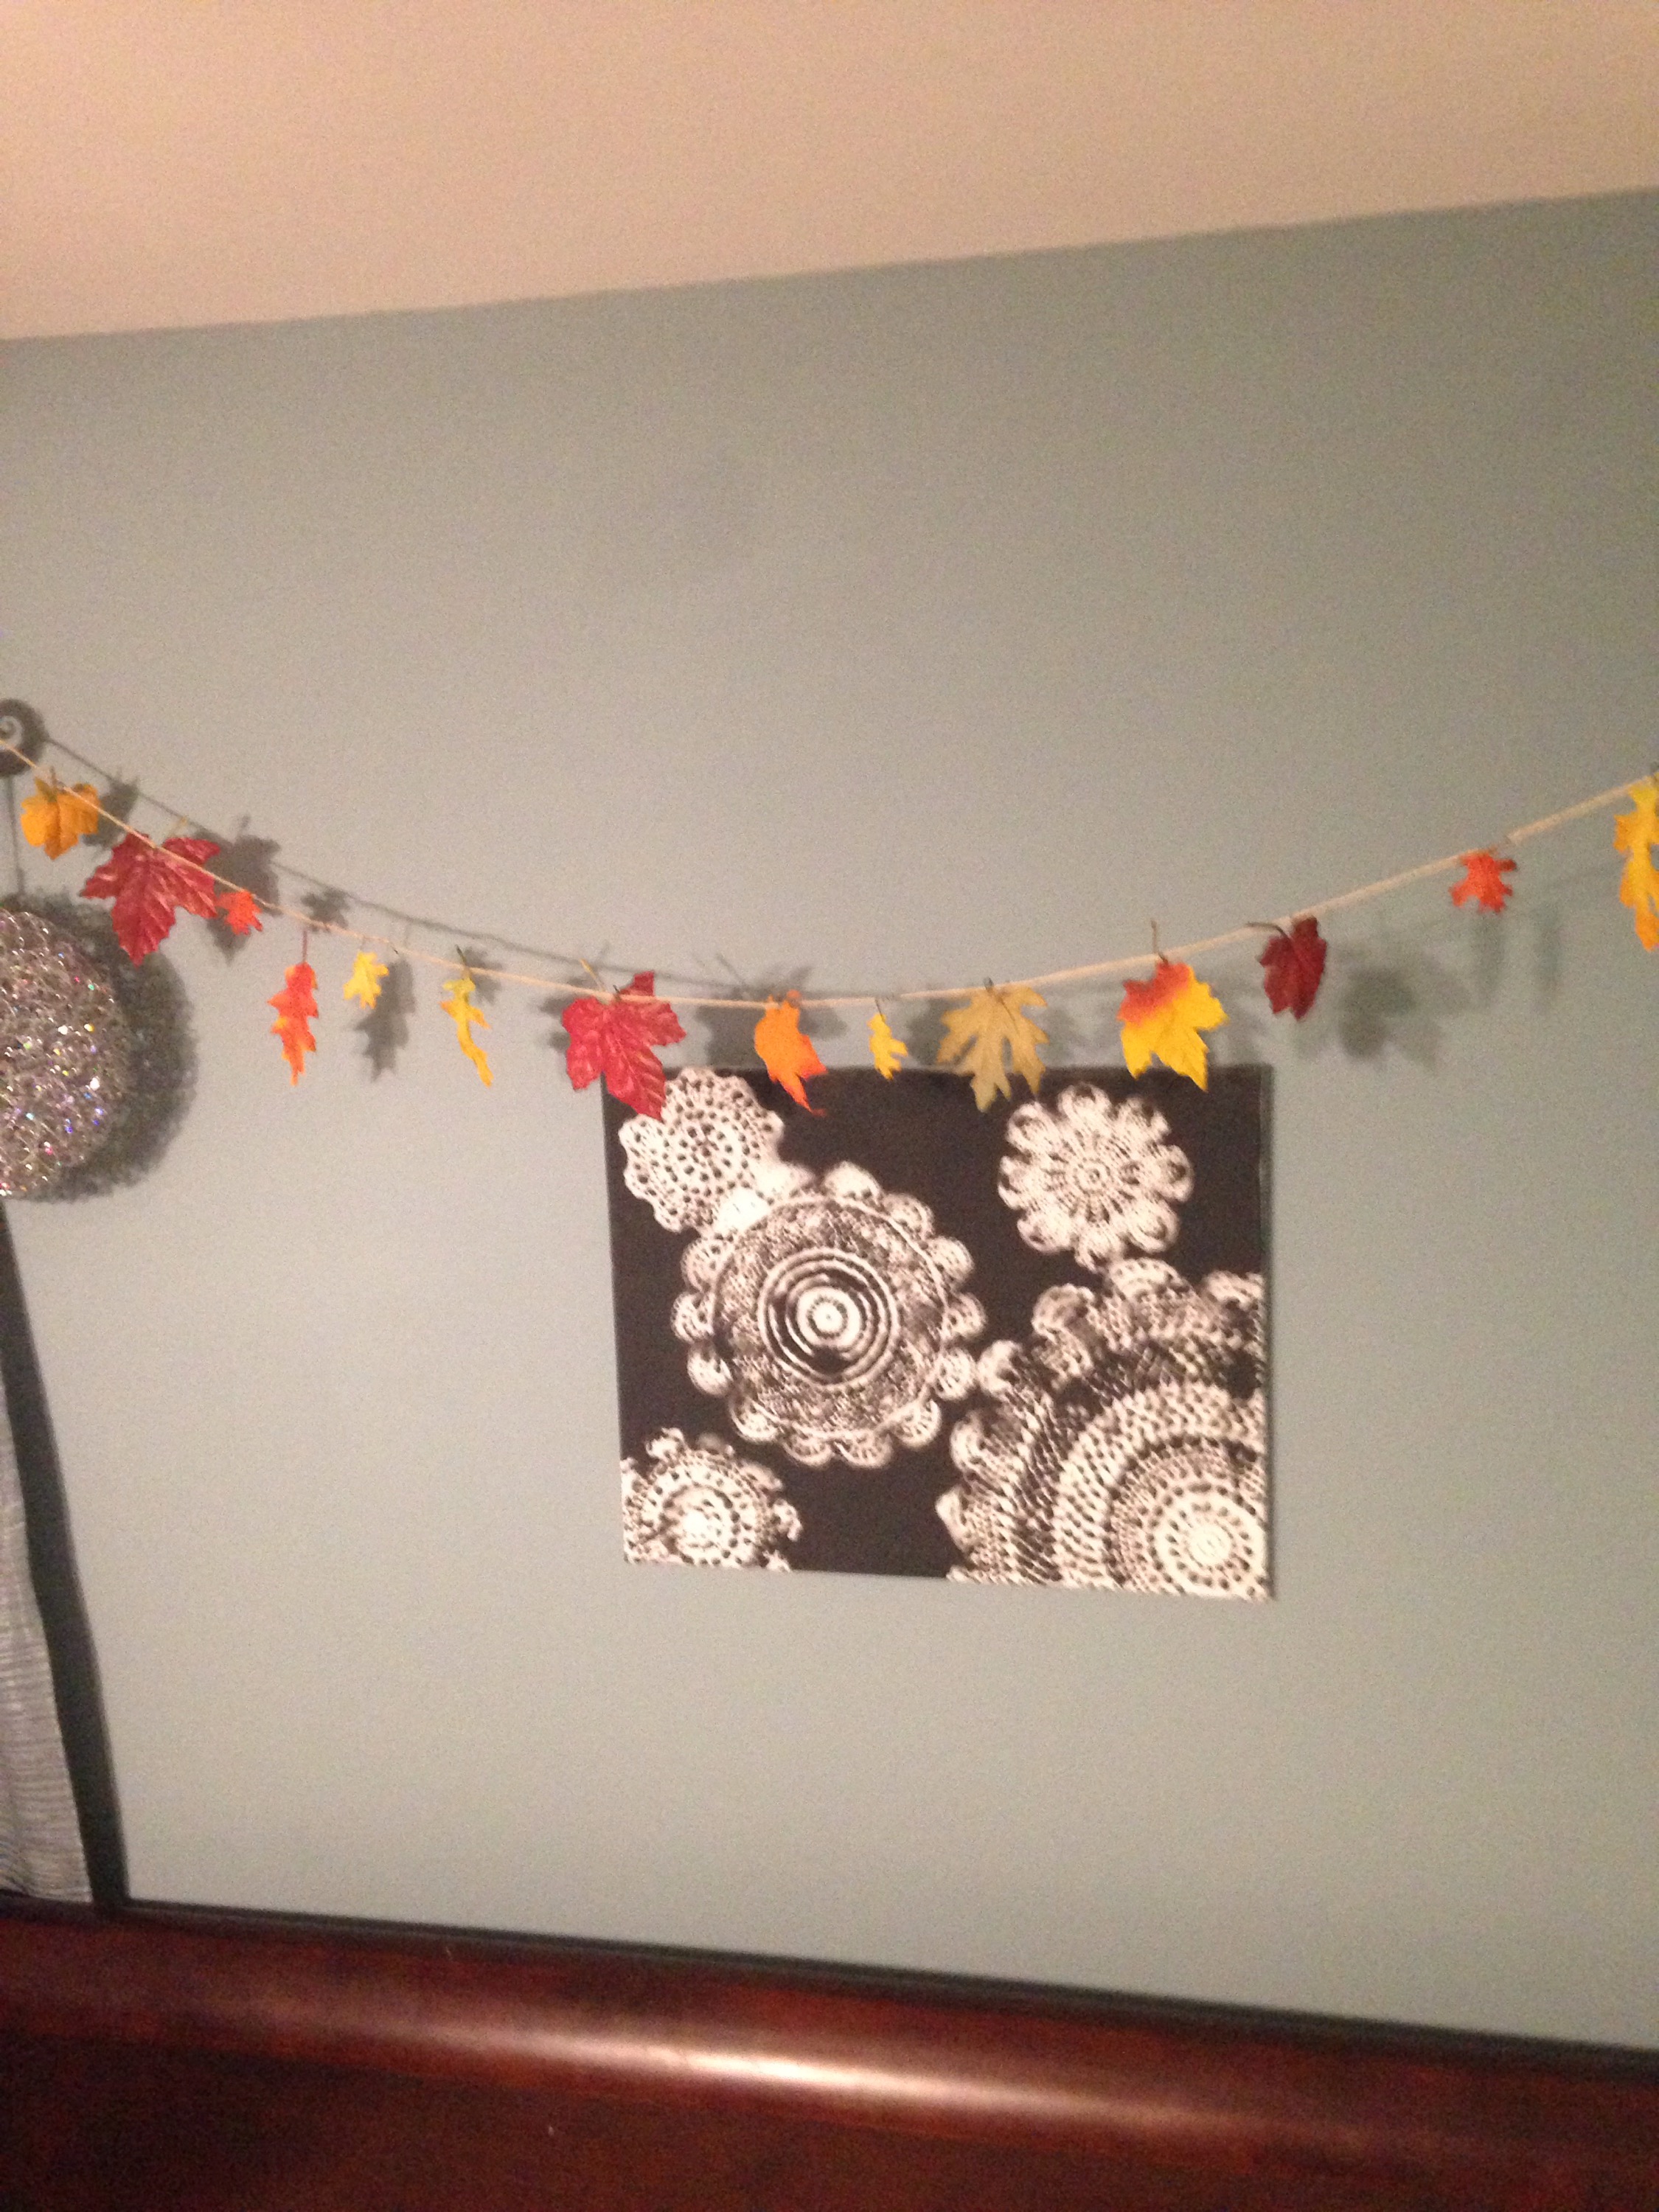
7- Try Something New 

Something that I really like to do is craft and make things. I’ve been working on a story and a painting at the same time lately and I love it because I can challenge myself in a fun, entertaining way. If you aren’t good at writing or art or just don’t like it, you can work on a hobby or do something you’ve always wanted to try. You can make a craft or DIY, cook, etc. You may even discover something new that you really enjoy doing. 

These are just some things that help me to relieve stress and feel good. I hope these ideas helped you out too, and see you next time! 

Cute + Quick Winter Room Decor

Hello everyone! First off, I’m sorry I didn’t post last week but it was my birthday party so I needed a little break from work. But today’s post is super exciting and fun! I know I haven’t done a DIY/room decor post for a while now, and I’ve found some really cute ideas on Pinterest that I kind of put my own spin on, so I’ll be showing you how to make them. Let’s get started!

1) Ping Pong Ball Multicolored Lights

Original Pinterest Post Photo:


What you will need:

  • Multicolored battery powered lasting lights (I used a 10 count, but you can use however many you want)
  • As many Ping-Pong Balls as lights you have, with a few extras (preferably with no logo, but if it has a small logo then it’s ok)
  • An X-Acto knife or some small scissors (like sewing scissors)
  • Batteries to power the lights

Step 1- Put batteries in the lights and check to see if they all work. 

Step 2- Take your knife or scissors and poke a crisscross (like an x) in the ping pong ball. (If your balls have logos just poke the holes over the logo) Continue with this step for each ball. 

Step 3- Push a ball over a lightbulb, but don’t use too much pressure or the hole might get bigger. You can always make he hole bigger if it’s too small. Do this for every ball and bulb. 

Step 4- Find somewhere to hang your light strand and turn it on. 

This is a really unique alternative to the general lights that many people hang in their rooms. This is also something you can keep up all year, it’s just a holiday type DIY because these lights are easier to find around Christmas. I love how quickly this took, and how easy it was, yet it looks very expensive and fancy. 

My Results: 

With other lights on:

  
With lights turned off:


2) Shadow Box Scene

Original Pinterest Post Photo:


I definitely modified this to my own style, but it’s something that you can really make however you’d like. 
What you will need:

  • A shadow box (11 in by 14 in is what I got for about $30 from Michaels which is kind of pricey, but their shadow boxes were buy one get one free, so I got another one for another craft hopefully)


  • Fake Snow (cotton) or cotton balls


  • Some small fake trees and other wintery objects


  • A hot glue gun 
  • Some copper wire fairy lights (optional) 

Step 1- Arrange your objects how you would like them, making sure that they’re in the front of the box and that you can slide the box closed at the end. 

Step 2- Using the hot glue gun, glue down your objects. 

Step 3- Make sure you can fit the cotton in the edges of the box and in front of the bases of your trees and your objects, making it look natural. 

Step 4- Carefully put hot glue where you would put your snow and glue down the cotton. (If you’re using cotton balls, stretch them out first so they’re not in a ball shape)

Step 5- Glue down more snow behind your objects so it looks more realistic. 

Step 6- Add lights if you would like (I didn’t). Just be sure to hide the battery pack under some snow if you can and string the lights on the backboard or around your objects. 

Step 7- Close the box. 

And you’re done! This is an adorable holiday DIY that is perfect for the winter season. You could also add a cute wintery patterned paper to the backboard if you don’t want it to be just brown. This is a really cool craft that you can customize to your own tastes. 
My Results:


That’s all for today’s post! I hope you guys enjoyed it, and see you next time. 

    Pinterest: Popular Halloween Makeup Ideas

    Hello everyone! Today I wanted to share with you some popular Pinterest makeup ideas for Halloween. Some of these are a little more complex than others, but others can be easily created with already owned makeup. This post will hopefully help you guys if you’re trying to figure out a costume in the short time we when since Halloween is on Saturday. Most of these are easy to match outfits with with already owned clothing. Also, I have an exciting new type do pair planned for next week or the week after that hopefully, so stay tuned for that! Now let’s get started! Disclaimer- none of these photos are owned by me, I found them all on Pinterest so I’m not taking credit for them. 

    1- Doe/Deer


    The doe is a very popular makeup look for those who are looking for something a little more cute and less creepy. It’s also very easy to create- you just need white eyeshadow, black eyeliner, brown eyeshadow and or bronzer, black lipstick if you would like and you could add or take away what ever you wanted. This is also a thing very easy to match clothes with, you could wear a brown dress or top and pants. 

    2- Sugar Skull


    The sugar skull is probably the most trendy look I found. Even my art teacher said she is going to be a sugar skull for Halloween.  This is another easy look to create. These stick with the same general  design, just with different colors. You really only need white Halloween makeup as a base, and eyeliner and maybe another color eyeliner or eyeshadow or even Halloween makeup to make the designs in other colors.  

    3- Creepy Dolls


    This is a more girly look, but it looks very creepy at the same time. To make this look, you just need to make your eyes look overly large,  and add a pink lipstick and some blush. You can also add cracks with black eyeliner if you want to be a broken doll. 

    4- Comic Book Character


    This is definitely a more time consuming look. It is pretty simple though. You just outline parts of you face and collarbone in black eyeliner, and create white dots on your face with white face paint. Then you can make tears beneath your eyes if you’d like. Next put red lipstick on your lips and create a white highlight.  

    5- Clown


    I, personally, think clowns are scary so these looks are the scariest ones in this post to me. This one is also pretty easy. Apply black eyeshadow ok your eyelids and make it drape down into a line to your cheeks. Then make a red dot on your nose. Next put on red lipstick on your lips and extend the lines so it goes out to your clementines and outline it in black. 

    That’s all for today’s post. I hope you guys enjoyed it, and see you next time!

    DIY Fall Leaf Garland

    Hey guys! Fall is my favorite season, so I decided to give my room a bit of change to make it more fall-themed. I hope you guys enjoy this tutorial, and let’s get started!

    What you will need:

    • Twine or some type of strong string
    • Cutable wire
    • Heavy Duty Scissors
    • Fake Autumn Leaves
    • Hammer and Nails (optional)


    Step 1: Measure how much twine you want to across a wall. You can either tie it between objects already on your wall, or hammer in some nails and tie it around the nails so it’s stretched out. 

    Step 2: Cut about 1-2 inch pieces of wire. 

      
    Step 3: Push the wire through the leaf near the stem part

      
     Step 4: Push the ends of the wire up to make sort of a half circle shape. 

      
    Step 5: Hold the lead up to the twine, and twist the ends of the wire together around the twine. Then tuck the ends in the loop made to make it look neater. (You may want some type of jewelry plier to do this because it can be difficult.)


    Step 6: Complete steps 2-5 with each leaf until they’re equally spread out on your garland. 


    And you’re done! This is super easy and not very time consuming. This is a nice way to make your room look great for fall. I hope you guys enjoyed this post, and see you next time!

    DIY Room Decor- Watercolor Garland

     Hi everybody! I’m sorry I didn’t post on WordPress Saturday. I tried but when I posted it, the app crashed and hadn’t saved any of my work. I also didn’t have any extra time to retype my post so I just didn’t post. But today I have a really cool room decor DIY that I’m going to tell you how to do. So let’s get right into it! 
    What you will need:

    • Water colors of various colors and shades (5 at a minimum but more for more variety)
    • Water (obviously)
    • A paintbrush- make sure it’s not super cheap, so the bristles don’t come out
    • A water dish 
    • Thick white paper (it should be fine as long as it’s thicker than printer paper)
    • Twine
    • Clothes pins or some kind of clip
    • Circular object to make a stencil with
    • Pencil
    • Scissors


    ^ I used the top of this gum container as a stencil for the circles

    Step 1:

    Place your circular object on your paper and trace it with a pencil, then cut out the circle. Trim the edges of the circle to make it more round if you would like


    Step 2:

    Put some water on your brush and mix it with your desired water color. (You may need a bit more water if you’re using new water colors) Then paint roughly 1/5 of the circle with color. It’s ok if it’s not very pigmented and watery, you can always do a second coat. 


    Step 3:
    Then repeat step 2 with four other colors, putting them right next to each other. 


    Step 4:  

    Next, get more water than before on your brush and use it with your first color, so the color is more pigmented. Quickly rinse the brush and repeat with the two colors surrounding it, and swirl the colors a bit with your brush, but not too much. Do this for all of the colors on the circle. Then set your circle aside. 


    Step 5:
    Continue steps 1-4 until you have about 12-15 circles, or however many you think would be accurate for the length of the garland you will make. Next, set your circles on newspaper to dry overnight. 


    Step 6:
    Next, take some twine and stretch it across where you want your garland and cut a little more than you need for the length. You can nail the twine into the wall, or tie it into something. (I tied mine between something hanging from my ceiling and my curtain rod)

    Step 7: 

    Then get your clips and your circles once they’re dry, and clip your circles onto the twine. Now you have a beautiful water color garland! I think this looks super cool, sort of like tie-dye. 


    That’s all for today’s post! I hope you guys liked it and will try it out. See you next time! 

    How I Pack For Vacation + Packing Tips/Life Hacks

    Hello everyone! So I’m leaving for vacation to the Outer Banks tomorrow and I thought that I would show you how I pack and what traveling/packing little tips and hacks I use. I hope this post helps you when you need to pack for vacation. I also want to say that next Saturday, I will do my vacation outfits of the week. Now let’s get started! 
    I just thought I should show you guys what my suitcase looks like so you can understand what I’m talking about better. So I have a medium-sized suitcase which is best if you’re going on a weeklong trip. On the outside, it has a small pocket and a slightly larger pocket. On the inside, in the “door” of the suitcase, it has a mesh zippered pocket like area. In the main area of the suitcase, there are buckles so you can secure your clothes or whatever else you pack. There is also a zippered compartment in the bottom which is great for if you have dirty shoes or something like that. 


    So first, I unzipped the compartment in the bottom of the suitcase and I put 2 pairs of flip flops in it. This is a nice storage idea because flip flops are flat shoes so they won’t take up much space plus if they’re dirty, they won’t get your clothes dirty. 


    Next, I picked out my outfits and pajamas, and rolled them up. I put pajamas on one side and everyday clothing on the other side. Rolling clothes up is better than folding because it saves space, and prevents wrinkles so you won’t have to iron your clothes when you reach your destination. I then put my beach coverup on top and added my makeup bag, and buckled it all in. 


    I then took an empty tic tac container, and put some bobby pins in it. This is great for traveling because it is secure, and it is harder to lose your bobby pins. It is also easy to get them out. 


    Next, I picked out some jewelry that I thought I would wear, a put it in this little plastic box sort of thing that I randomly found in my room. This probably doesn’t help my jewelry from getting tangled up, but it saves space. 


    Inside of the lid of my suitcase, I slid in a pair of Sperrys and put some no-show socks inside to save space. Then I added in my swimsuit, the jewelry box, some underwear, the bobby pins, and a couple of pairs of sunglasses. I put the sunglasses on top of my underwear to cushion them so the lenses don’t pop out or they don’t break. 
      

    In the smaller pocket on the outside of my suitcase, I added in the products that I’ll use every day. I added in my toothbrush, toothpaste, deodorant, face cream, nasal spray, Chapstick, my glasses and my contacts. 


    In the larger pocket, I packed my brush, comb, spray sunscreen and sun lotion, regular lotion, hand sanitizer, Benadryl cooling gel, and cortisone cream. 


    I then packed a backpack full of things to entertain me on the way there. 

      
    In the front pockets, I added my phone charger, earbuds, and I’ll add my phone tomorrow. 

    I brought a sun hat but it wouldn’t fit in my suitcase, so I folded in the floppy part and put it in my backpack. 

      
    I also added in my wallet and a thin cardigan in case it gets cold. 

    Next I put in two books, one for the car ride and one for the trip itself. I recommend the one on the right. 

      
    I then added my meditative calming coloring book which I talked about in a recent post if you want to check it out here

    I also added a fashion drawing book. It’s basically a sketchbook but it tells you what fashion items to draw. 

    Then I added my colored pencils. 


    That’s everything I packed! I hope you guys enjoyed this post, and see you next time! 

    How to do a ‘Mohawk’ French Braid

    Hello everyone! Today I wanted to show you a modern, edgy twist on the traditional French braid hairstyle. I actually just tried this out one time when I was bored with how my hair looked, and it looked great! Anyways, let’s get right into it. 
    Step 1: Brush out your hair so it’s tangle-free, and then comb it back so you have no part. 

    Step 2: Take a medium-small section of hair from the very front of your head, close to your face, and separate it into three section. 

    Step 3: Braid the sections together for one rotation, then add more hair to each section of hair and braid it in. 

    Step 4: Continue adding sections into the braid until you have used all of your hair, then braid the rest of your hair in a regular braid. 

    Final Result: 


    This hairstyle is basically just a normal French braid that starts closer to your face with smaller sections added in. Because it starts father up on your head, you achieve a ‘mohawk’ effect which can go great with an edgy outfit, or you could dress it down to look more girly. If you feel like this hairstyle is not something you would wear, you can just wear it overnight and when you take it out, you will result in beautiful heat-less beachy waves. I really like this hairstyle. I think that it’s super easy to do, and it’s very versatile. 
    That’s all for today’s post! I hope you guys enjoyed it, and see you next time. 

    How to Clean Your Makeup Brushes

    Hey guys. I’m really sorry I didn’t post on Tuesday.  I know this is no excuse, but I lost track of time and I didn’t even know it was Tuesday until it was too late. But now I promise that I will be more focused and post on schedule. And I will be posting some really fun things later on this summer, so watch out for that. Anyways, today I’m doing a post that I was supposed to do a while ago, but I got sidetracked. I’m going to show and tell how I clean my makeup brushes. 

    Cleaning their makeup brushes should be at least a bi-weekly activity for those who use them, but a lot of people don’t clean their makeup brushes nearly as often as they should.  Here are some reasons you should clean your makeup brushes more often:

    • Over time from using your makeup brushes, the brushes build up on skin oils and makeup stays in them
    • This is a breeding ground for bacteria which can cause acne outbreaks on your face
    • Cleaning makeup brushes can make the bristles softer and nicer feeling on your skin

    Here is how I clean my makeup brushes.

    Step 1: Get a type of soap. (Baby shampoo is recommended, but I didn’t have any, so I just used hand soap(dishwashing soap also works))

    Step 2: Put some soap in a bowl and run hot water over it and fill the bowl so the water is soapy. 

      
    Step 3: Swirl each brush around in the water. Pay extra attention to blending brushes (foam ones) and eyeliner brushes because the makeup is harder to get out. With blending brushes, I’d recommend get it wet, then squeezing it and continually doing that until all or most of the makeup comes out. 

    Step 4: Leave the brushes sitting in the bowl with all bristles submerged for 5-10 minutes. 

    Step 5: Rinse the brushes with cold water, then reshape the bristles if needed. 

    Step 6: Create a sort of seesaw with a round object (I used a tube of mascara, but you’ll probably need something larger especially if you have more brushes to clean than me), and a paper towel. 

    Step 7: Balance your brushes on the “seesaw” with the bristles facing downwards and leave to dry for 6-8 hours. (It’s probably best to do this overnight)

       
     And that’s all! This is super easy to do and it works very well. It makes my brushes clean and soft. I hope you guys enjoyed this post, and I’ll see you next time! 

    Splatter Nail Art

    Hello everyone! I did my nails a few days ago and they turned out beautifully, so today I’m going to show you guys how to do it too. Let’s get started! 
    What you will need: 

    • A paper plate
    • Paper towels 
    • 3 nail polish colors
    • Clear top coat nail polish
    • Clear base coat nail polish
    • 2 disposable straws


    Step 1: Put the base coat on your nails. 

    Step 2: Paint your nails with one color for the desired base color

      
    Step 3: Put one color of nail polish on the plate. (About the amount shown down below for your fingernails.) Only do this for one color because the other color will be dry by the time you’re ready to use it if you put it on the plate. 

     
    Step 4: Take one of your straws and dip it in the nail polish. Make sure some of the nail polish is inside the straw, or it won’t work. Then blow out of the other side of the straw over one of your nails to create a splatter effect. Below is an example of what it should look like. 

     
    Step 5: Repeat step 4 for all of your nails. 

    Step 6: Repeat steps 3-5 with the other nail polish color. 

     Step 7: Put the clear top coat on your nails after they have dried a bit. 

    Step 8: Let your nails dry for a couple of hours, then clean up the edges around your nails if needed. 
    Finished Product: 

     
    I think this is a really cool and easy nail art DIY that anyone can do. This also looks amazing if you do it in red, white, and blue for the 4th of July. I really enjoyed doing this, and I hope you guys do too.  See you next time!