Get Ready With Me: Sadie Hawkins Dance

Hey everybody! My school had a Sadie Hawkins Dance last night, so I thought that I would post my outfit, hair, and makeup.  I hope this helps to inspire you guys for any spring dances or formal events you may be going to. Let’s get started!

Outfit:

img_6608

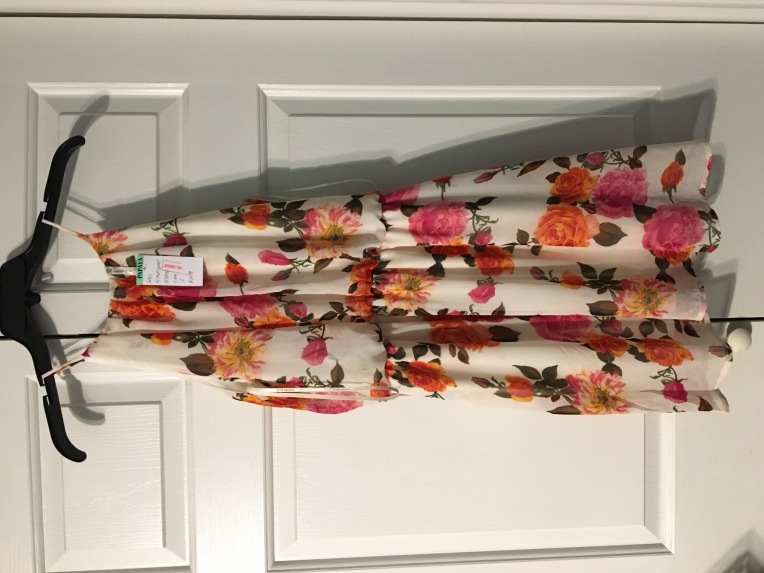
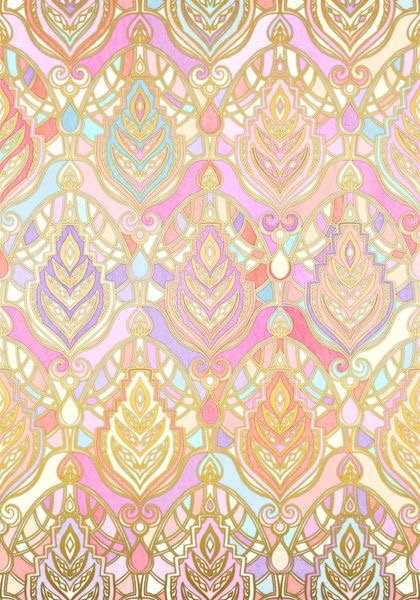
White, Orange, and Pink Floral High-Necked Dress: Papaya, $21

So my dress is this gorgeous floral dress. I love the high neckline, and the pattern. I was also really happy to get such a nice dress for only $21.

img_6585

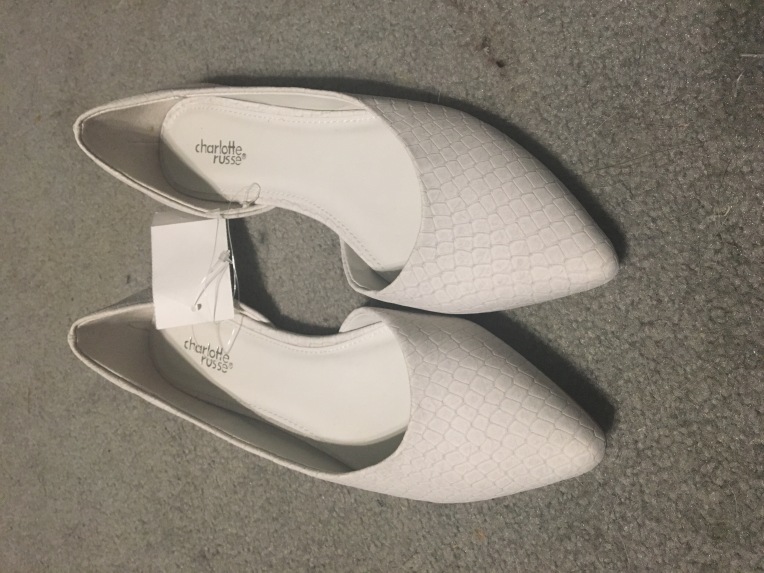
For shoes, I wore these simple white faux-snakeskin almond-toed flats I got from Charlotte Russe, for about $8 ( see my spring haul post for more details)
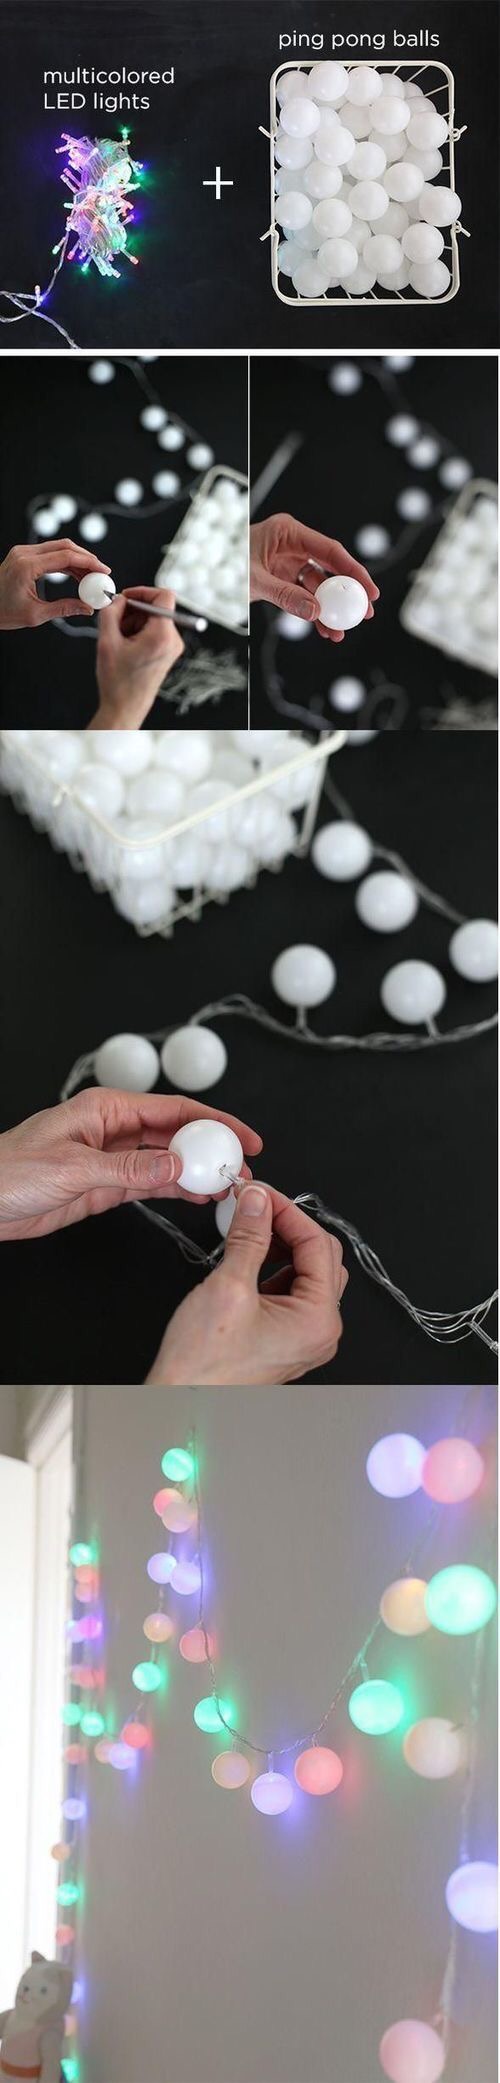


Hair:


IMG_6842.JPG

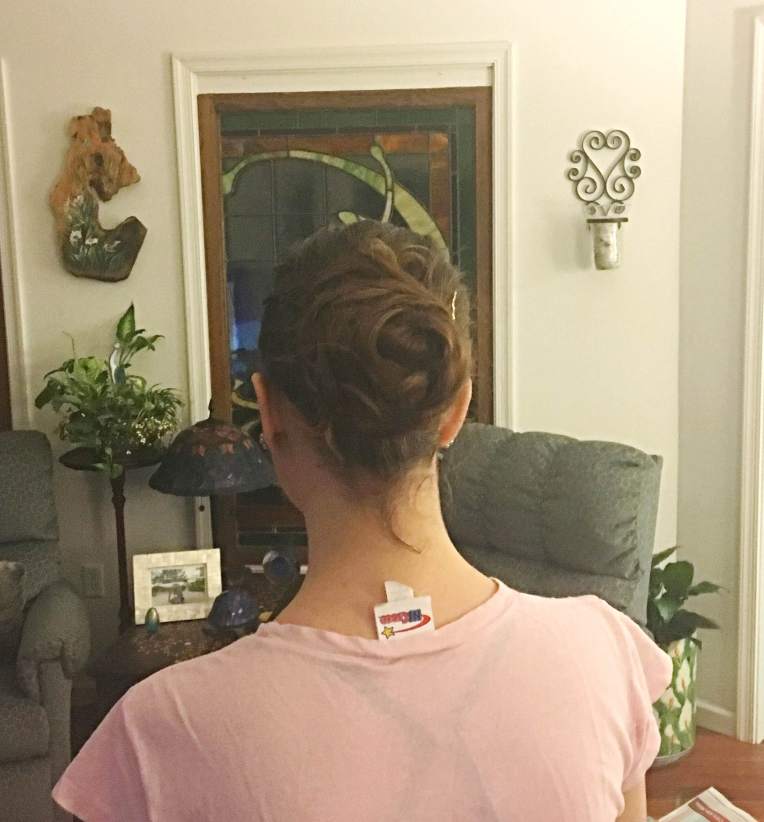
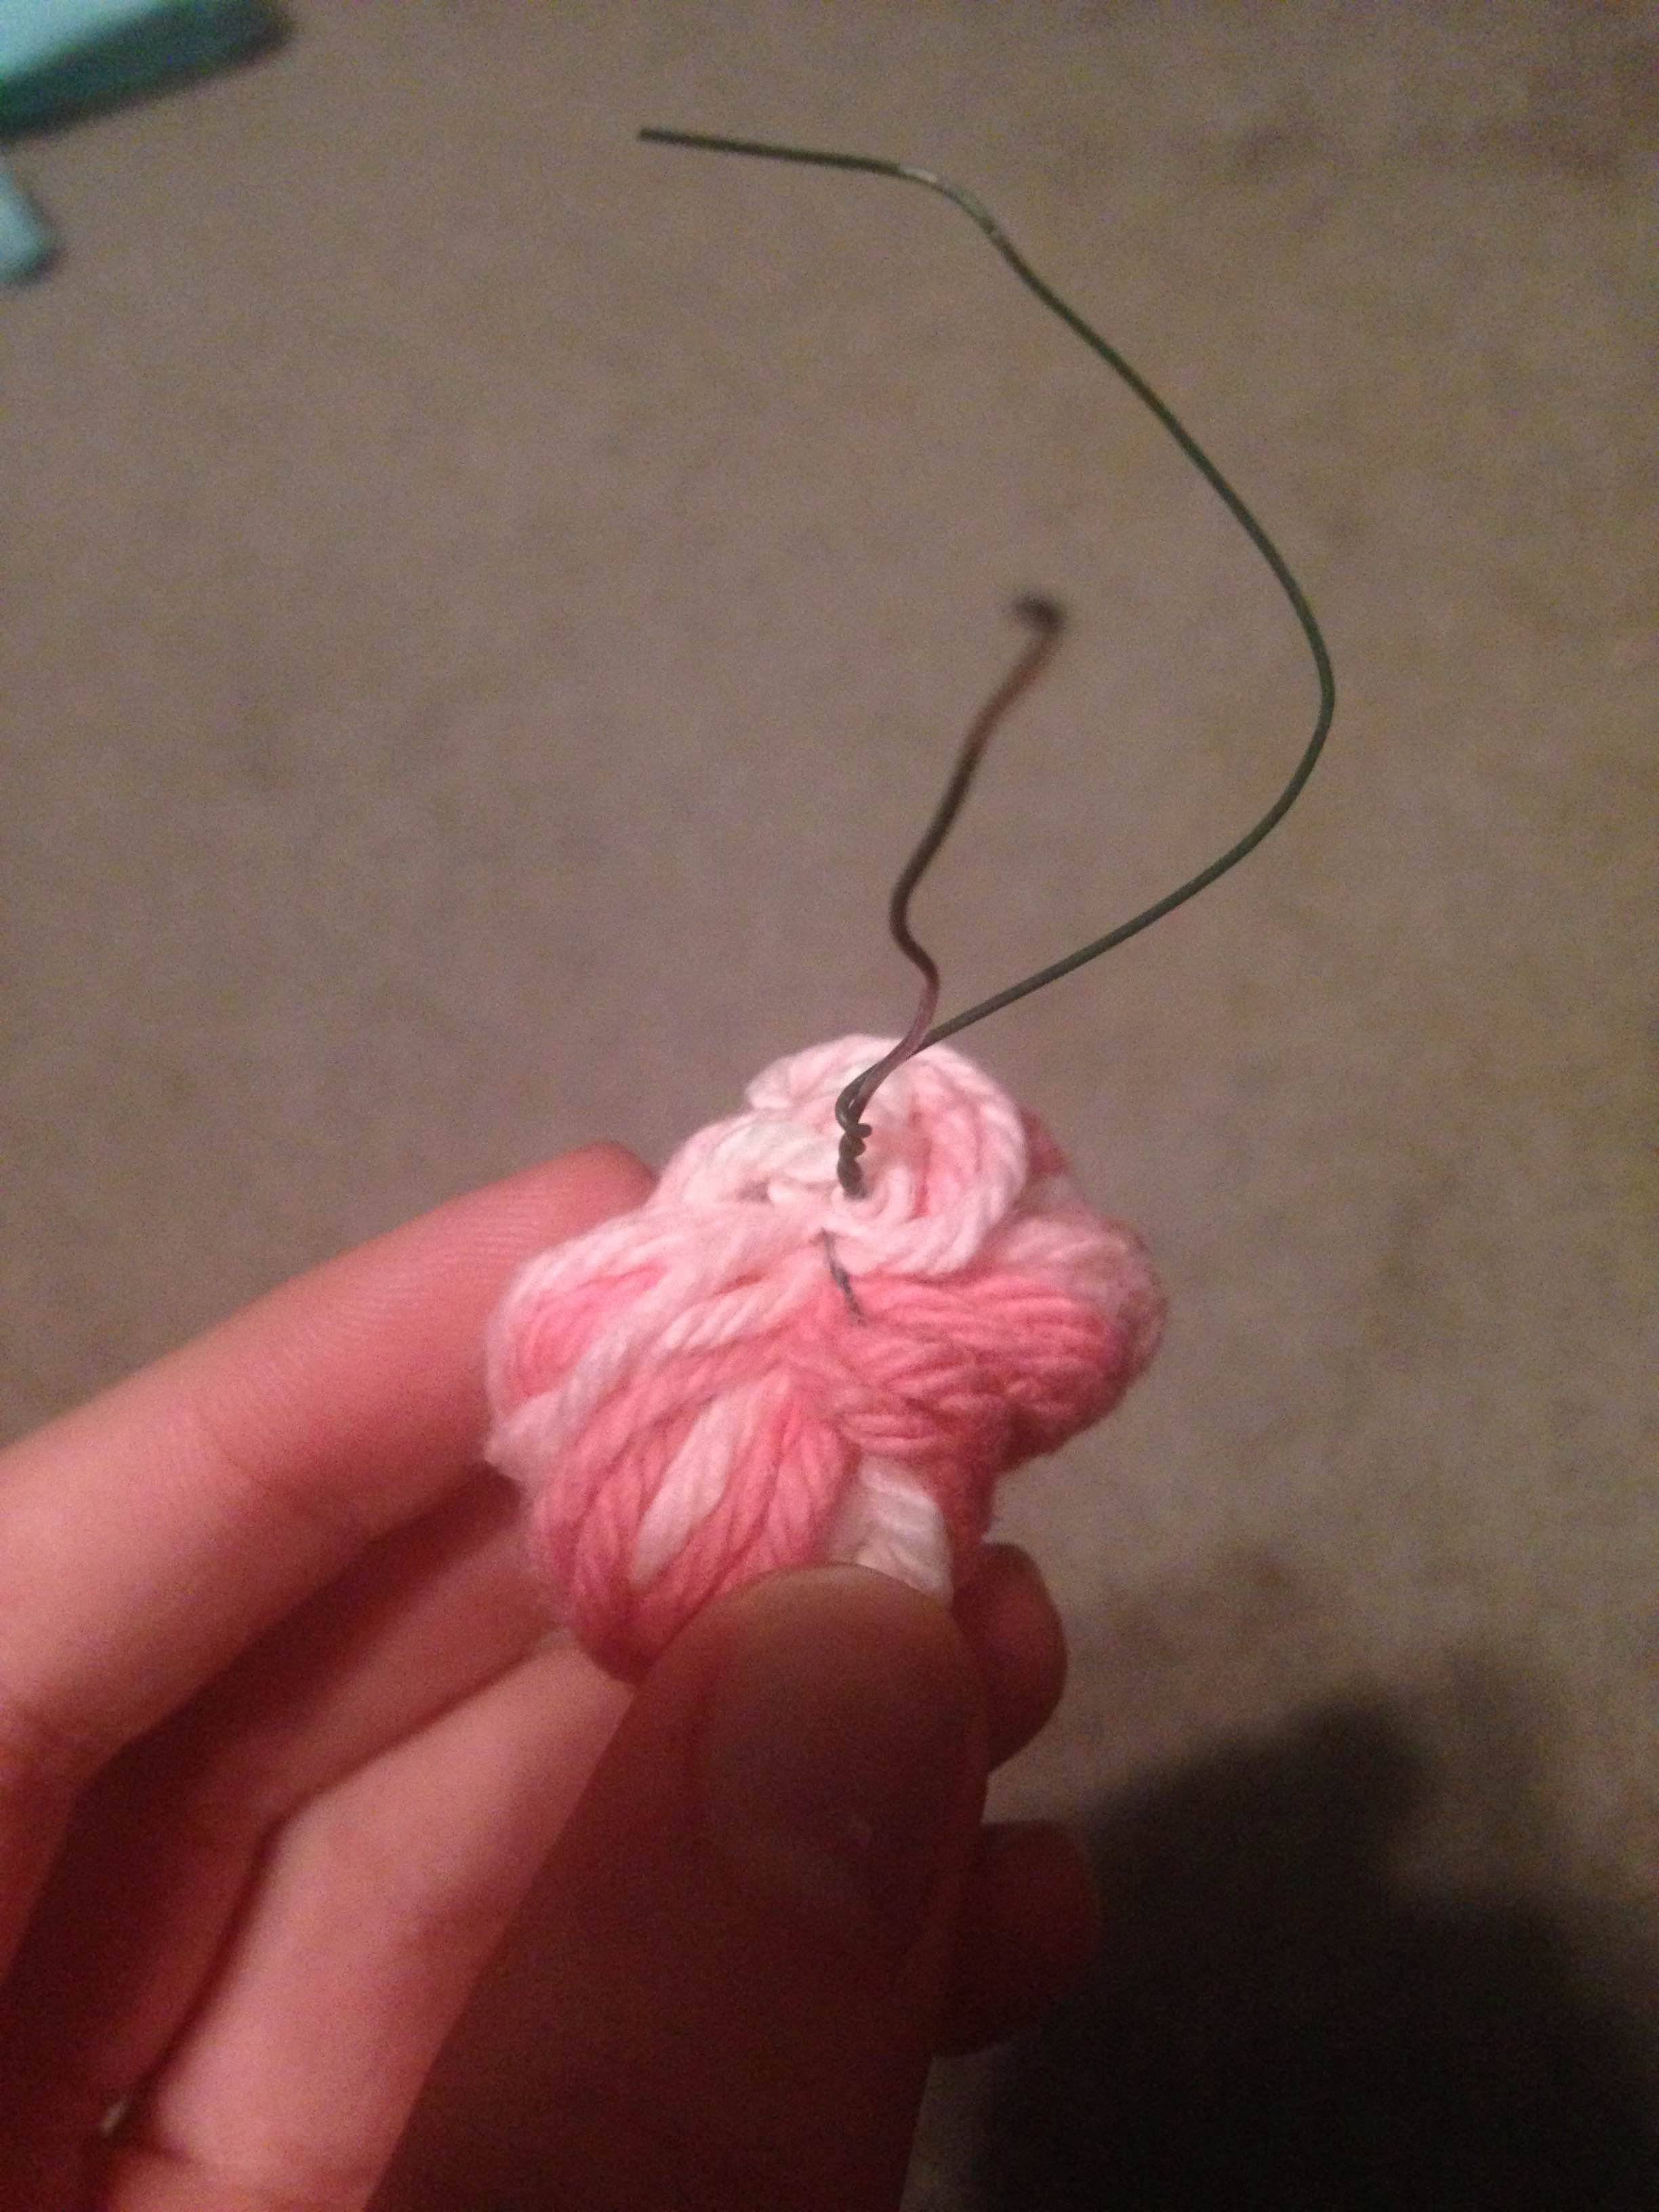
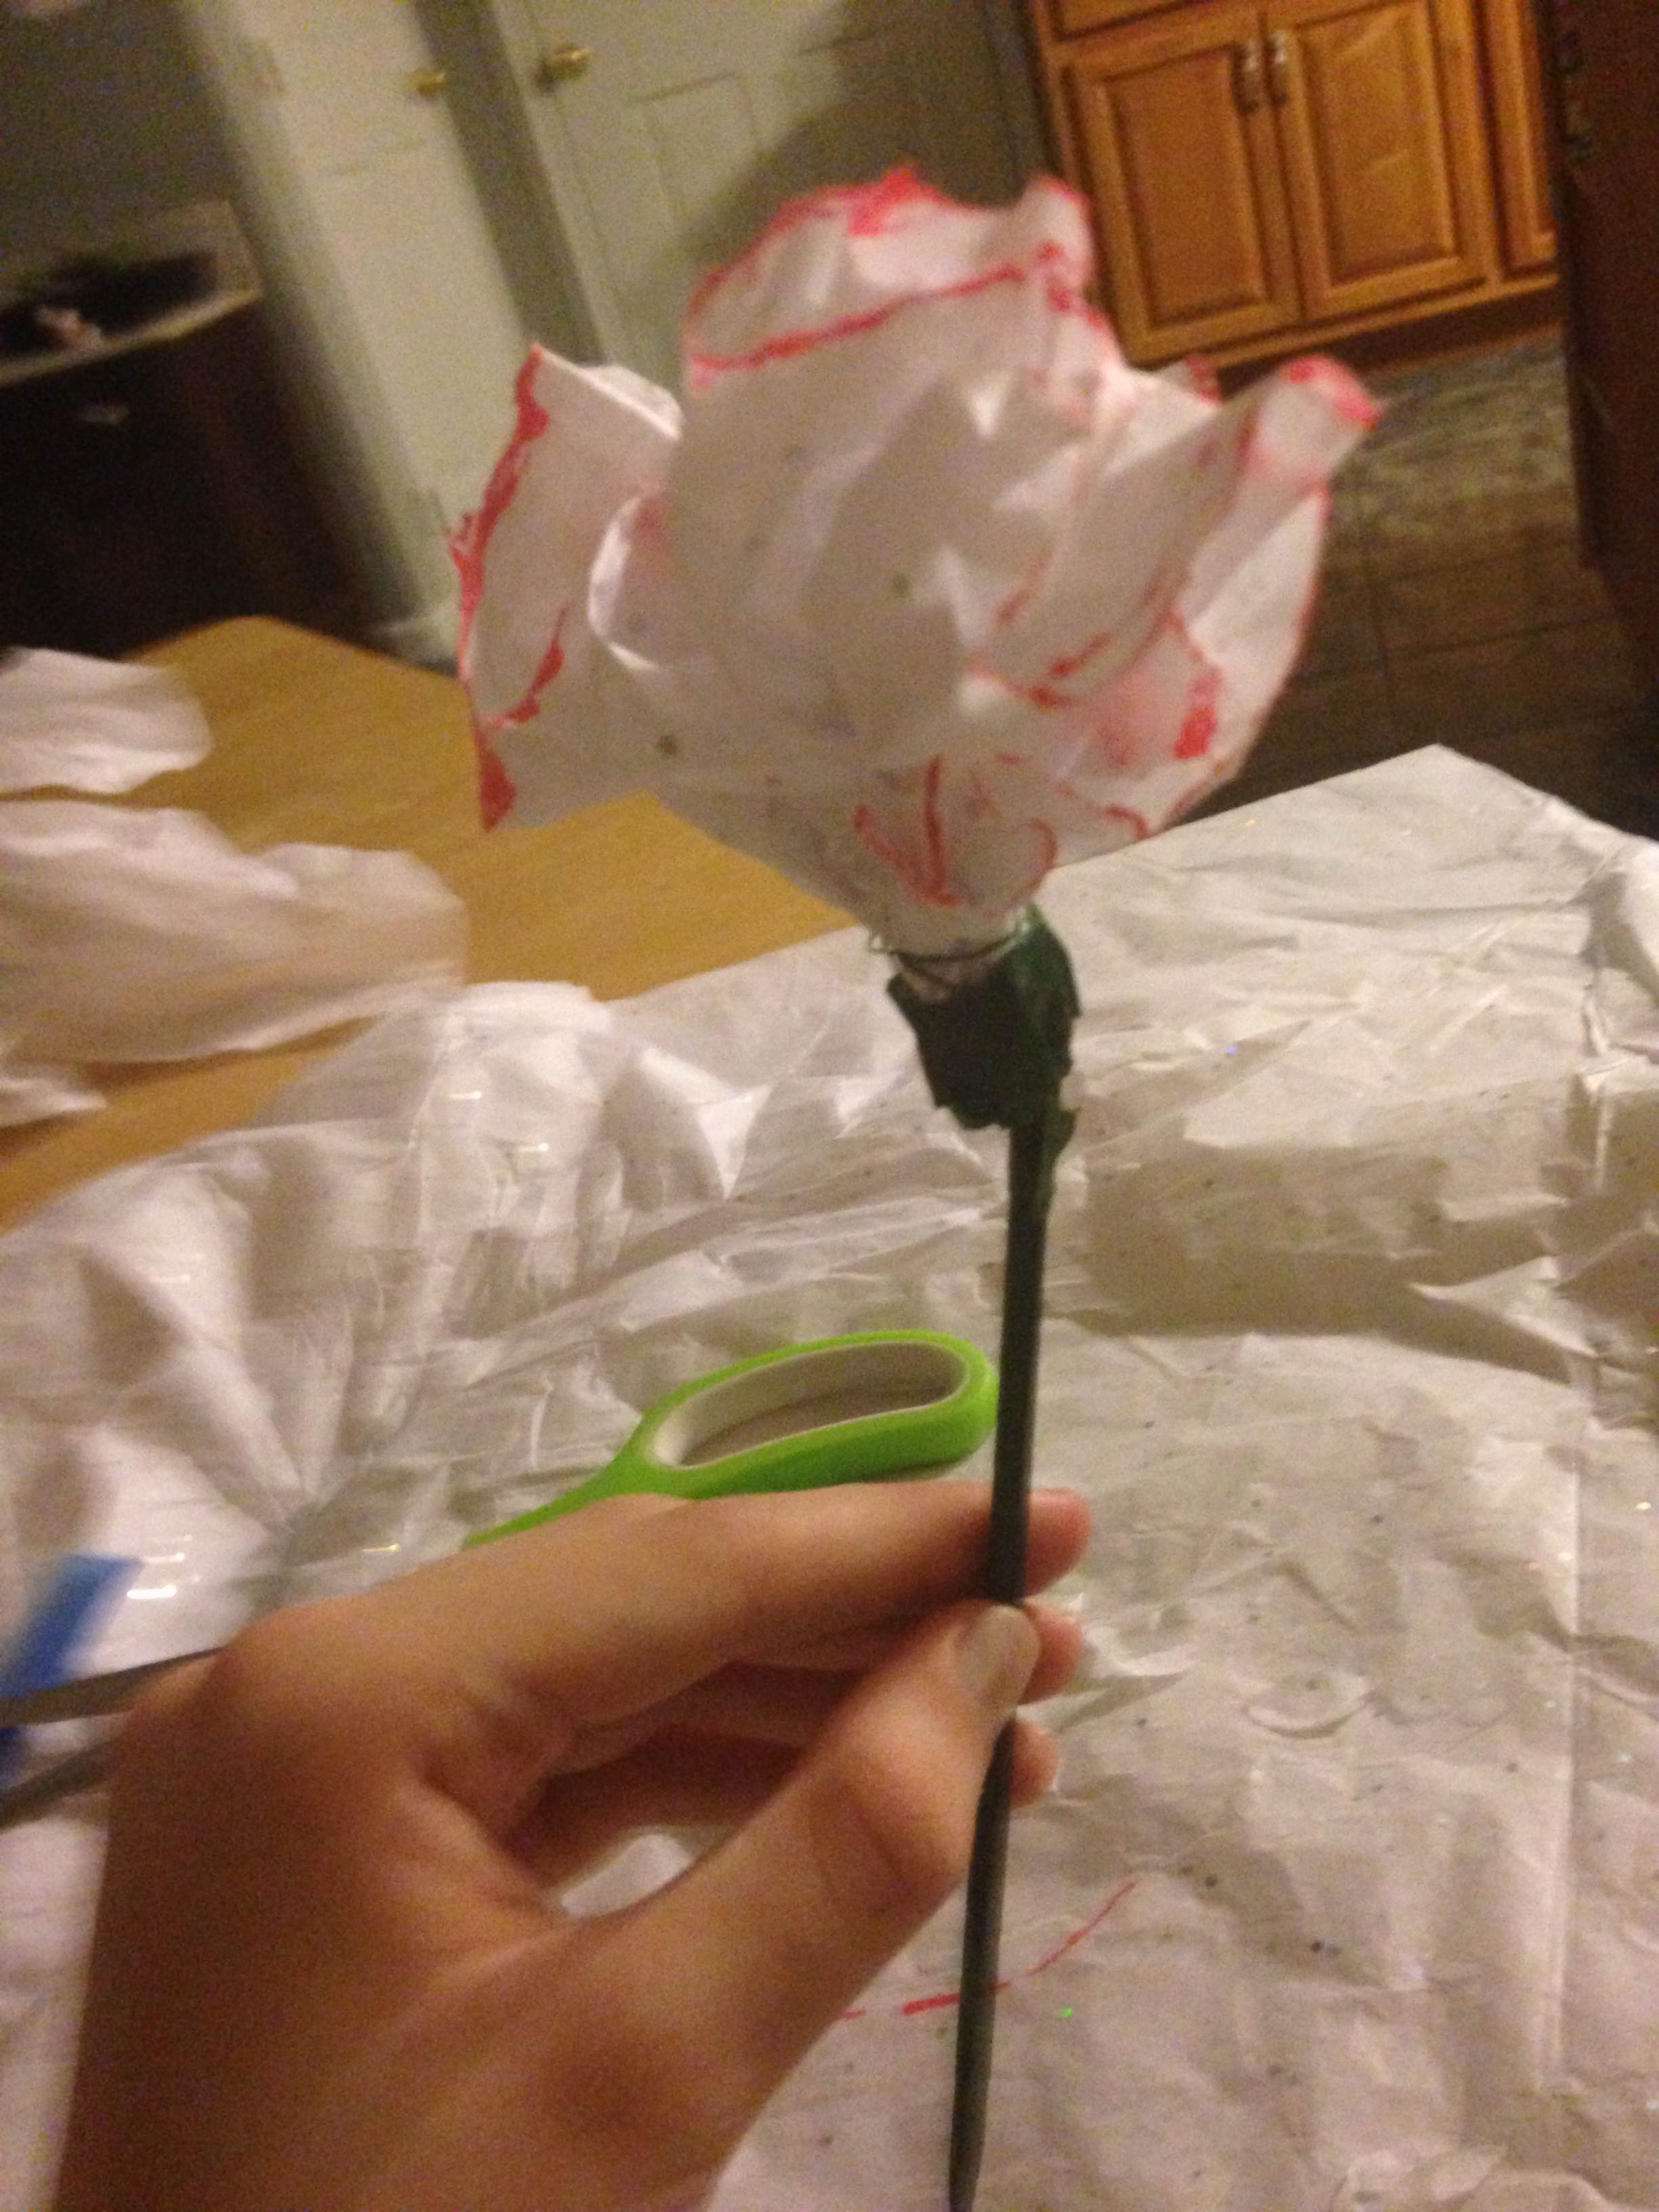
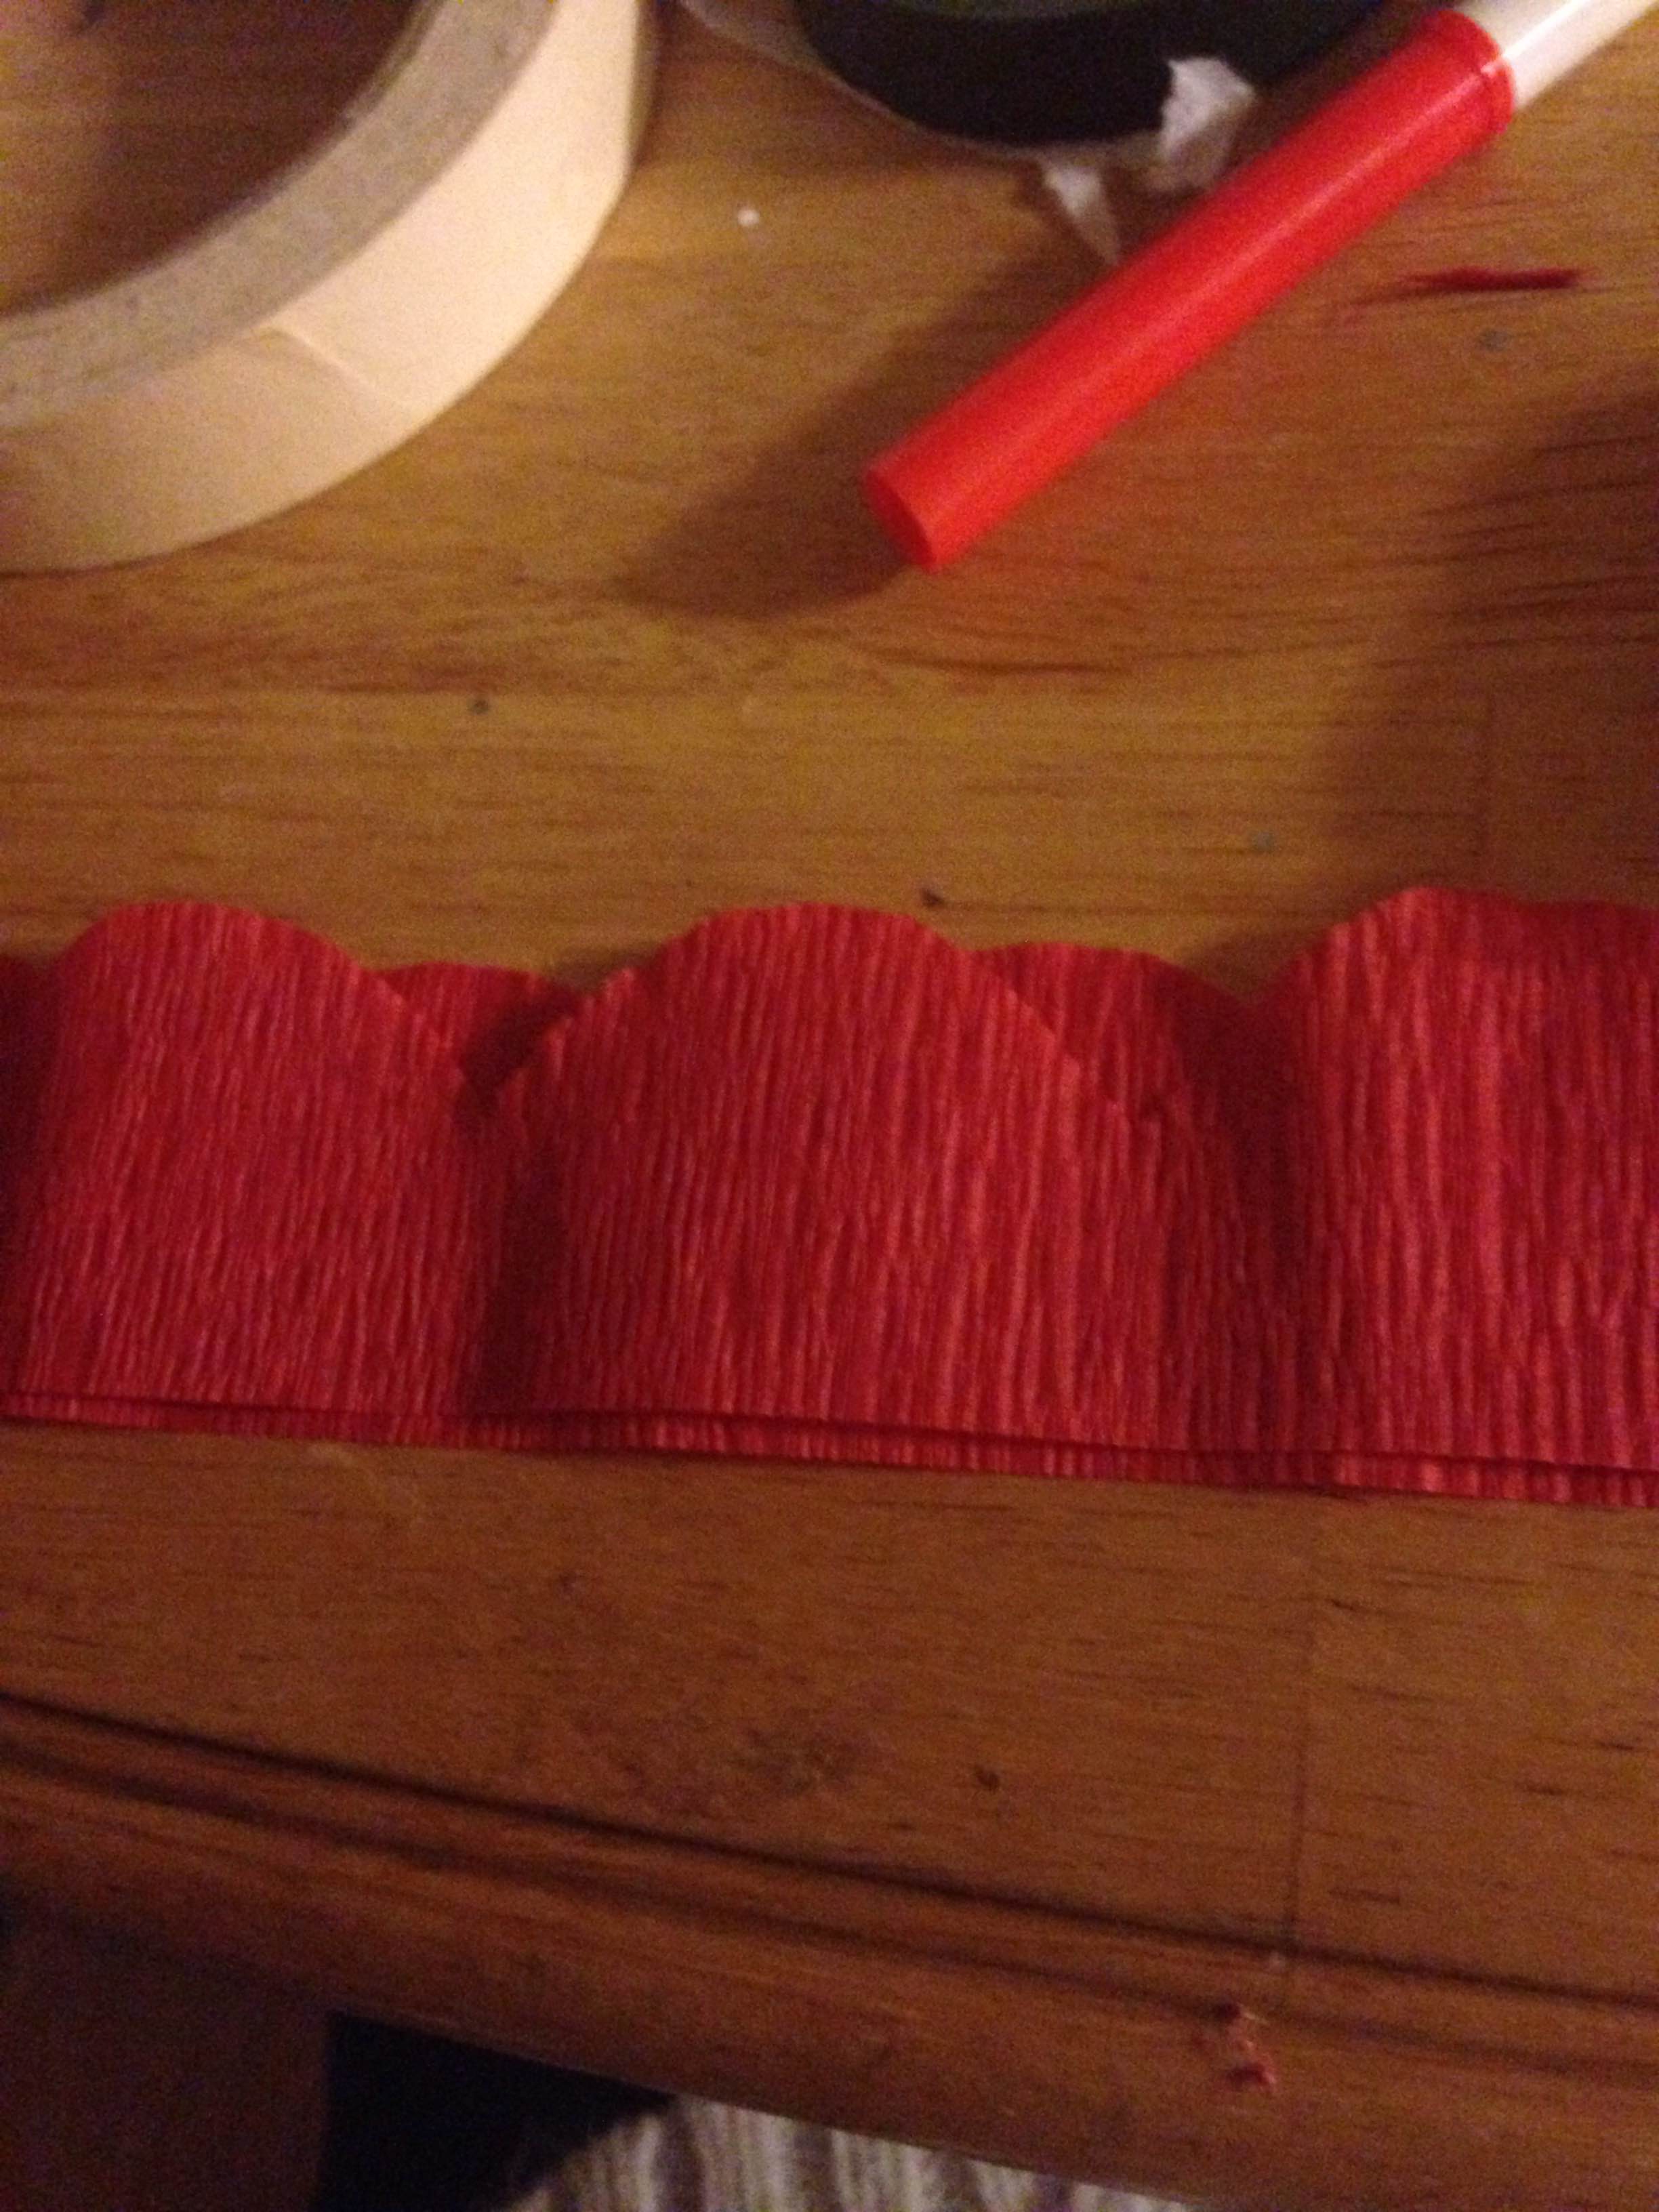
I found this idea for my hair on Pinterest, and I tried it and it doesn’t quite look how it was supposed to, but I think it still looks pretty.

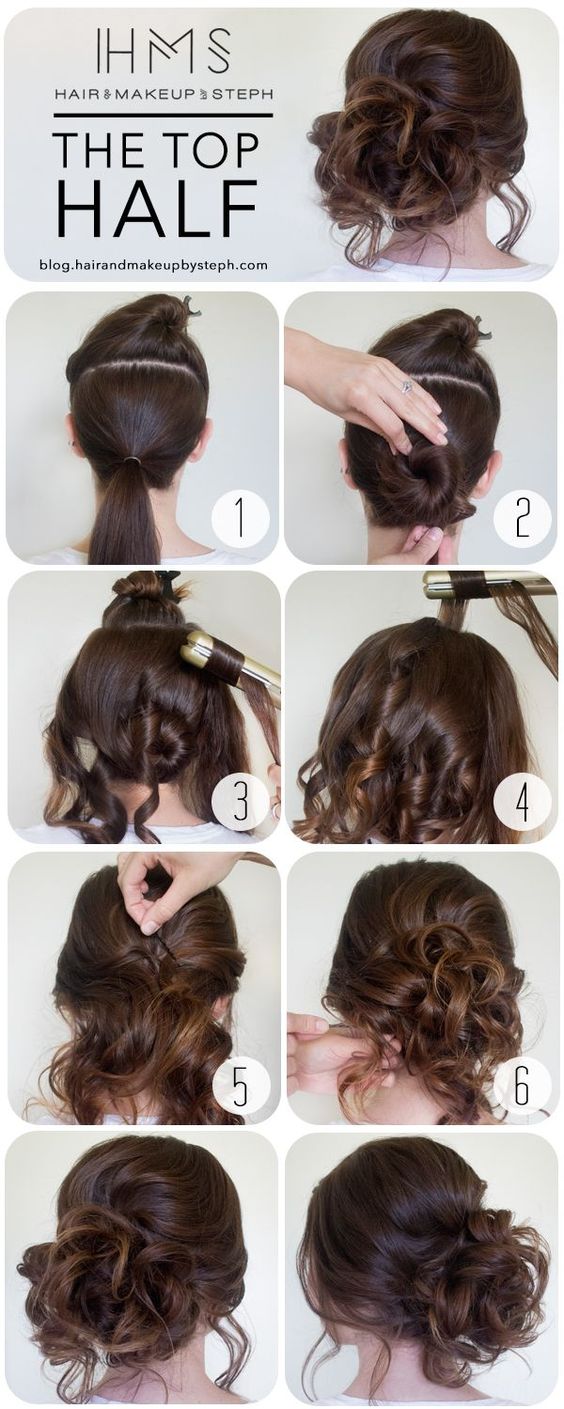
This is what the tutorial is in case you want to try it:
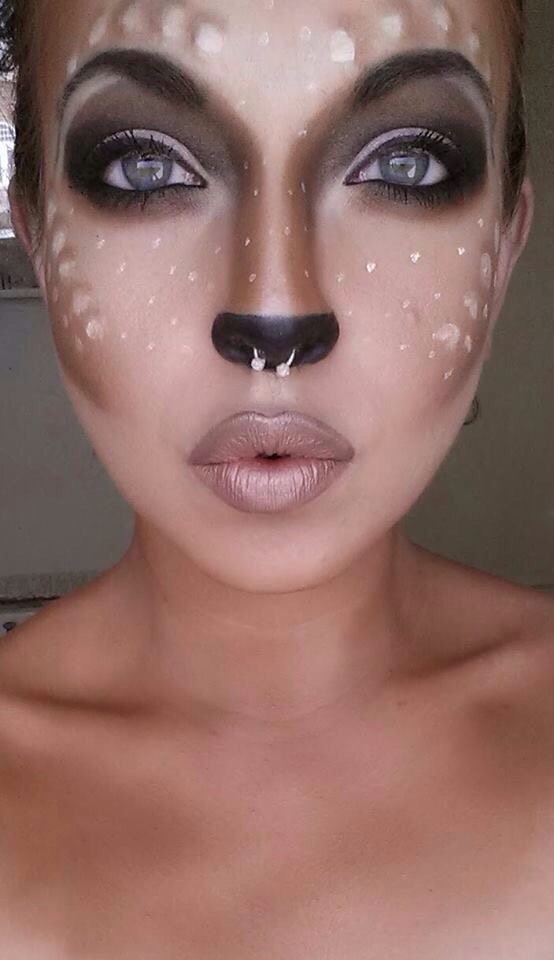
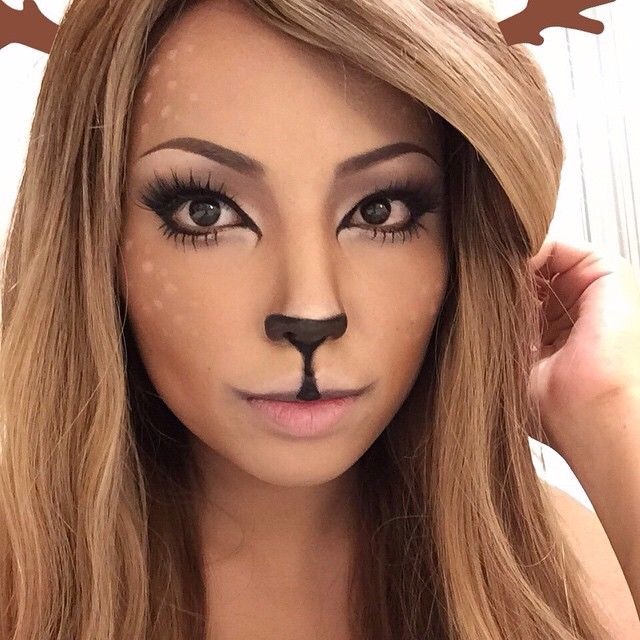
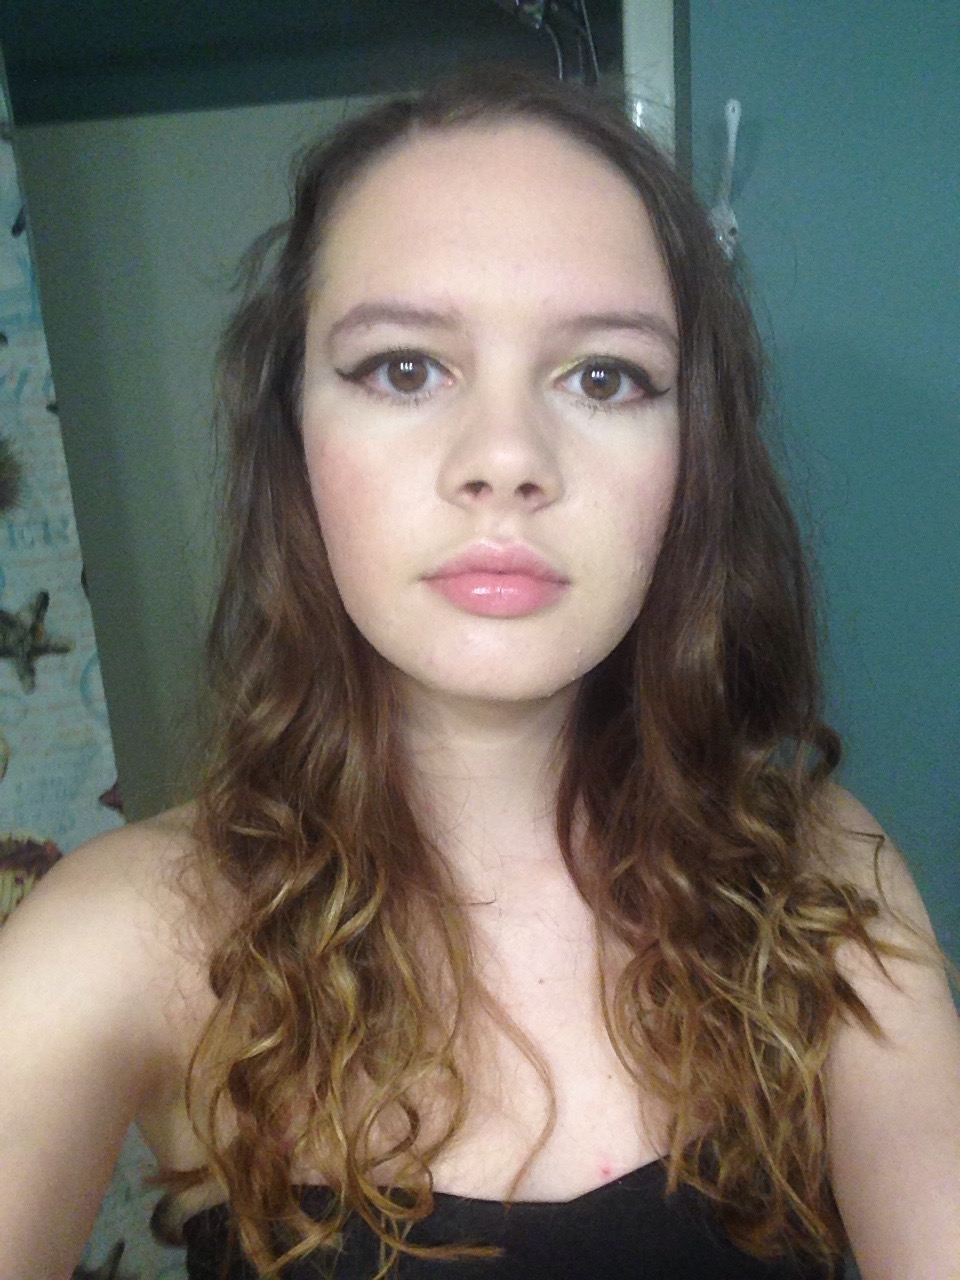
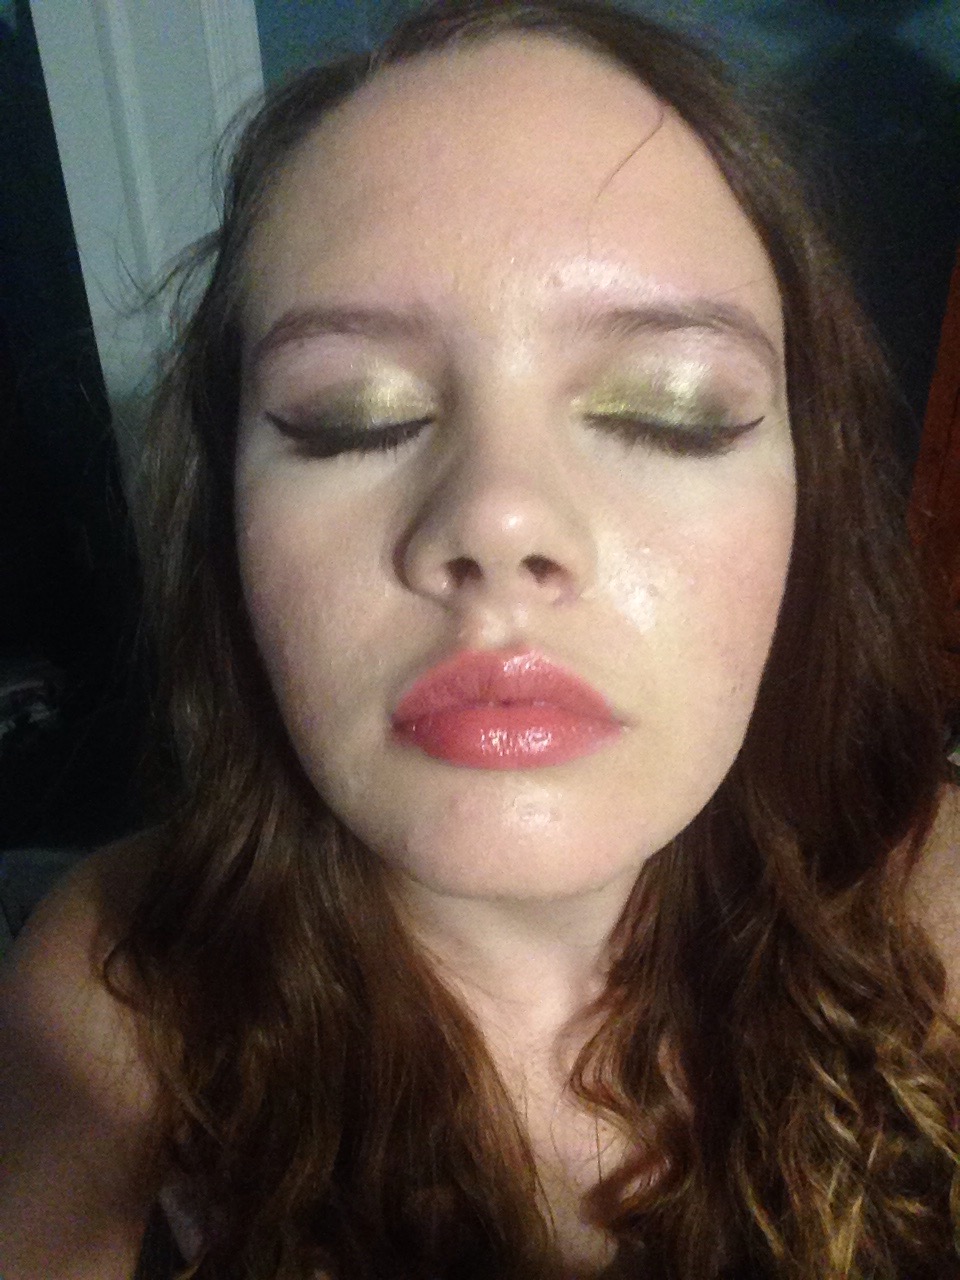
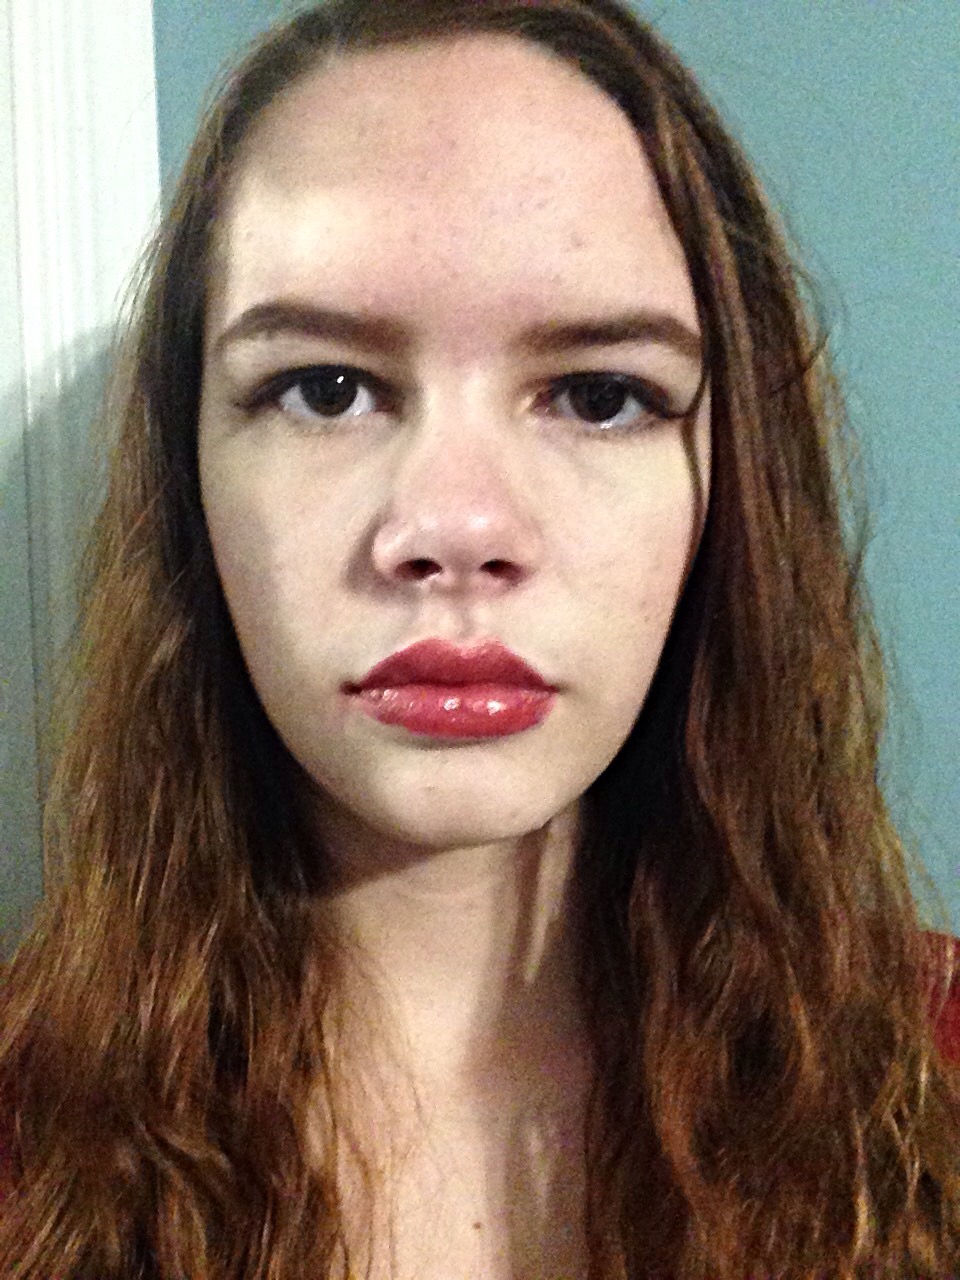
sadieshair


Makeup:

IMG_6840.JPG

IMG_6841.JPG

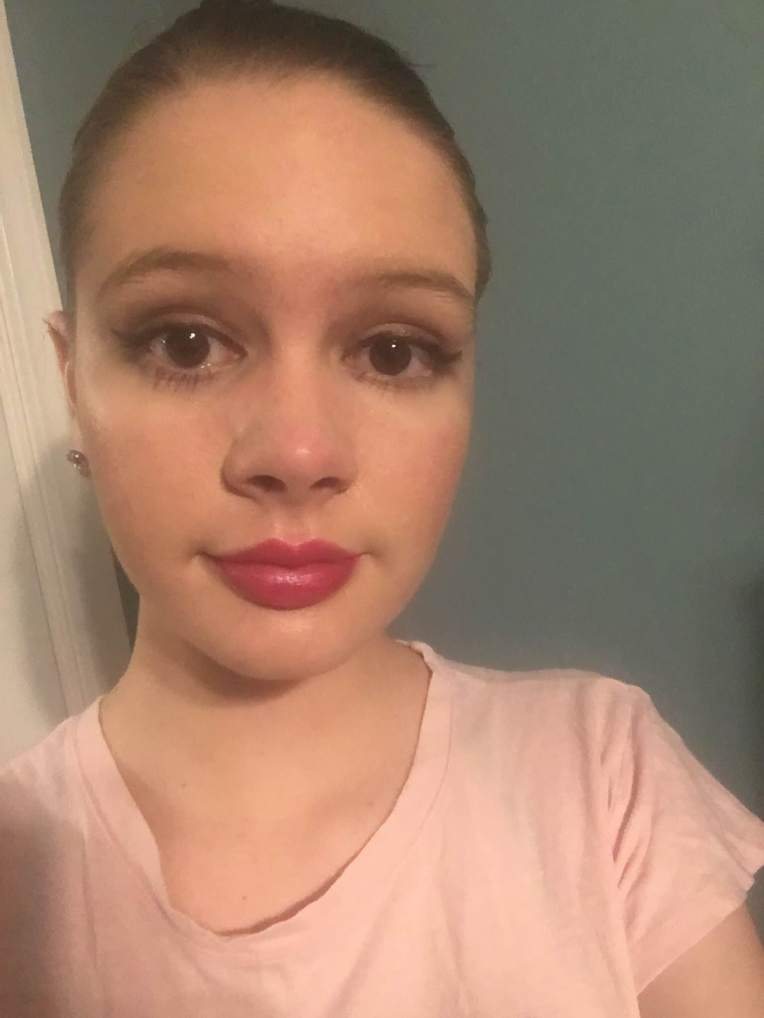
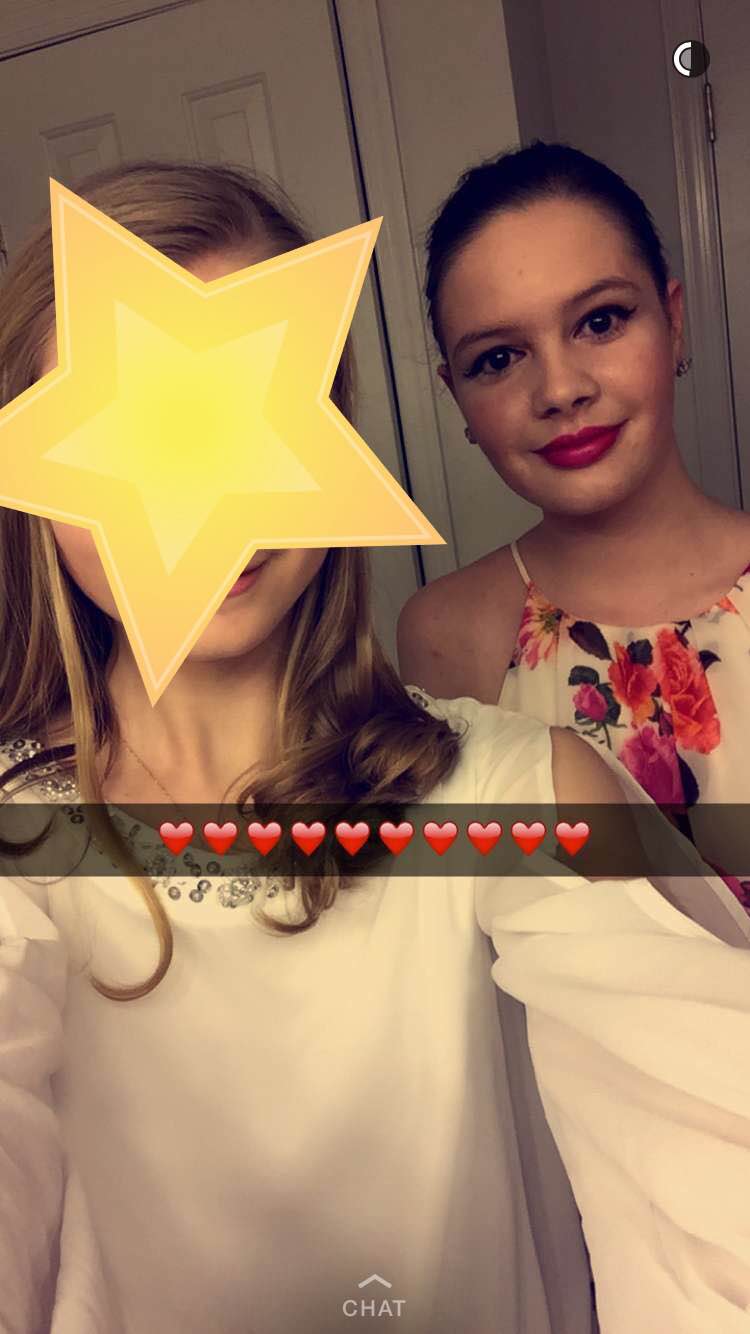
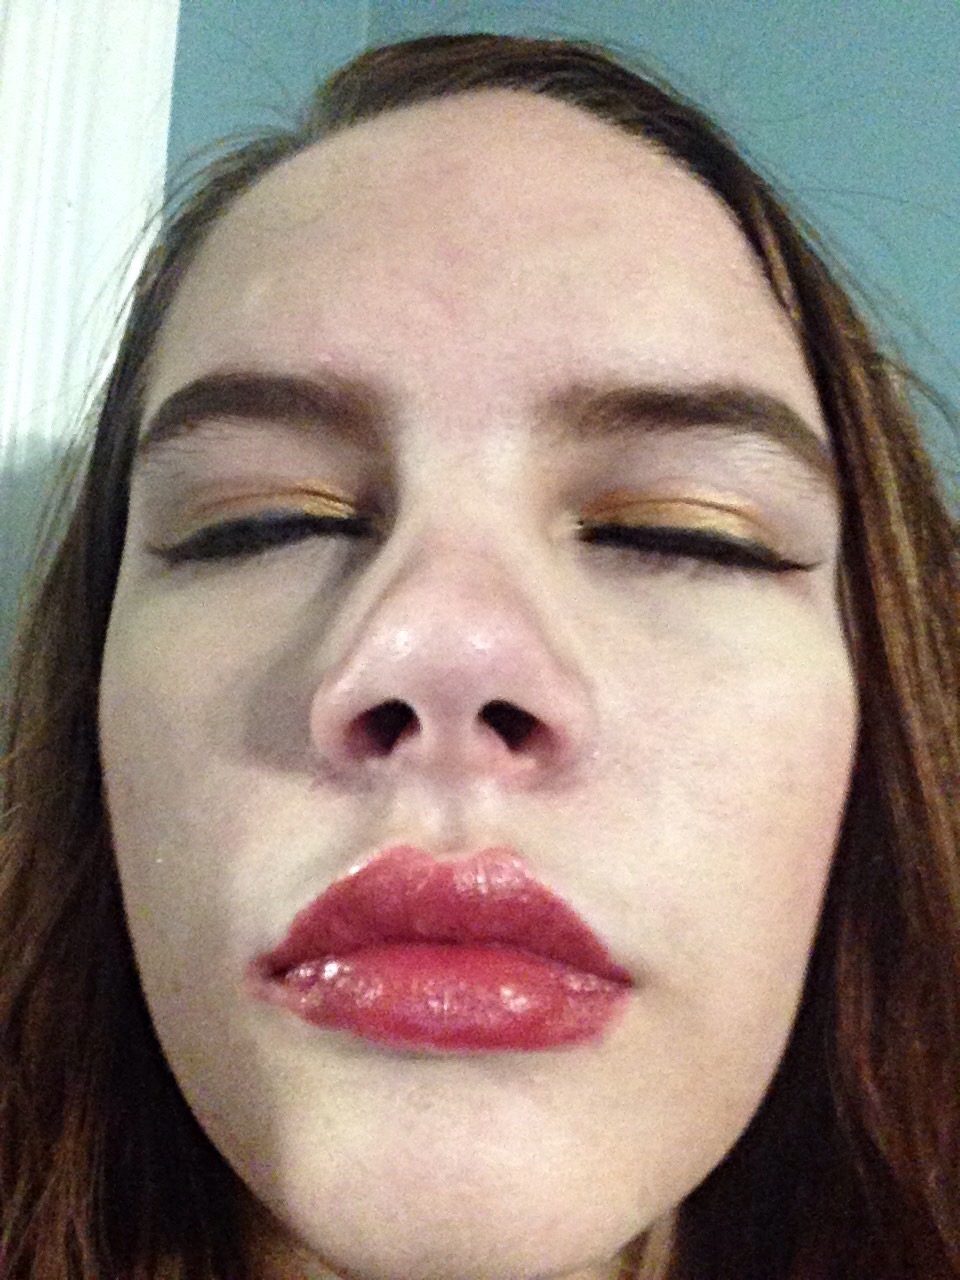
(The second pic is my friend and I but I covered her face for privacy )


Routine-

1: First I primed my face with Maybelline Master Prime Blur+ Redness Control Primer.

2: I applied my foundation, and I used a mixture of L’Oréal Visible Lift Blur Foundation and L’Oréal Infallible Pro-Matte Foundation to more accurately match my skin tone.

3: I then applied some eye primer on my eyelids, and some concealer for touch ups all over my face. I also applied some under-eye concealer and set it with elf’s High Definition Undereye Setting Powder to prevent smearing and smudging.

4: Next I applied my Milani Illuminating Face Powder in Hermosa Rose as a bronzer, and added some blush and blended it in.

5: Then I applied some eyeshadow from an elf palette. (I believe I got the palette from Target for about $10) I used a nude, pink glimmer color as a base and applied a metallic copper color to the outer edge of my eyelid, and blended it into the crease.

IMG_6847.JPG

6: I then applied some Maybelline Eyestudio Gel Eyeliner in Blackest Black with an angled brush, making it winged.

7: Next I applied some Maybelline Lash Sensational Luscious Full Fan Effect Mascara to my top and bottom eyelashes.

8: Lastly, I finished my makeup look with some Revlon Super Lustrous Pearl Lipstick in Wild Orchid, which is a beautiful pearly bright pink color.

IMG_6845.JPG


That’s all for today’s post! I hope you guys enjoyed it, and see you next time. And stay tuned, I have some exciting blog posts coming up!


Cute + Quick Winter Room Decor

Hello everyone! First off, I’m sorry I didn’t post last week but it was my birthday party so I needed a little break from work. But today’s post is super exciting and fun! I know I haven’t done a DIY/room decor post for a while now, and I’ve found some really cute ideas on Pinterest that I kind of put my own spin on, so I’ll be showing you how to make them. Let’s get started!

1) Ping Pong Ball Multicolored Lights

Original Pinterest Post Photo:


What you will need:

  • Multicolored battery powered lasting lights (I used a 10 count, but you can use however many you want)
  • As many Ping-Pong Balls as lights you have, with a few extras (preferably with no logo, but if it has a small logo then it’s ok)
  • An X-Acto knife or some small scissors (like sewing scissors)
  • Batteries to power the lights

Step 1- Put batteries in the lights and check to see if they all work. 

Step 2- Take your knife or scissors and poke a crisscross (like an x) in the ping pong ball. (If your balls have logos just poke the holes over the logo) Continue with this step for each ball. 

Step 3- Push a ball over a lightbulb, but don’t use too much pressure or the hole might get bigger. You can always make he hole bigger if it’s too small. Do this for every ball and bulb. 

Step 4- Find somewhere to hang your light strand and turn it on. 

This is a really unique alternative to the general lights that many people hang in their rooms. This is also something you can keep up all year, it’s just a holiday type DIY because these lights are easier to find around Christmas. I love how quickly this took, and how easy it was, yet it looks very expensive and fancy. 

My Results: 

With other lights on:

  
With lights turned off:


2) Shadow Box Scene

Original Pinterest Post Photo:


I definitely modified this to my own style, but it’s something that you can really make however you’d like. 
What you will need:

  • A shadow box (11 in by 14 in is what I got for about $30 from Michaels which is kind of pricey, but their shadow boxes were buy one get one free, so I got another one for another craft hopefully)


  • Fake Snow (cotton) or cotton balls


  • Some small fake trees and other wintery objects


  • A hot glue gun 
  • Some copper wire fairy lights (optional) 

Step 1- Arrange your objects how you would like them, making sure that they’re in the front of the box and that you can slide the box closed at the end. 

Step 2- Using the hot glue gun, glue down your objects. 

Step 3- Make sure you can fit the cotton in the edges of the box and in front of the bases of your trees and your objects, making it look natural. 

Step 4- Carefully put hot glue where you would put your snow and glue down the cotton. (If you’re using cotton balls, stretch them out first so they’re not in a ball shape)

Step 5- Glue down more snow behind your objects so it looks more realistic. 

Step 6- Add lights if you would like (I didn’t). Just be sure to hide the battery pack under some snow if you can and string the lights on the backboard or around your objects. 

Step 7- Close the box. 

And you’re done! This is an adorable holiday DIY that is perfect for the winter season. You could also add a cute wintery patterned paper to the backboard if you don’t want it to be just brown. This is a really cool craft that you can customize to your own tastes. 
My Results:


That’s all for today’s post! I hope you guys enjoyed it, and see you next time. 

    Pinterest: Popular Halloween Makeup Ideas

    Hello everyone! Today I wanted to share with you some popular Pinterest makeup ideas for Halloween. Some of these are a little more complex than others, but others can be easily created with already owned makeup. This post will hopefully help you guys if you’re trying to figure out a costume in the short time we when since Halloween is on Saturday. Most of these are easy to match outfits with with already owned clothing. Also, I have an exciting new type do pair planned for next week or the week after that hopefully, so stay tuned for that! Now let’s get started! Disclaimer- none of these photos are owned by me, I found them all on Pinterest so I’m not taking credit for them. 

    1- Doe/Deer


    The doe is a very popular makeup look for those who are looking for something a little more cute and less creepy. It’s also very easy to create- you just need white eyeshadow, black eyeliner, brown eyeshadow and or bronzer, black lipstick if you would like and you could add or take away what ever you wanted. This is also a thing very easy to match clothes with, you could wear a brown dress or top and pants. 

    2- Sugar Skull


    The sugar skull is probably the most trendy look I found. Even my art teacher said she is going to be a sugar skull for Halloween.  This is another easy look to create. These stick with the same general  design, just with different colors. You really only need white Halloween makeup as a base, and eyeliner and maybe another color eyeliner or eyeshadow or even Halloween makeup to make the designs in other colors.  

    3- Creepy Dolls


    This is a more girly look, but it looks very creepy at the same time. To make this look, you just need to make your eyes look overly large,  and add a pink lipstick and some blush. You can also add cracks with black eyeliner if you want to be a broken doll. 

    4- Comic Book Character


    This is definitely a more time consuming look. It is pretty simple though. You just outline parts of you face and collarbone in black eyeliner, and create white dots on your face with white face paint. Then you can make tears beneath your eyes if you’d like. Next put red lipstick on your lips and create a white highlight.  

    5- Clown


    I, personally, think clowns are scary so these looks are the scariest ones in this post to me. This one is also pretty easy. Apply black eyeshadow ok your eyelids and make it drape down into a line to your cheeks. Then make a red dot on your nose. Next put on red lipstick on your lips and extend the lines so it goes out to your clementines and outline it in black. 

    That’s all for today’s post. I hope you guys enjoyed it, and see you next time!

    Get Ready With Me: Homecoming 2015

    Hey guys! Last night was my school’s homecoming dance, so I thought I would show you my dress and how I did my hair and makeup. Let’s get started! 
      
    Dress- Papaya, $27

    Shoes- Charming Charlie’s, $17

    I went shopping for a dress last weekend. I was looking for something that was cheap and cute, and that I could wear more than once. The theme for my dance was A Night in the City, and I thought that this dress matched the theme perfectly. 

    Hair

    First I started off by spraying my hair with some heat protectant spray. I then clipped up my two top layers of hair. Next I curled the layers using my Remington Curling Wand (Target, $25). I started at the roots and curled from the middle of the wand to the smaller end. I then re-curled my ends, and sprayed it again with heat protectant spray to keep the curls in for longer. 


    Makeup 


    First I applied a matte primer to my face and primed my eyelids. Next I put on my foundation and concealer. Then I used an elf eyeshadow palette (Target, $6) and I applied a shimmery champagne shade all over my lids, up to my eyebrows. Then I applied a shimmery gold shade over my lids. Next I took a matte black shade and blended it at the outer corners of my eyelids. 

      
    After that, I used my Nyx Super Skinny Eye Marker (eyeliner) in Carbon Black and drew a medium sized line, adding a flick at the end to make a cat eye. 

    Next, I applied a medium shade of pink blush to my cheeks to give my face a bit more color.  I then put on my Burt’s Bees Lip Color in Redwood Forest (CVS Pharmacy, $8) 

    And that completes the look! I hope you guys enjoyed this post, and see you next time! 


    How I Pack For Vacation + Packing Tips/Life Hacks

    Hello everyone! So I’m leaving for vacation to the Outer Banks tomorrow and I thought that I would show you how I pack and what traveling/packing little tips and hacks I use. I hope this post helps you when you need to pack for vacation. I also want to say that next Saturday, I will do my vacation outfits of the week. Now let’s get started! 
    I just thought I should show you guys what my suitcase looks like so you can understand what I’m talking about better. So I have a medium-sized suitcase which is best if you’re going on a weeklong trip. On the outside, it has a small pocket and a slightly larger pocket. On the inside, in the “door” of the suitcase, it has a mesh zippered pocket like area. In the main area of the suitcase, there are buckles so you can secure your clothes or whatever else you pack. There is also a zippered compartment in the bottom which is great for if you have dirty shoes or something like that. 


    So first, I unzipped the compartment in the bottom of the suitcase and I put 2 pairs of flip flops in it. This is a nice storage idea because flip flops are flat shoes so they won’t take up much space plus if they’re dirty, they won’t get your clothes dirty. 


    Next, I picked out my outfits and pajamas, and rolled them up. I put pajamas on one side and everyday clothing on the other side. Rolling clothes up is better than folding because it saves space, and prevents wrinkles so you won’t have to iron your clothes when you reach your destination. I then put my beach coverup on top and added my makeup bag, and buckled it all in. 


    I then took an empty tic tac container, and put some bobby pins in it. This is great for traveling because it is secure, and it is harder to lose your bobby pins. It is also easy to get them out. 


    Next, I picked out some jewelry that I thought I would wear, a put it in this little plastic box sort of thing that I randomly found in my room. This probably doesn’t help my jewelry from getting tangled up, but it saves space. 


    Inside of the lid of my suitcase, I slid in a pair of Sperrys and put some no-show socks inside to save space. Then I added in my swimsuit, the jewelry box, some underwear, the bobby pins, and a couple of pairs of sunglasses. I put the sunglasses on top of my underwear to cushion them so the lenses don’t pop out or they don’t break. 
      

    In the smaller pocket on the outside of my suitcase, I added in the products that I’ll use every day. I added in my toothbrush, toothpaste, deodorant, face cream, nasal spray, Chapstick, my glasses and my contacts. 


    In the larger pocket, I packed my brush, comb, spray sunscreen and sun lotion, regular lotion, hand sanitizer, Benadryl cooling gel, and cortisone cream. 


    I then packed a backpack full of things to entertain me on the way there. 

      
    In the front pockets, I added my phone charger, earbuds, and I’ll add my phone tomorrow. 

    I brought a sun hat but it wouldn’t fit in my suitcase, so I folded in the floppy part and put it in my backpack. 

      
    I also added in my wallet and a thin cardigan in case it gets cold. 

    Next I put in two books, one for the car ride and one for the trip itself. I recommend the one on the right. 

      
    I then added my meditative calming coloring book which I talked about in a recent post if you want to check it out here

    I also added a fashion drawing book. It’s basically a sketchbook but it tells you what fashion items to draw. 

    Then I added my colored pencils. 


    That’s everything I packed! I hope you guys enjoyed this post, and see you next time! 

    OOTD: Easter

    Hi everybody! Today I wanted to show you guys my outfit that I wore on Easter. I hope you guys had a good Easter too. So anyways, here’s my outfit:


    Lace & floral sweetheart neckline heart cutout dress- Kohls, on sale for $25, originally $60 

    Brown lace-up wedges- Dressbarn, $35 

    I love how the back of this dress is cutout in a heart shape! I think it adds a really cute detail to the dress. I’m also adoring the shoes in this outfit lately. They’re really comfortable and easy to walk in, plus they’re in style right now. I wear them all of the time. I hope you guys enjoyed this post, and see you next time ! 

    DIY Valentine’s Day Room Decor!

    Hi everyone. disregard that last post if you saw it because I think I can get this posted today. So today I wanted to show you some easy DIYs to make your room decorated for Valentine’s day. Let’s get started!

    DIY Pom-poms:

    What you will need:

    IMG_1680

    • Pink or red yarn
    • scissors
    • a fork
    • wire

    1: Start by wrapping your yarn around your fork until it gets to this thickness:

    IMG_1690

    2: Cut your yarn and tuck the ends into the yarn wrapped around the fork.

    IMG_1691

    3: Slip the yarn off of the fork and set it aside. Take your wire and cut about a 7-8 inch piece of it off. Then wrap your wire tightly around the yarn in the opposite direction the yarn is going, and twist it tightly.

    IMG_1698

    4: Cut the loops of yarn in half. Then, cut the yarn even shorter so it has a fuzzy texture, and make sure the yarn is all the same length. Cut the wire down so it doesn’t stick out, then arrange the yarn so it doesn’t show the wire.

    IMG_1709

    And you are done! This is super simple, and cute as well! These would look great on string lights, or glued to candleholders in your room.

    DIY Paper flowers:

    I have two ways to make some cute paper flowers, so here they are!

    #1:

    What you will need:

    • White Tissue paper
    • Scissor
    • a pink or red marker
    • bobby pins
    • green floral sticks
    • floral tape
    • tape

    1:

    Fold your tissue paper accordion style and bobby pin it in the middle.

    IMG_1715

    2: Roughly tear the edges of your tissue paper, then color them with the color of your choice.

    IMG_1718

    3: Take off the bobby pin and unfold the paper. Then fold the paper in half, and shape it to a flower shape. Tape your flower to your floral stick and cover the tape in floral tape.

    IMG_1721

    #2:

    What you will need:

    • Red or pink crepe paper
    • Scissors
    • tape
    • Floral Tape
    • floral sticks

    1: Cut a medium amount of crepe paper from the roll, and fold it into a small square.

    IMG_1725

    2: Cut off the top corners, so the to of the square is rounded.

    3: Unfold the square, and line the rounded parts up unevenly.

    IMG_1727

    4: Fold the paper in half two times. Then shape it in a flower shape, and tape your flower to your floral stick and cover the tape in floral tape.

    IMG_1730

    Put your flowers together in a small vase and put it in your room.

    IMG_1732

    Lacy Candles

    What you will need:

    • Black or white lace ribbon
    • Scissors
    • glue
    • A candle

    1: If your candle has a label or sticker, peel it off.

    2: Measure how much lace you will need and cut the right amount.

    3: Put your glue on your candle in a zig-zag pattern where you want your lace.

    IMG_1712

    4: Place your lace over the glue, and with a paper towel, press down the lace. This will also help to get up the excess glue.

    IMG_1713

    And you are done! This is so simple, and looks great year-round.

    These are all of my Valentine’s Day DIYs, and I hope you will try them! See you next time!

    Christmas: Outfit, Hair, and makeup

    Hi everyone. So today I wanted to show you guys my outfit, hair, and makeup for Christmas this year. I know since Christmas is passed that you can’t take inspiration from this for Christmas this year, but you could take inspiration from it for a New Year’s party or maybe for Christmas next year. Let’s go ahead and get right into it.

    Outfit:

    /home/wpcom/public_html/wp-content/blogs.dir/0bf/76212855/files/2014/12/img_1476.jpg

    Red and black peplum dress with pearl necklace: Ross, $15
    Black bow wedges: Ross, $17

    Hair:

    /home/wpcom/public_html/wp-content/blogs.dir/0bf/76212855/files/2014/12/img_1478.jpg

    For this hairstyle, I had my hair in two french-braided pigtails the day before and I slept in them overnight. This resulted in some small waves that I thought looked fantastic with my dress.

    Makeup:

    /home/wpcom/public_html/wp-content/blogs.dir/0bf/76212855/files/2014/12/img_1475.jpg

    /home/wpcom/public_html/wp-content/blogs.dir/0bf/76212855/files/2014/12/img_1477.jpg

    For this makeup look, I started with my concealer and applied it lightly to wherever it was needed. Next, I took a gold eyeshadow and applied all over my eyelids. Then I took some black gel eyeliner and lined my top eyelash line, and extended it a little bit beyond my lash line. Then I took some medium-dark pink blush and applied it to my cheekbones. Lastly, I put on a dark red lipstick, following my natural lip line.

    And that is all! I hope you guys enjoyed my post and see you next time!

    Thanksgiving: Outfit, hair + makeup

    Hi guys. Today I wanted to show you what I wore for thanksgiving and basically my whole look that day. I hope this inspires you to try something new! I hope you like it!

    Outfit:
    IMG_1316.JPG

    Sorry this is kinda hard to see here but I didn’t really have any better photo options so this will have to do.

    Black and white striped peplum top: Target, $25
    High waisted Black leather paneled pants: pacsun, free, see fall haul post for more information
    Black ankle boots: Kmart, $15

    For my hair I just straightened it.

    Makeup:
    For my makeup I did a natural looking brown smoky eye and I’m going to tell you how to do it.

    IMG_1319.JPG

    1) Take some of the lightest brown eyeshadow ( circled in photo) and apply it all over your eyelids.
    2) Take the next lightest brown eyeshadow and apply it over the outer edges towards the middle of your eyelids.
    3) Take the darkest brown and apply to the outer edges of your eyelids.
    4) Blend if necessary.
    5) Take a small brush and put the darkest brown on your lower lash line from the outer edge to the middle.
    You are done! It’s a quick and easy way to get a natural eye look you can dress up or down for any occasion.

    IMG_1318.JPG

    That’s all for this post! I hope you enjoyed it!