April Ipsy Unboxing 2016 🌼

Hello everyone! Today I will be sharing with you my Ipsy unboxing for the month of April.  If you don’t know what Ipsy is, it’s a website where you take a little quiz (to get information like eye color, hair color, what skin problems you have, etc.) then by just paying $10 a month, you get a little bag with personalized sample products in it. Ipsy also tends to have more full sized products in it. It comes once a month, about mid-month, and you get 5 samples in it to try out. I think this is a super cool idea if you want to try more beauty products, hair products, skin products, and more, especially higher-end ones, but don’t want to shell out a lot of money for it if you don’t know how it works. If you’d like to check Ipsy out, you can do so here. Now let’s get into the unboxing! 
The bag:

  
The bag this month is so adorable. It’s a blue, orange and yellow tie-dye bag, and I would definitely use this all the time. 
Item #1:

  
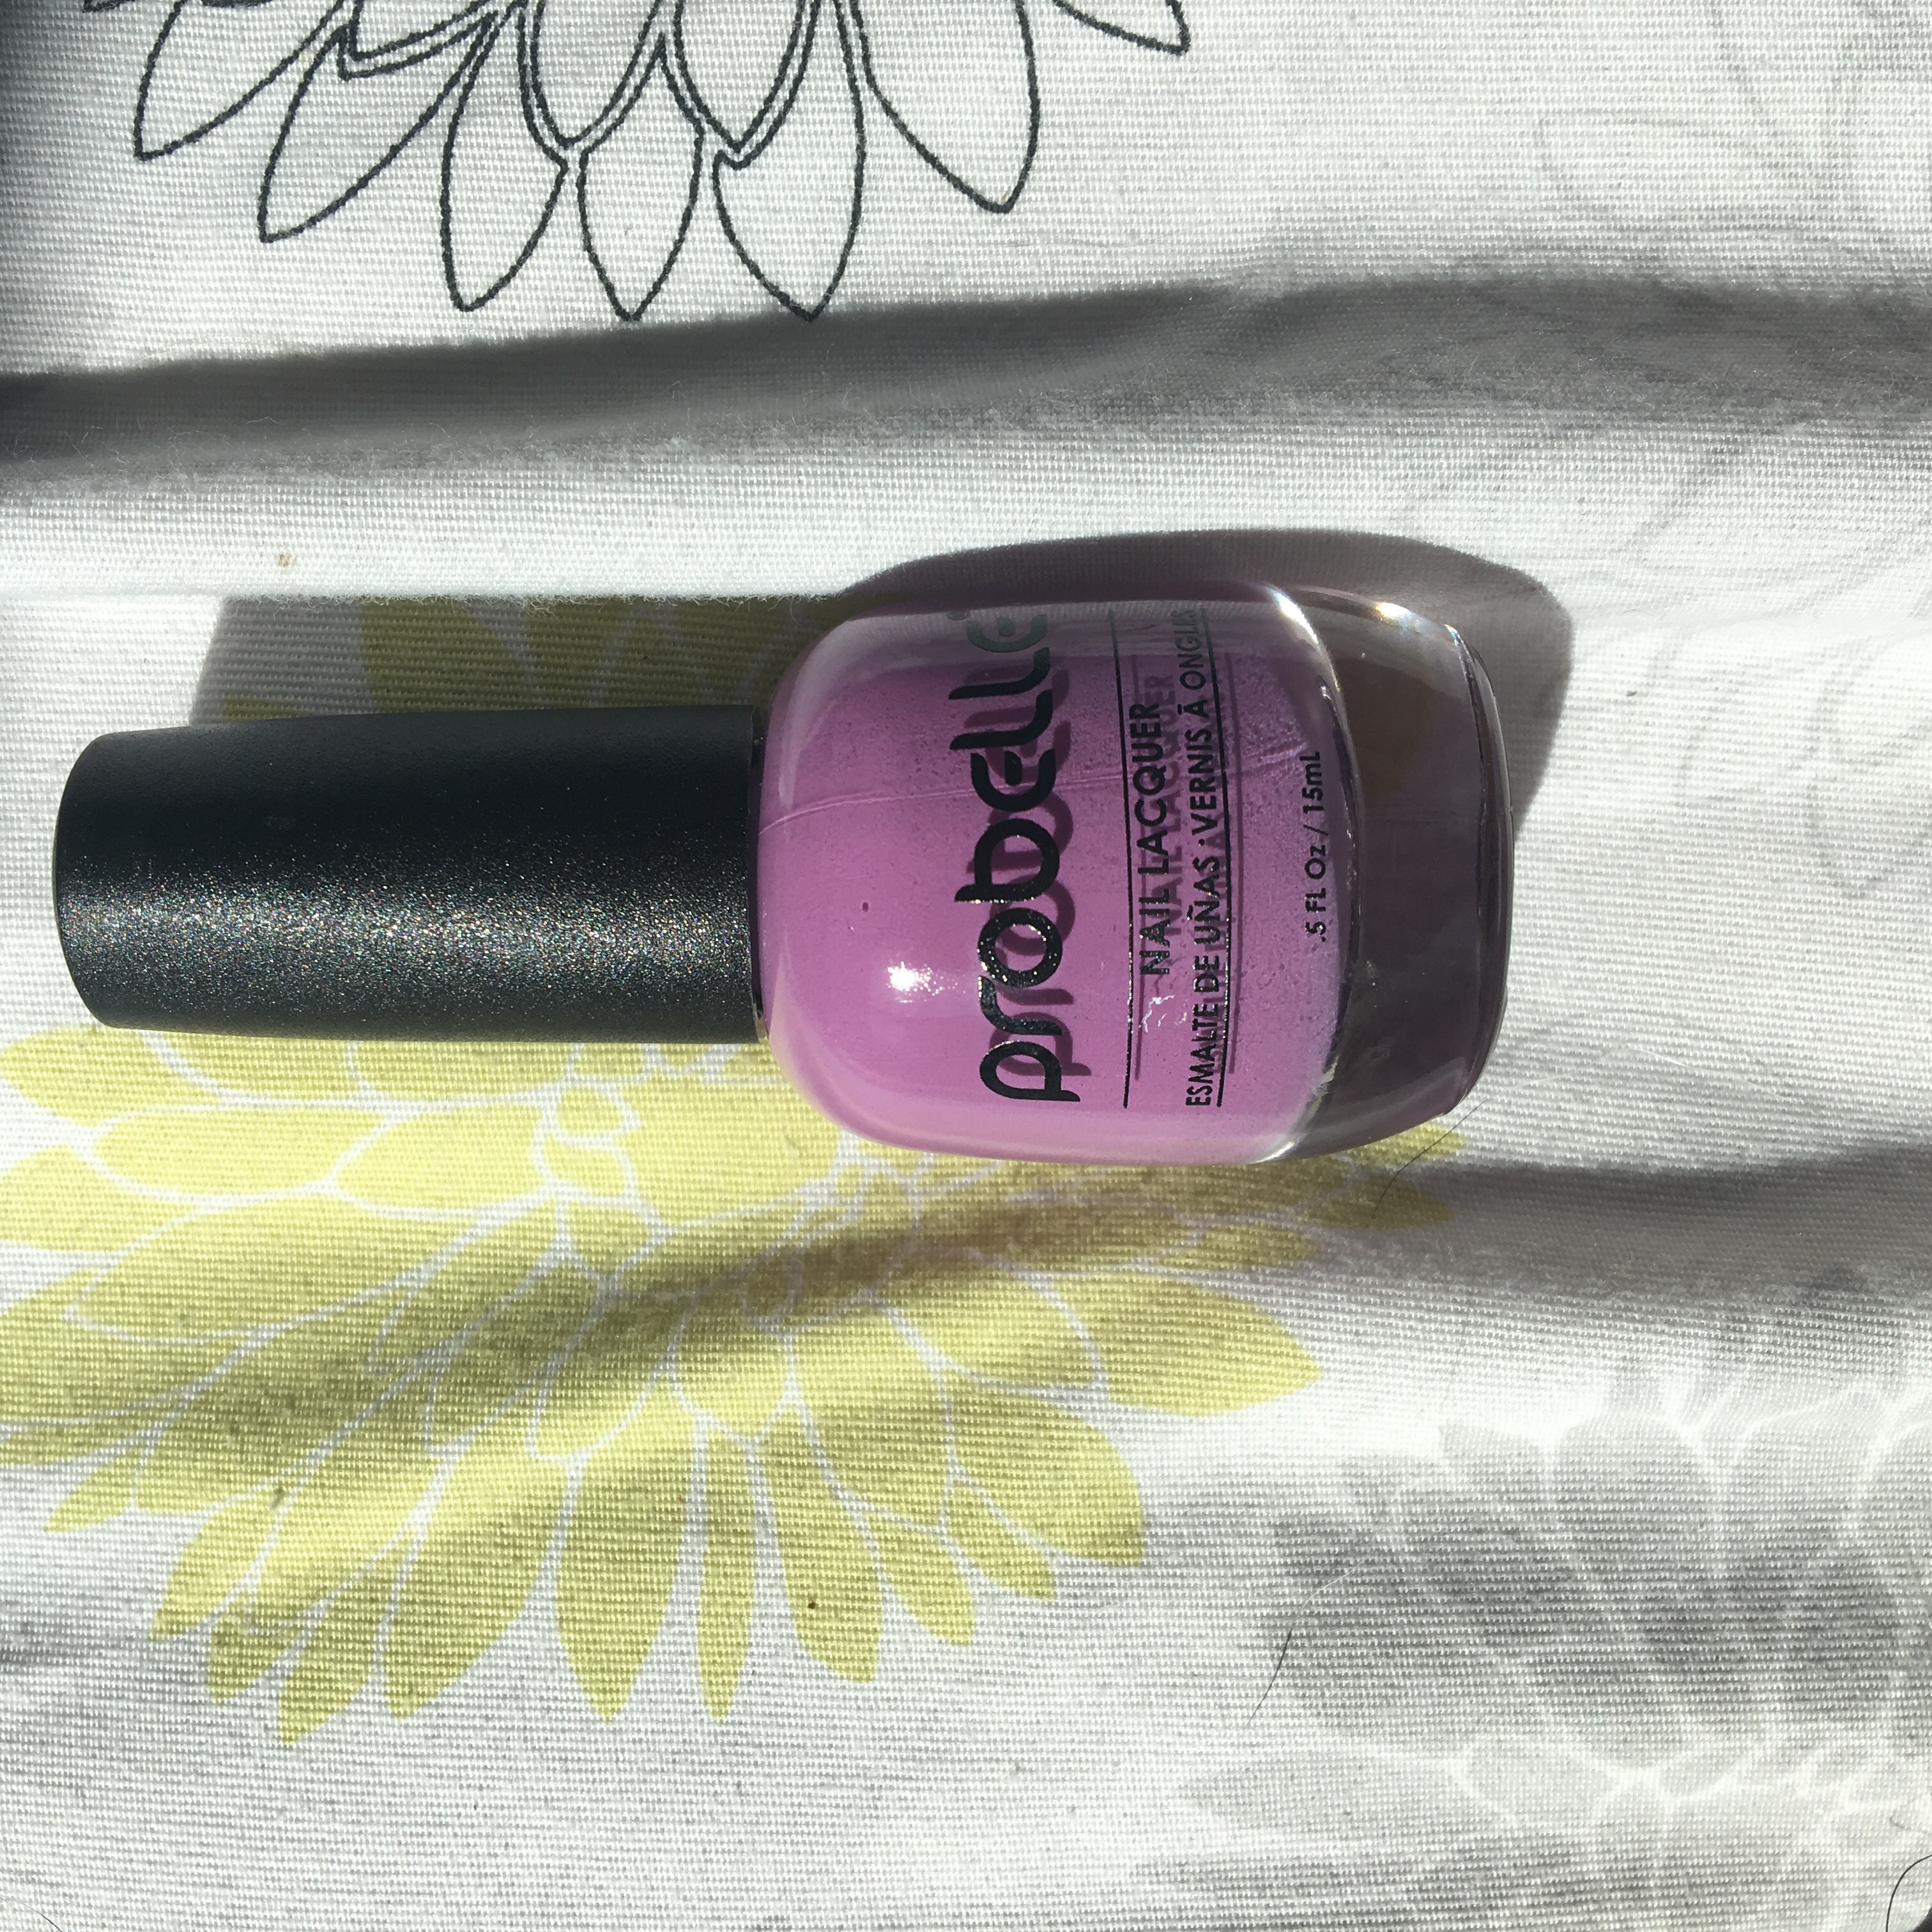
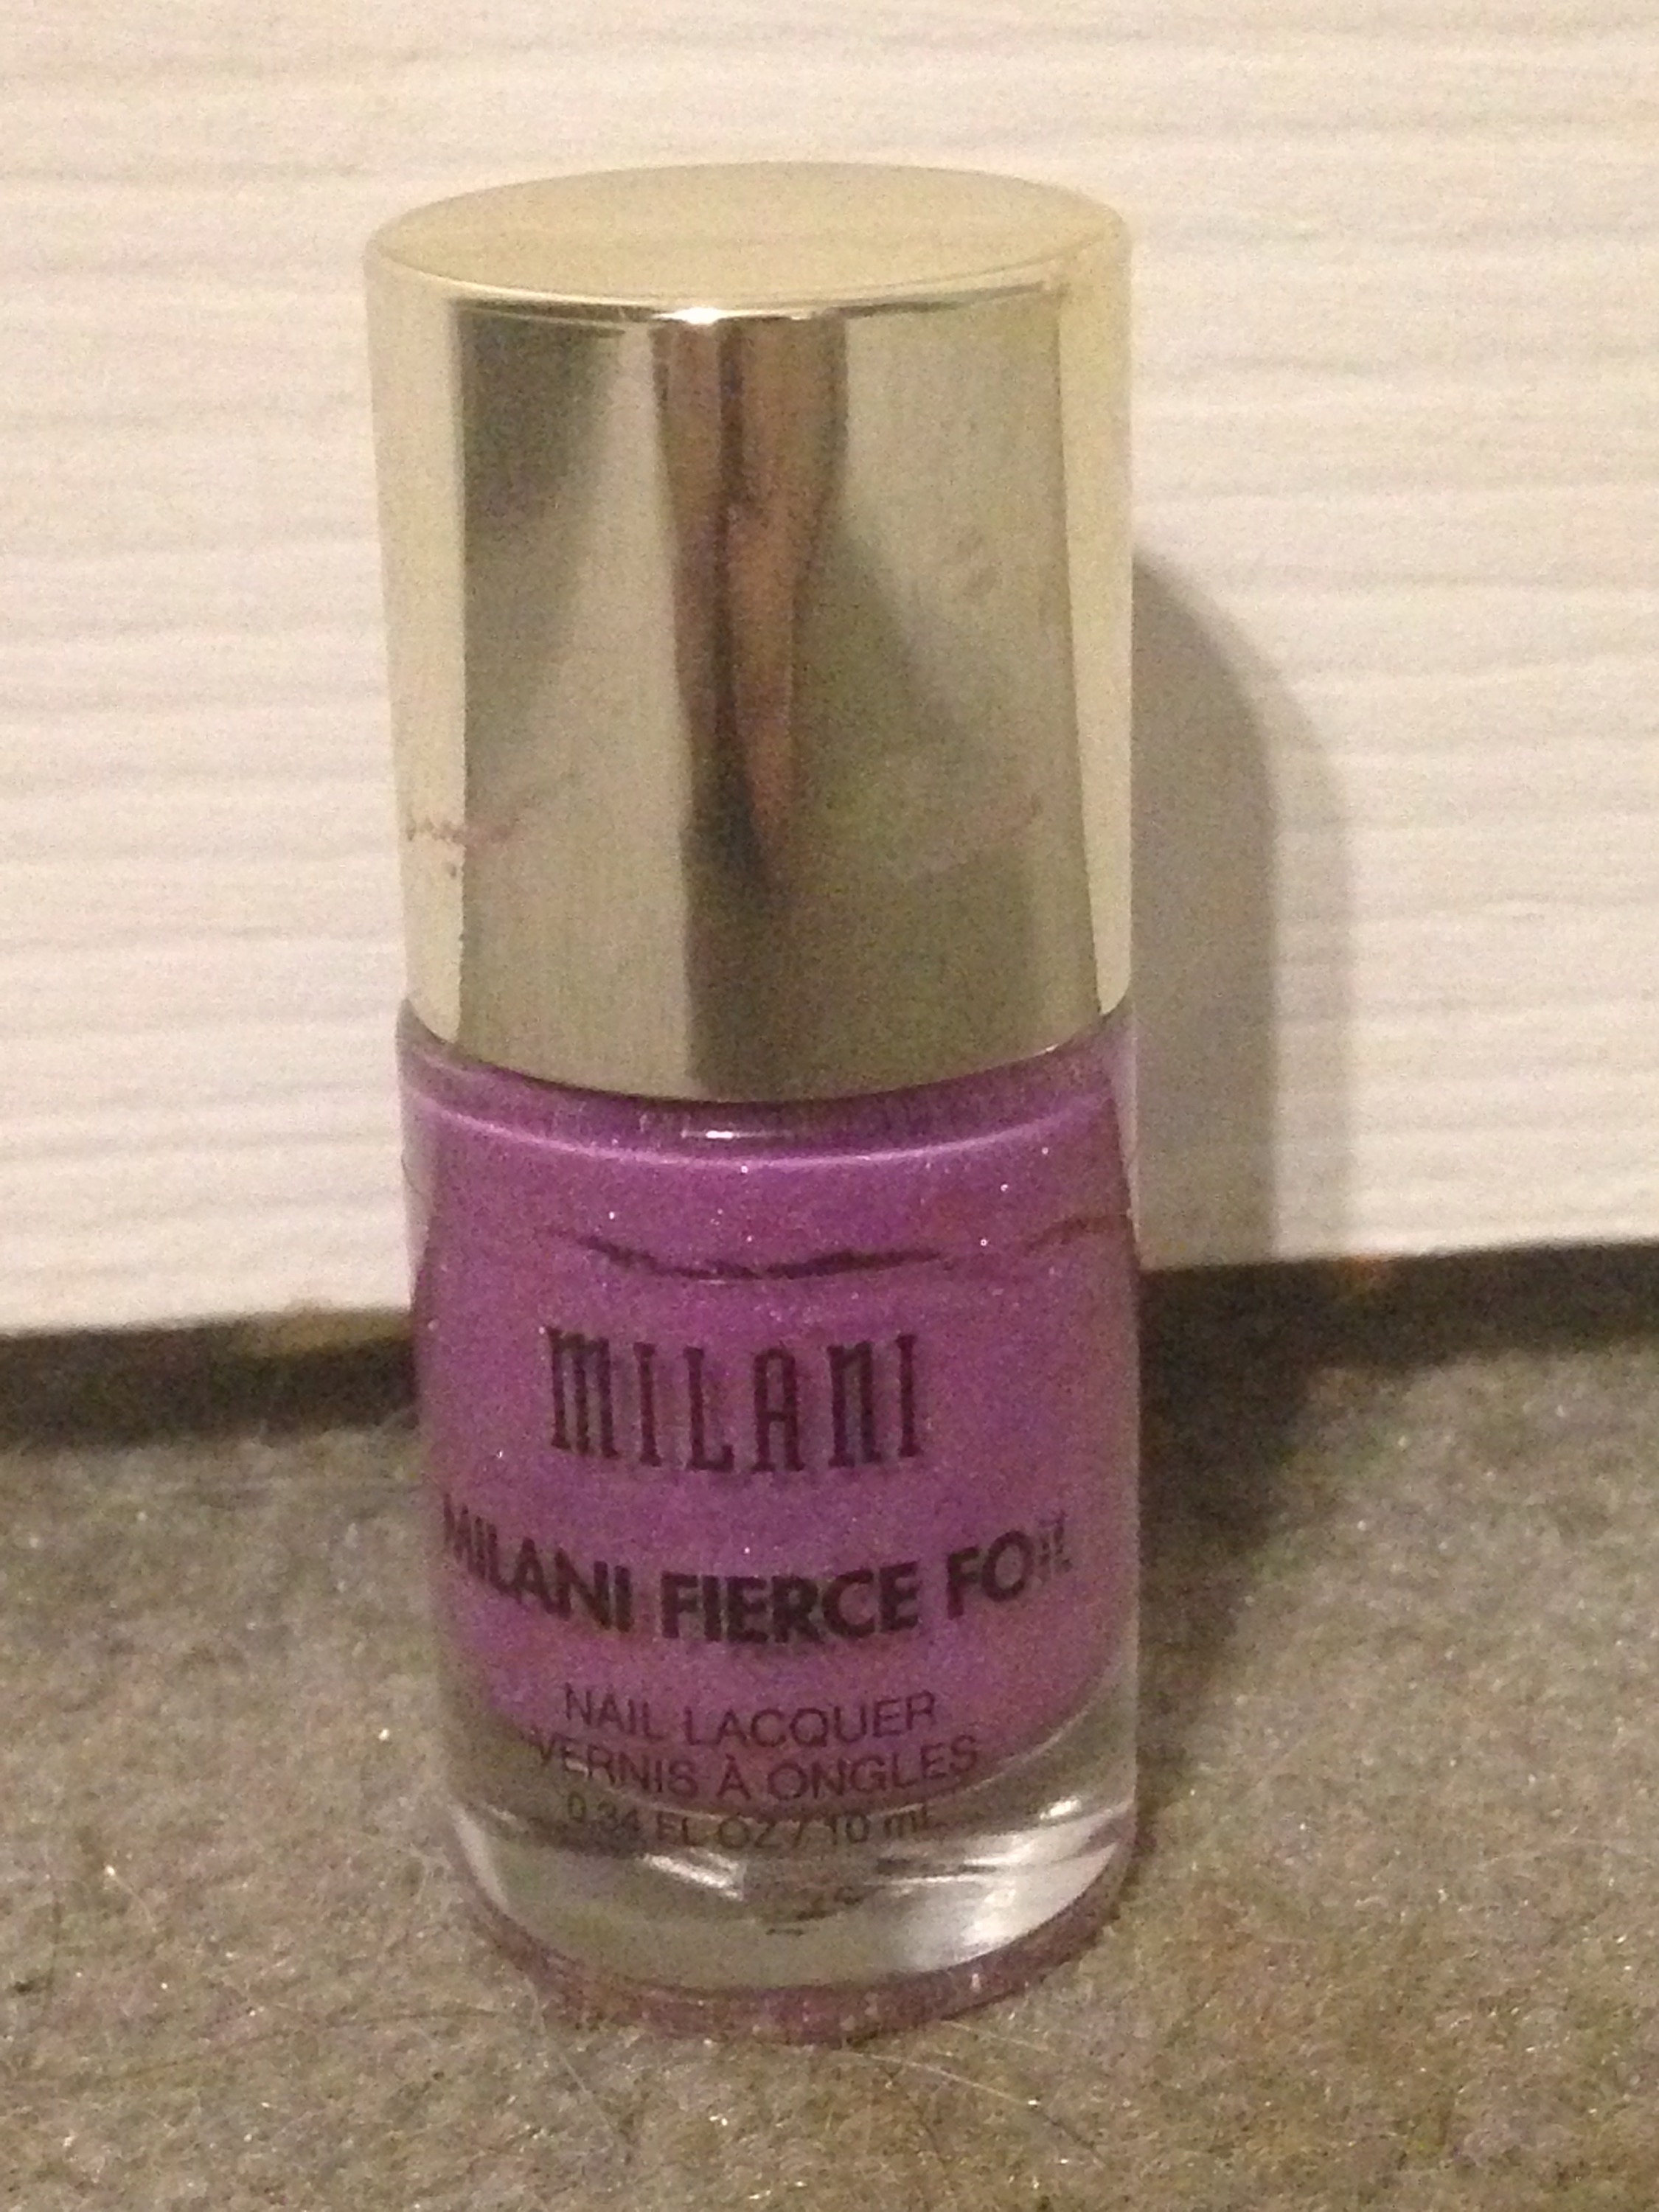
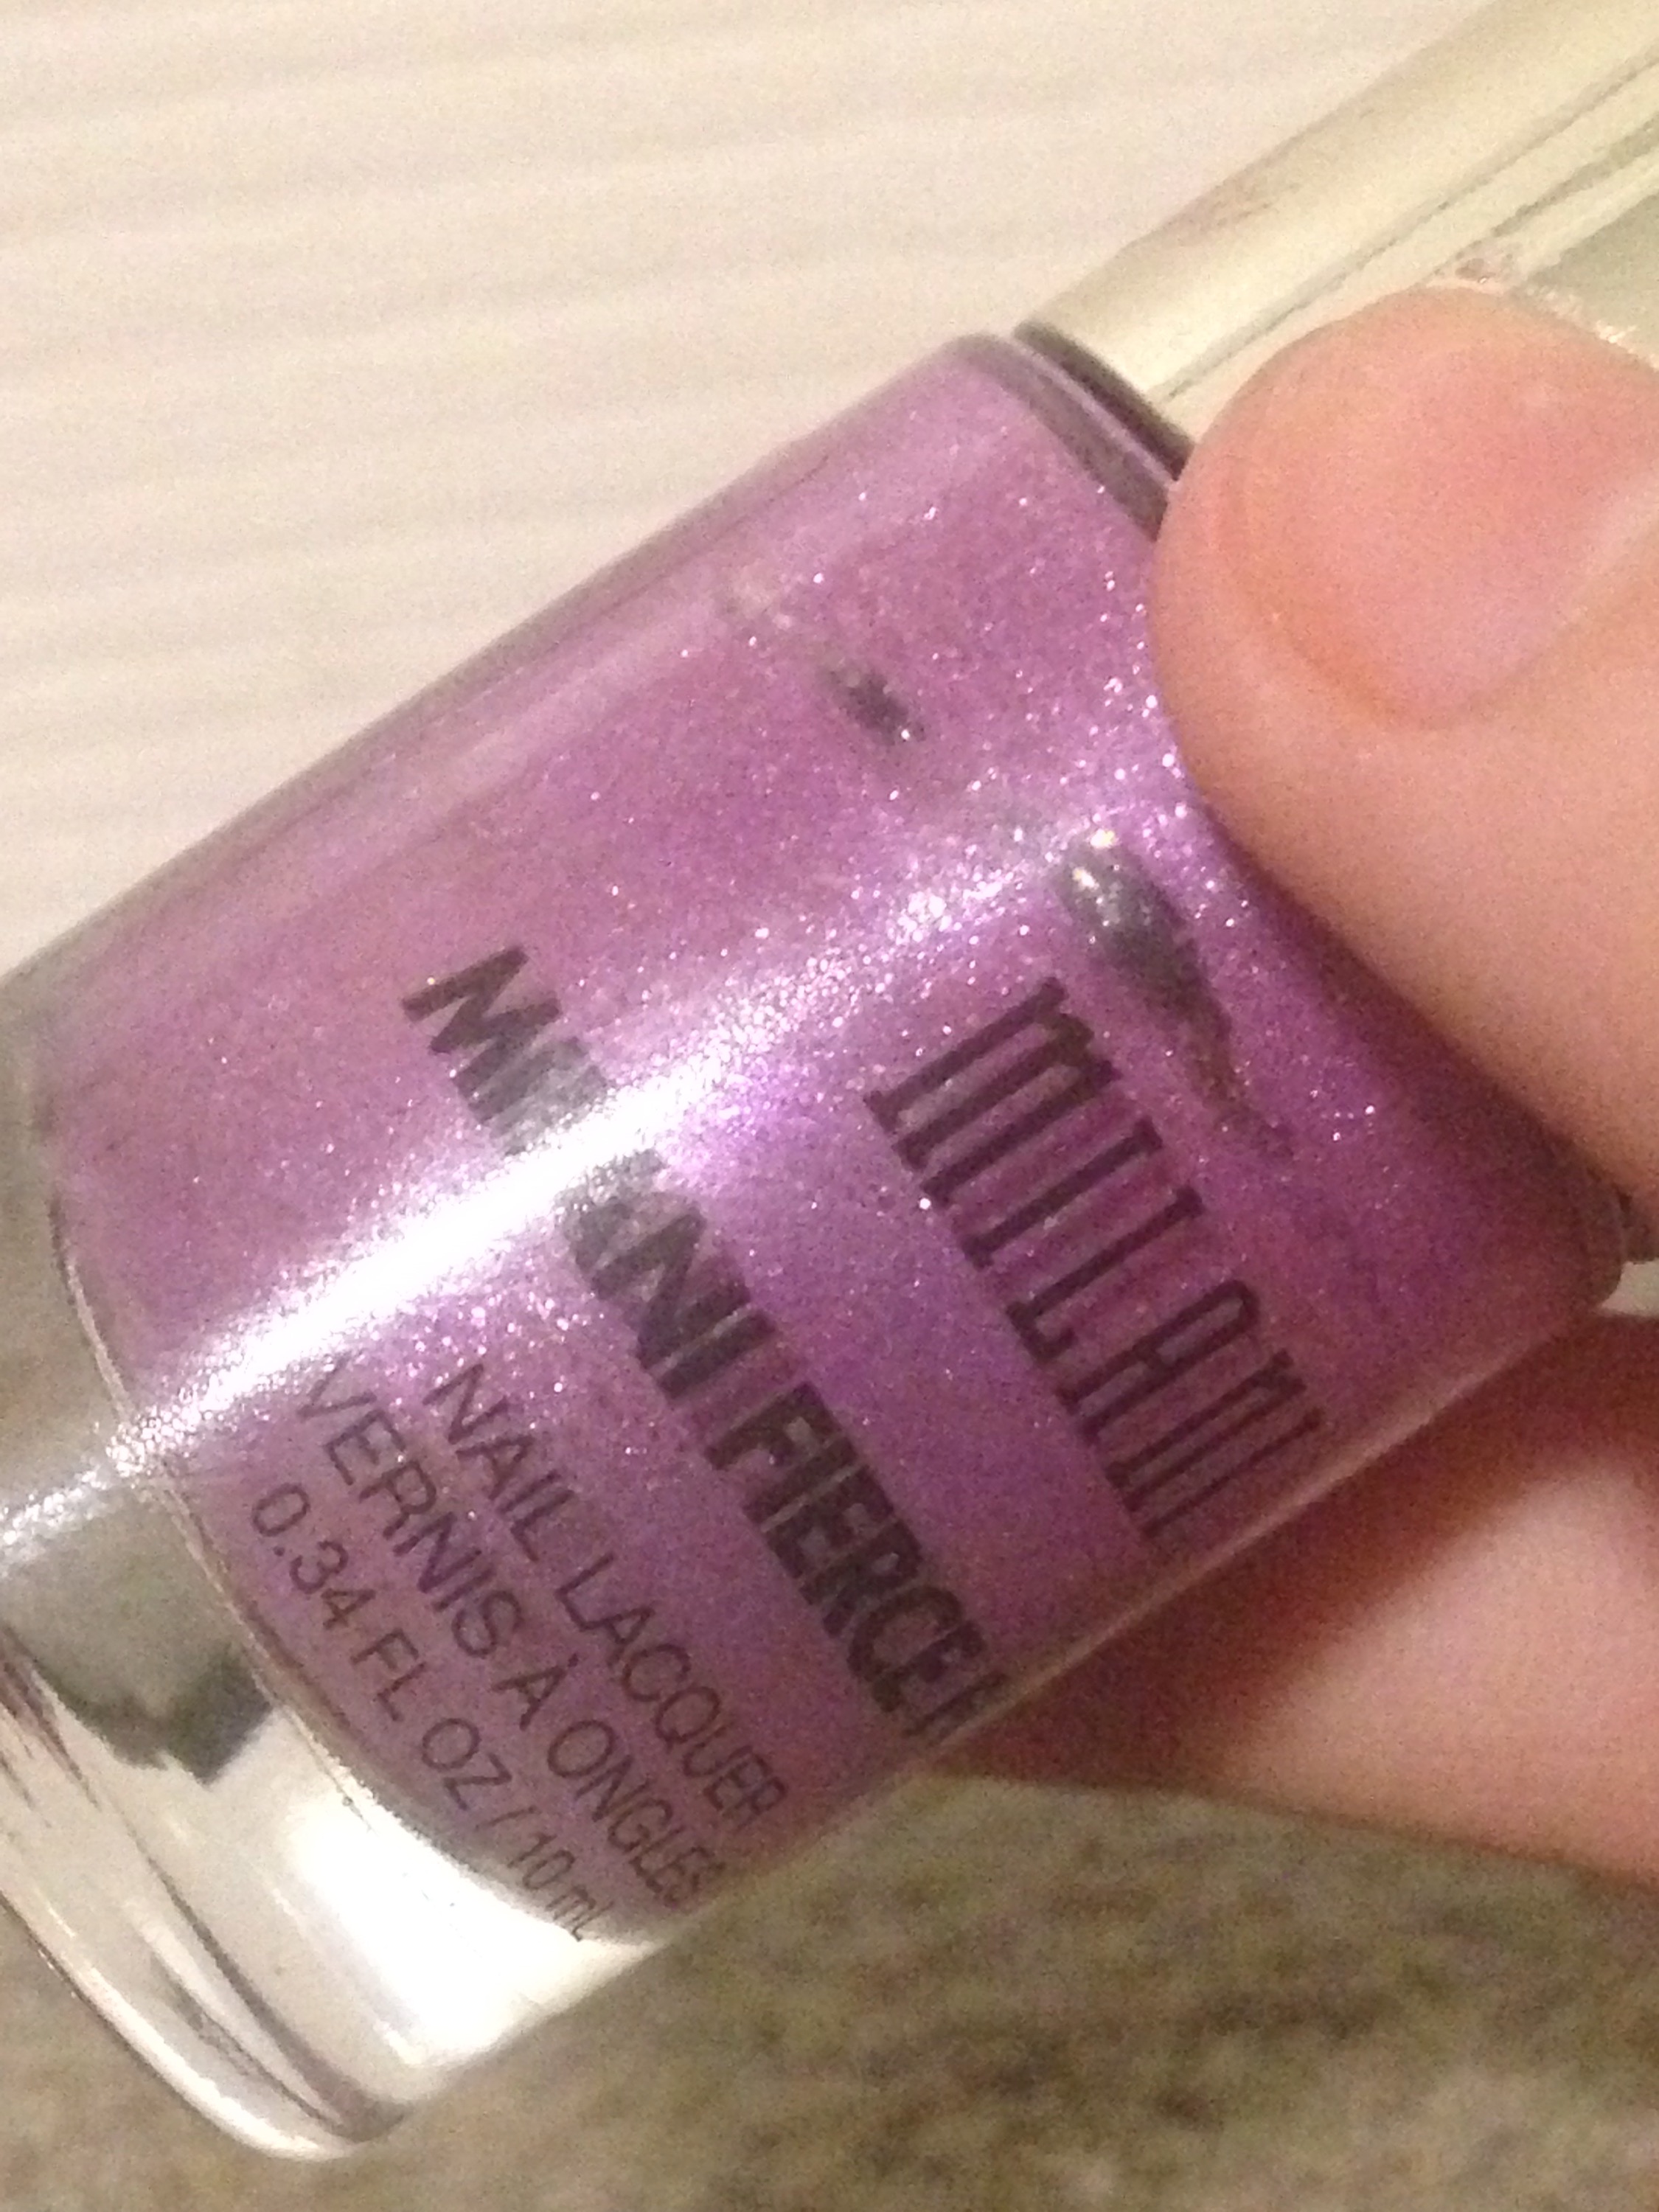
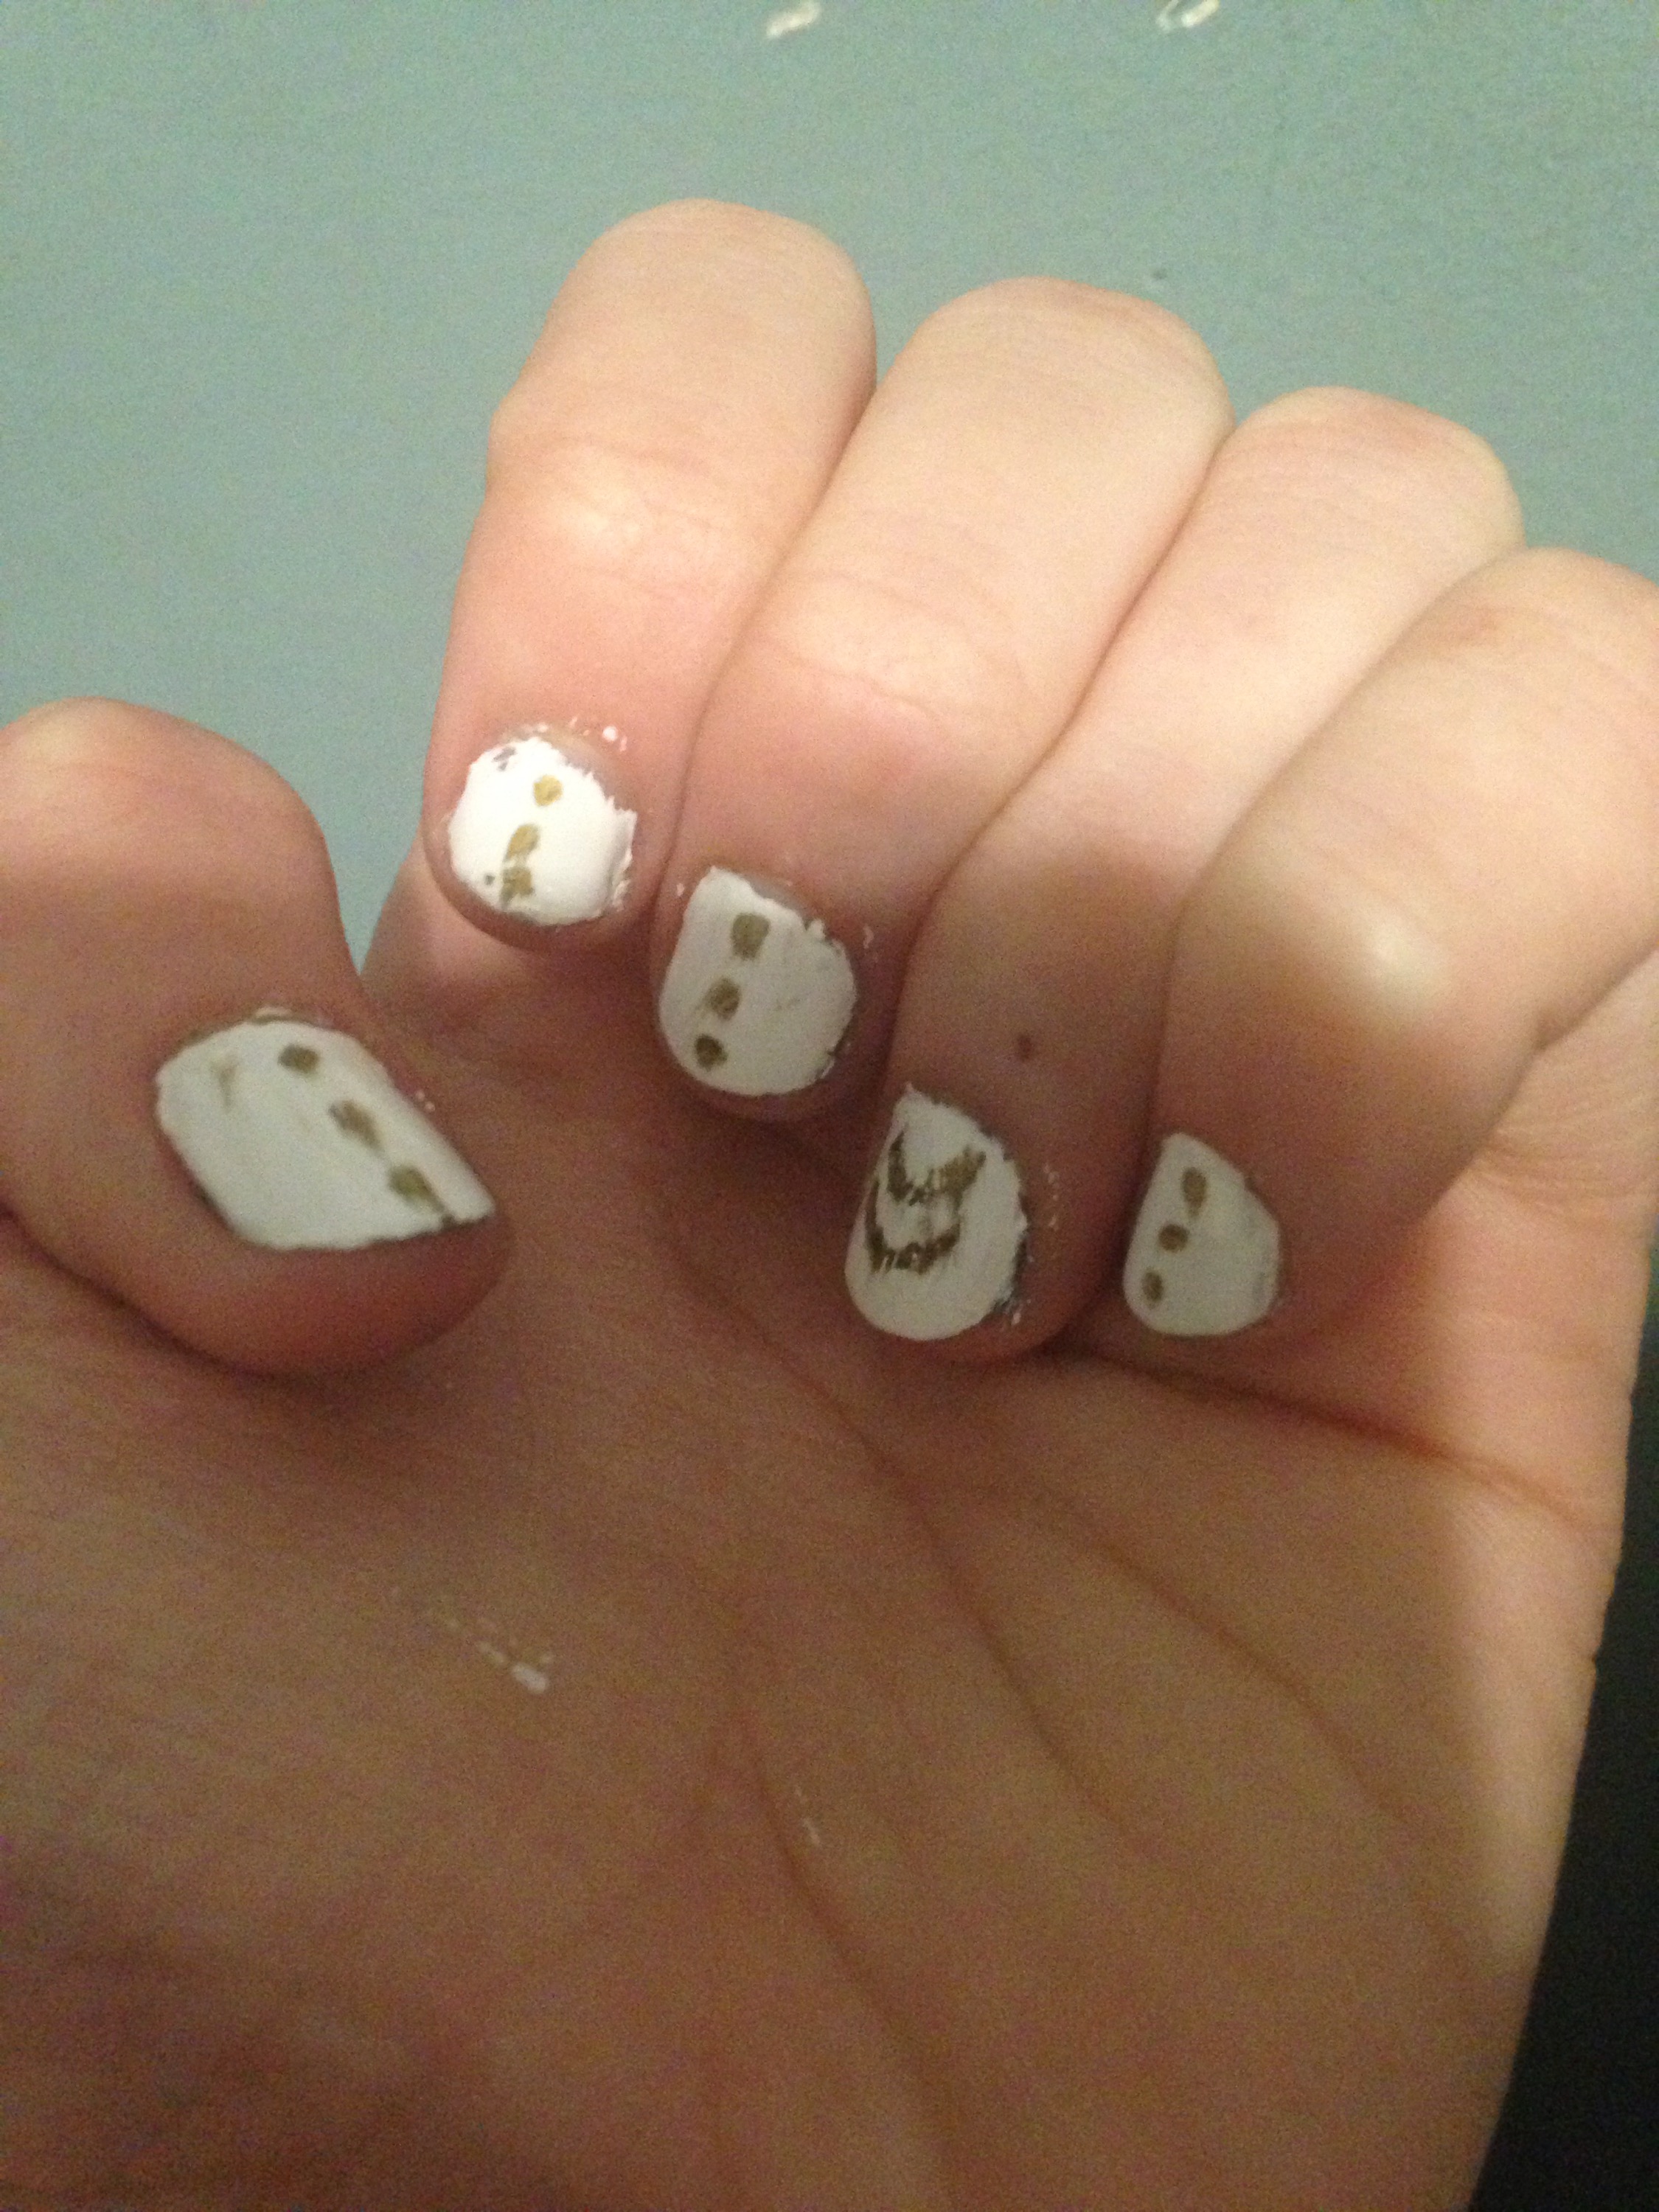
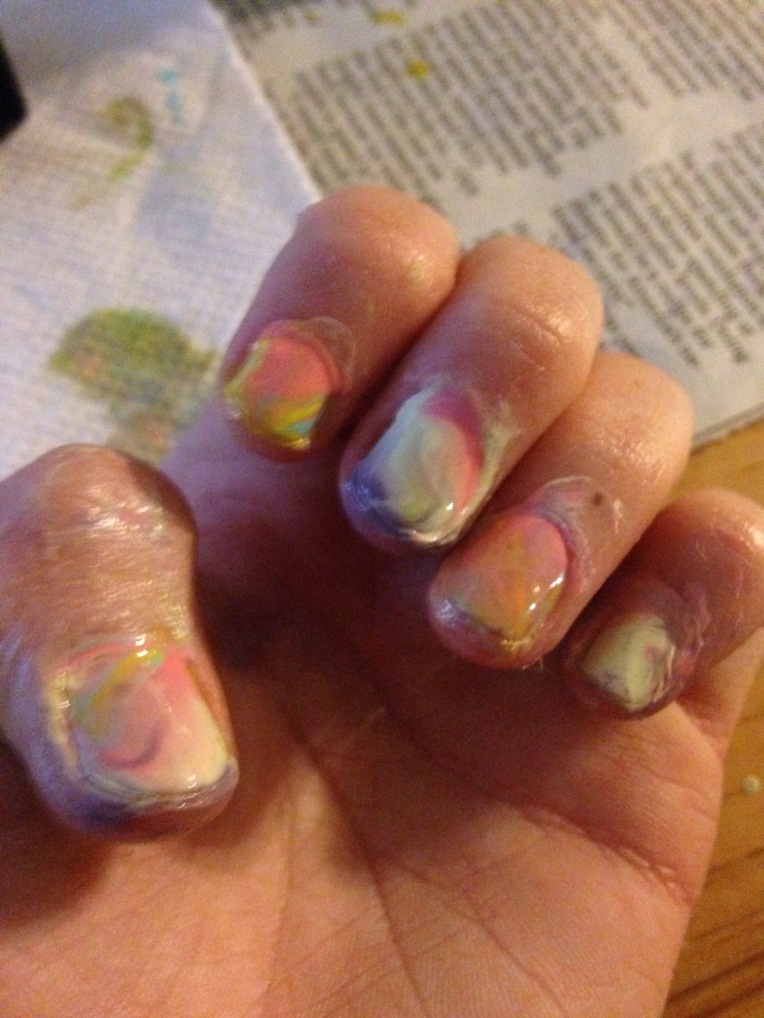
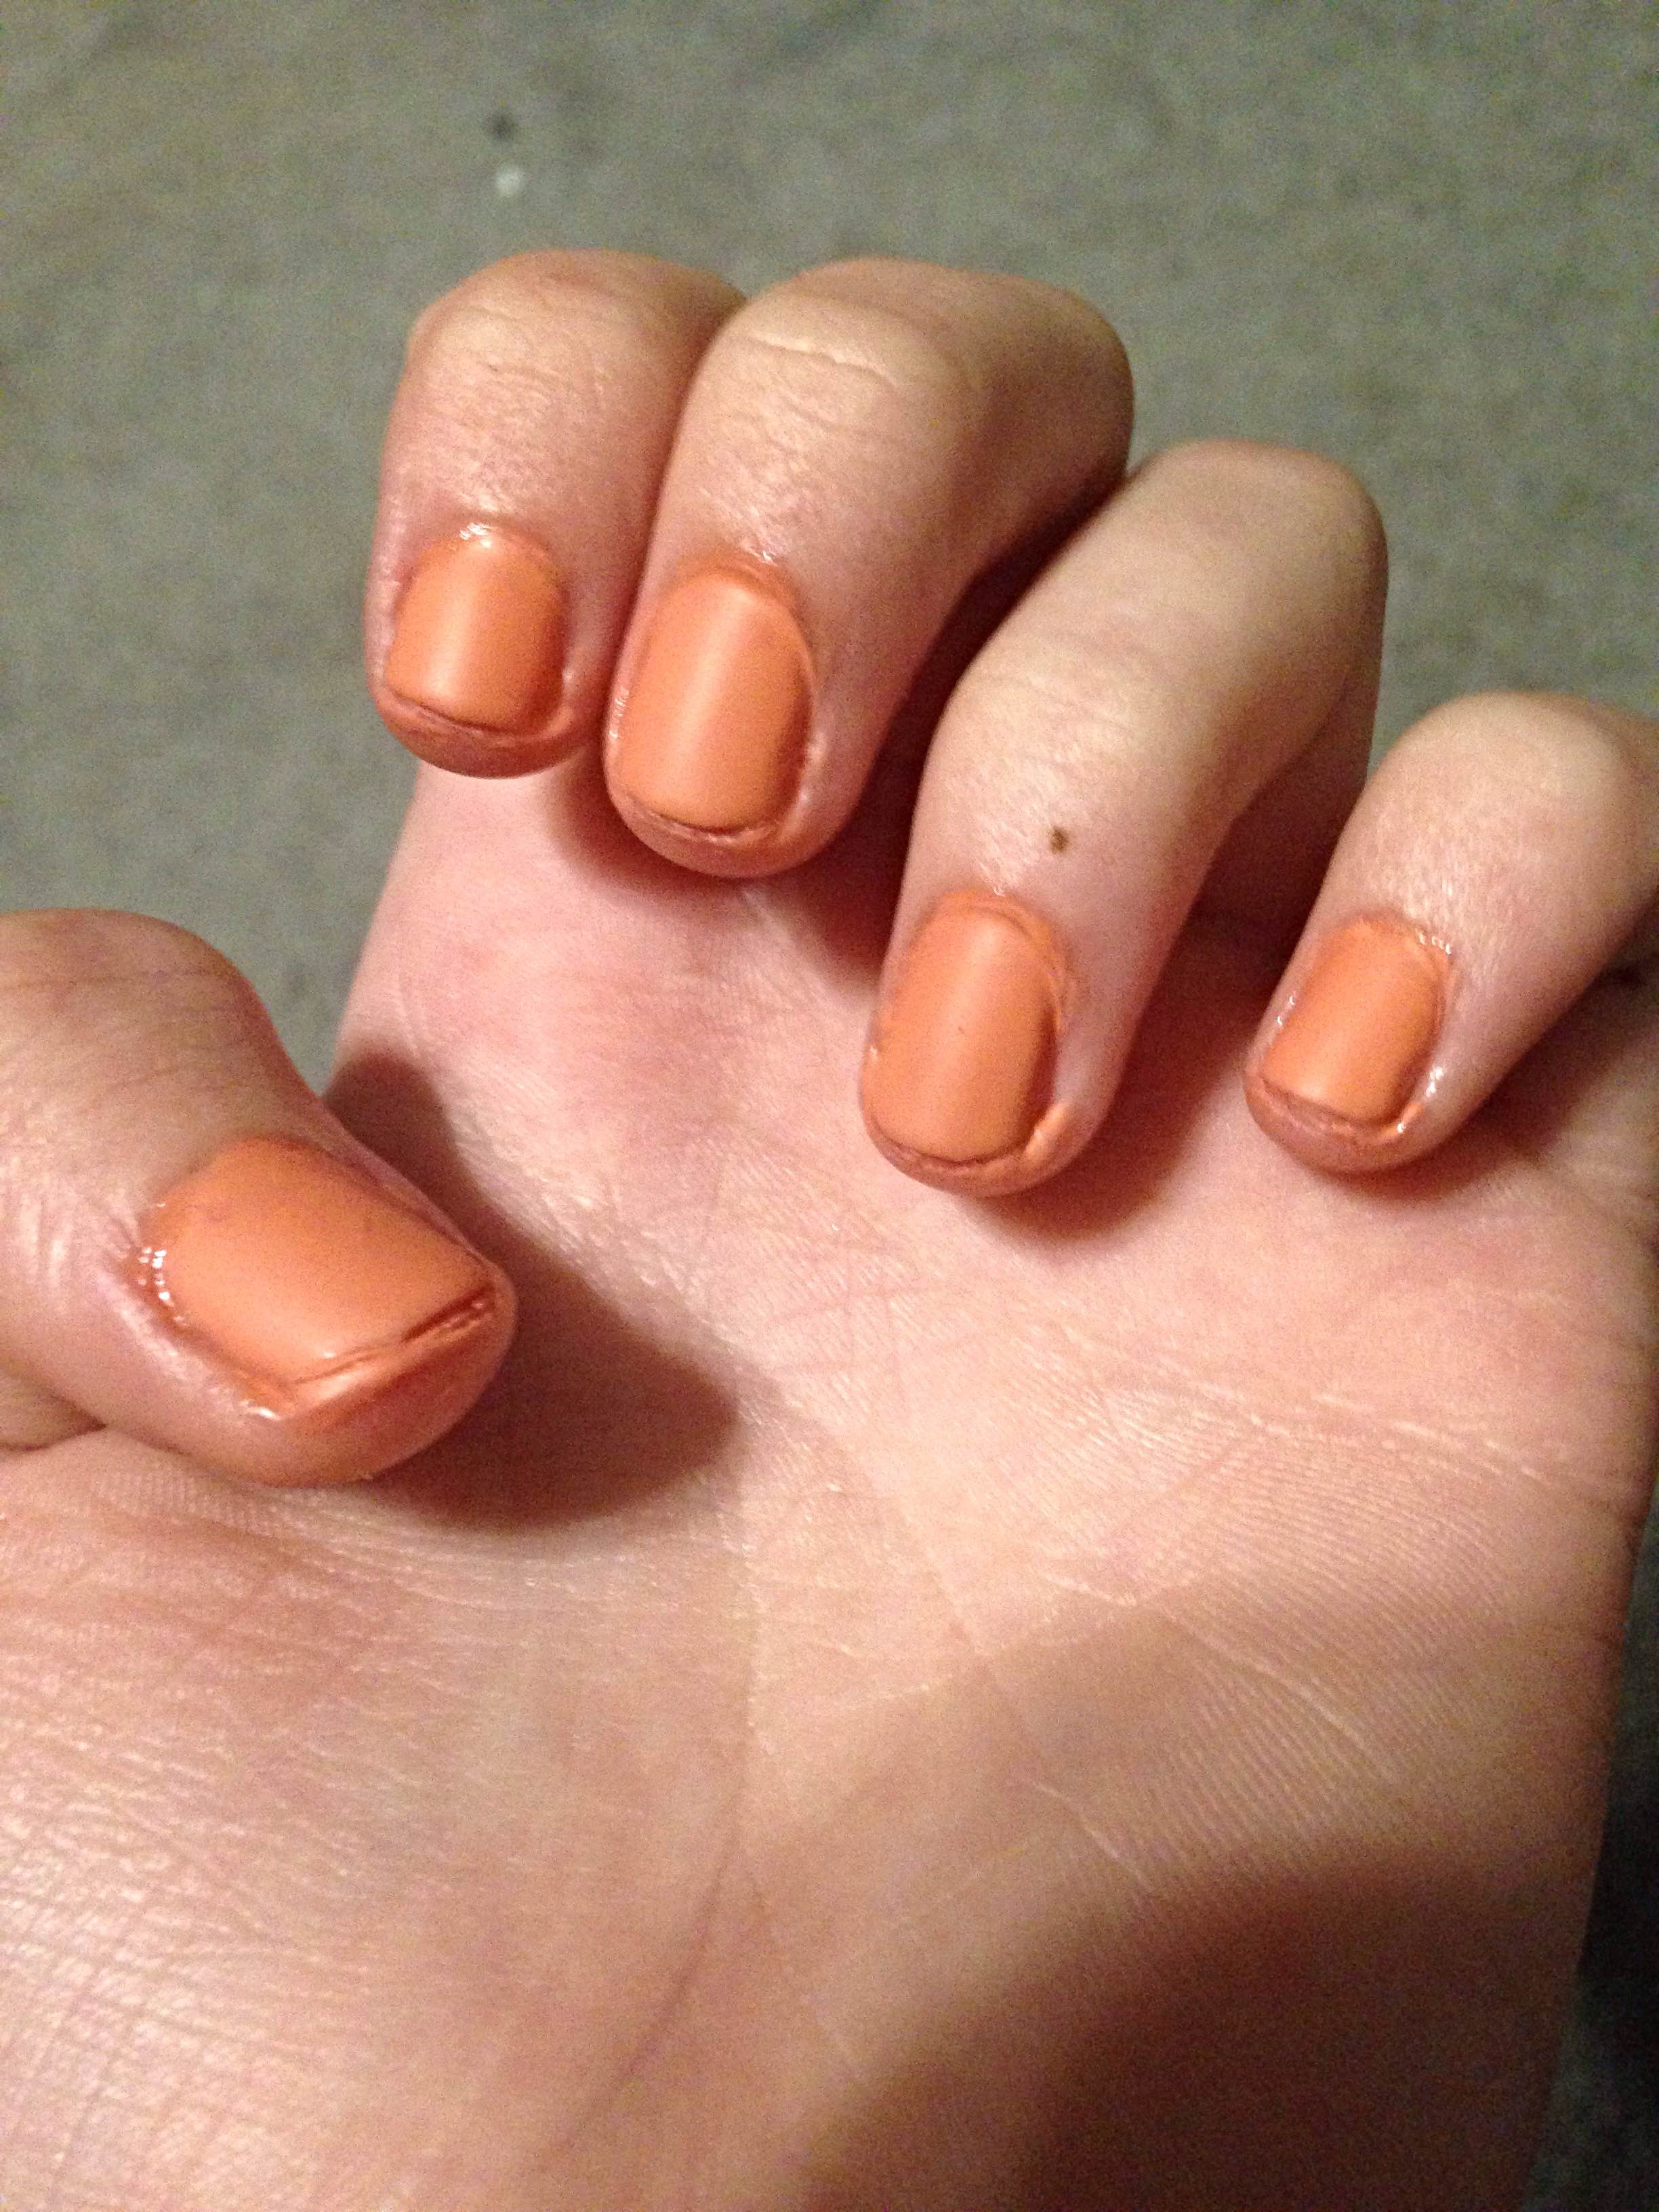
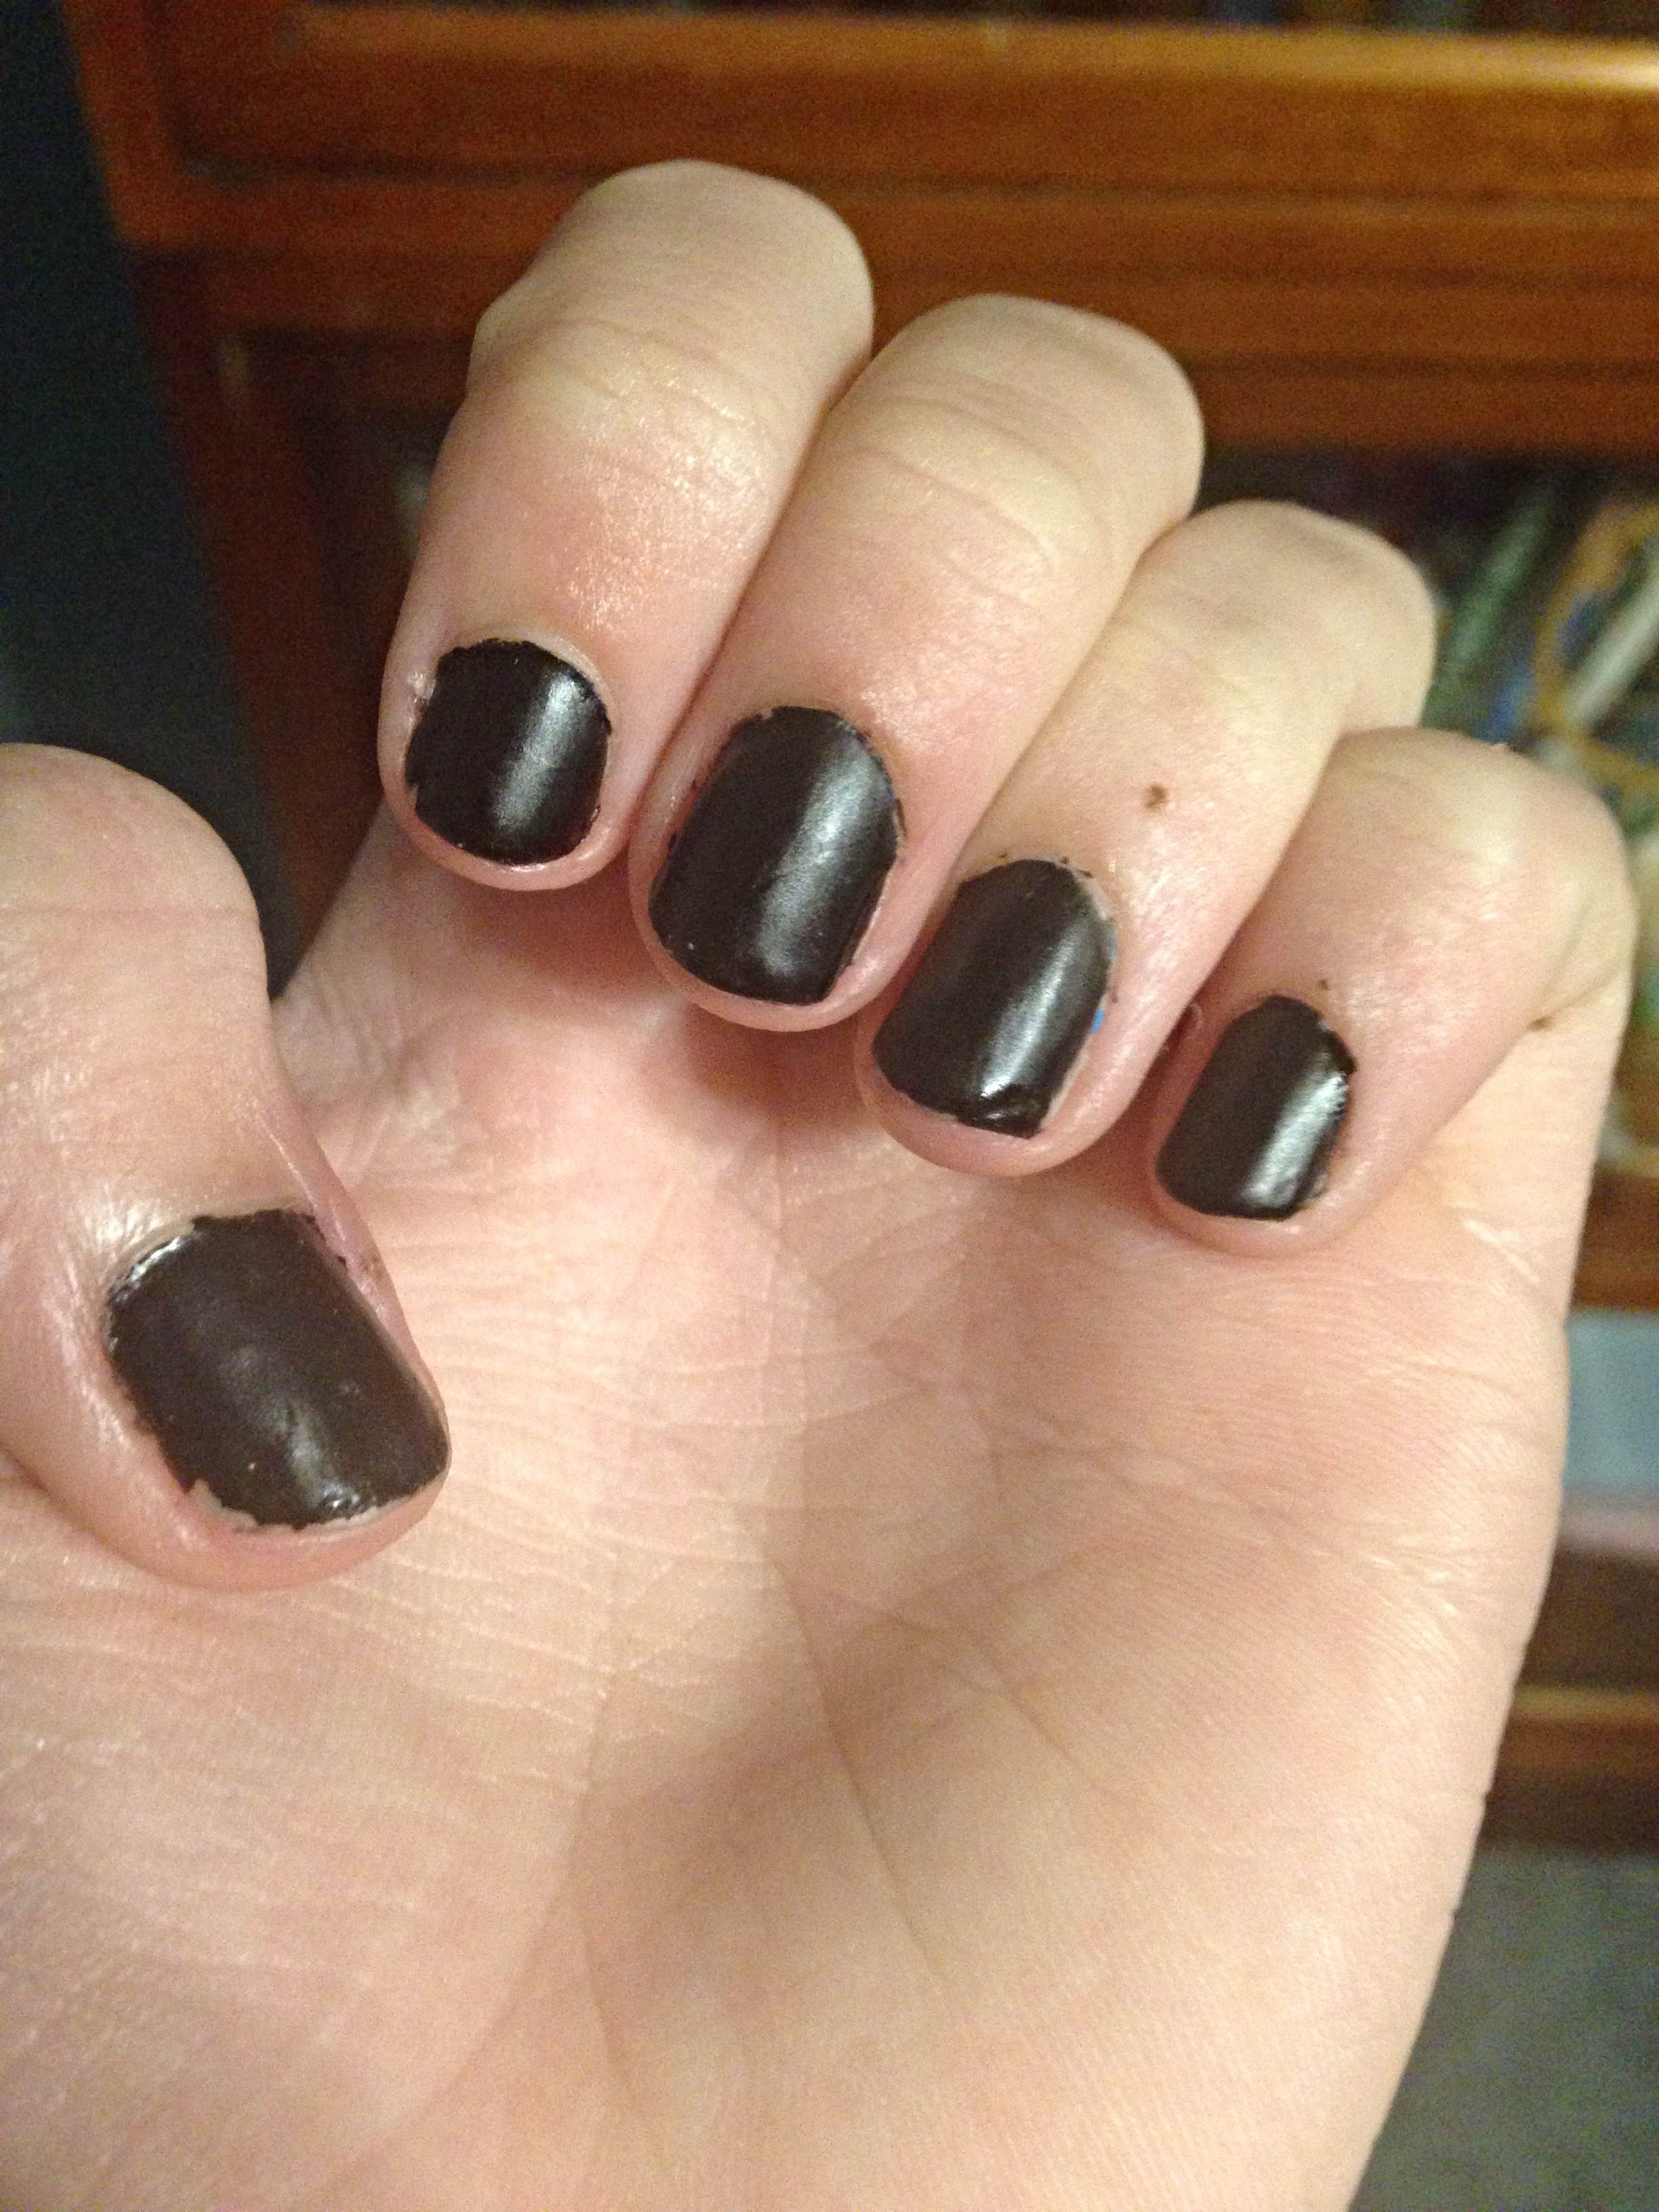
First I got this Probelle Nail Polish in the shade In or Out. This is a brand I am unfamiliar with, so I tried it out. It’s a gorgeous lilac/orchid shade that’s perfect for the springtime and it leaves a beautiful glossy finish on the nails. Without a top and base coat, it can peel right off but it stays on with them. 

Item #2:


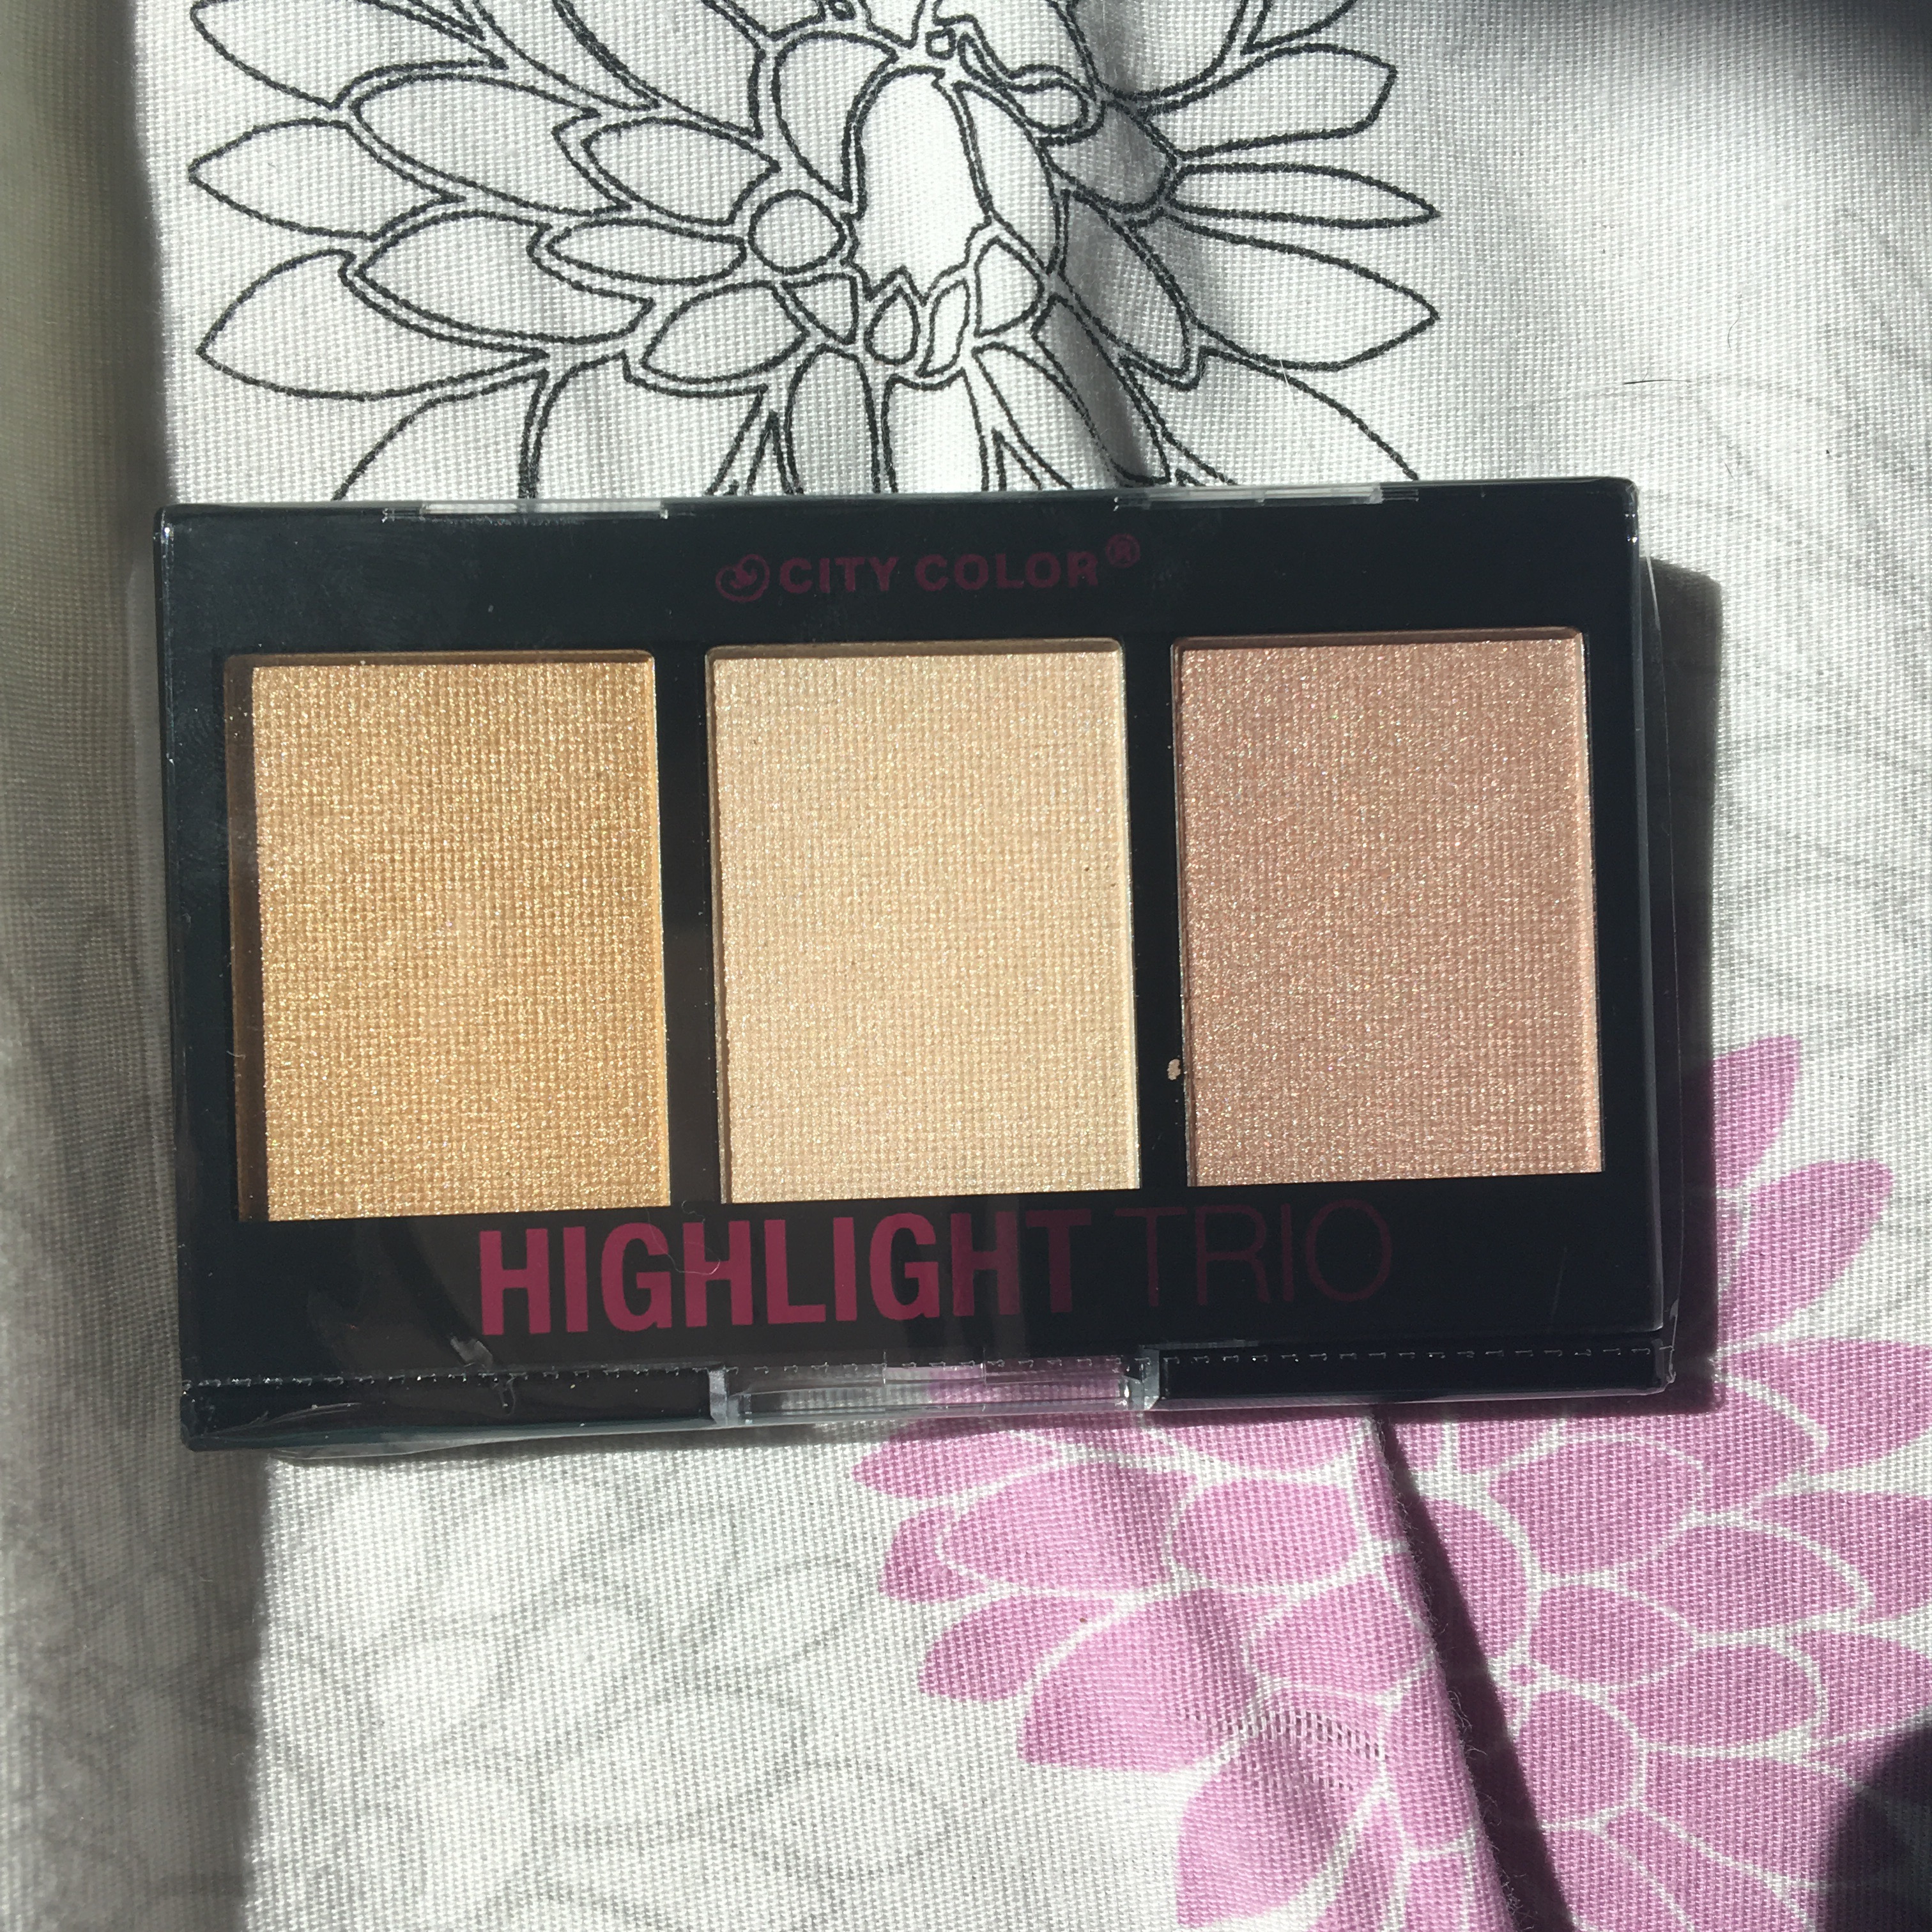
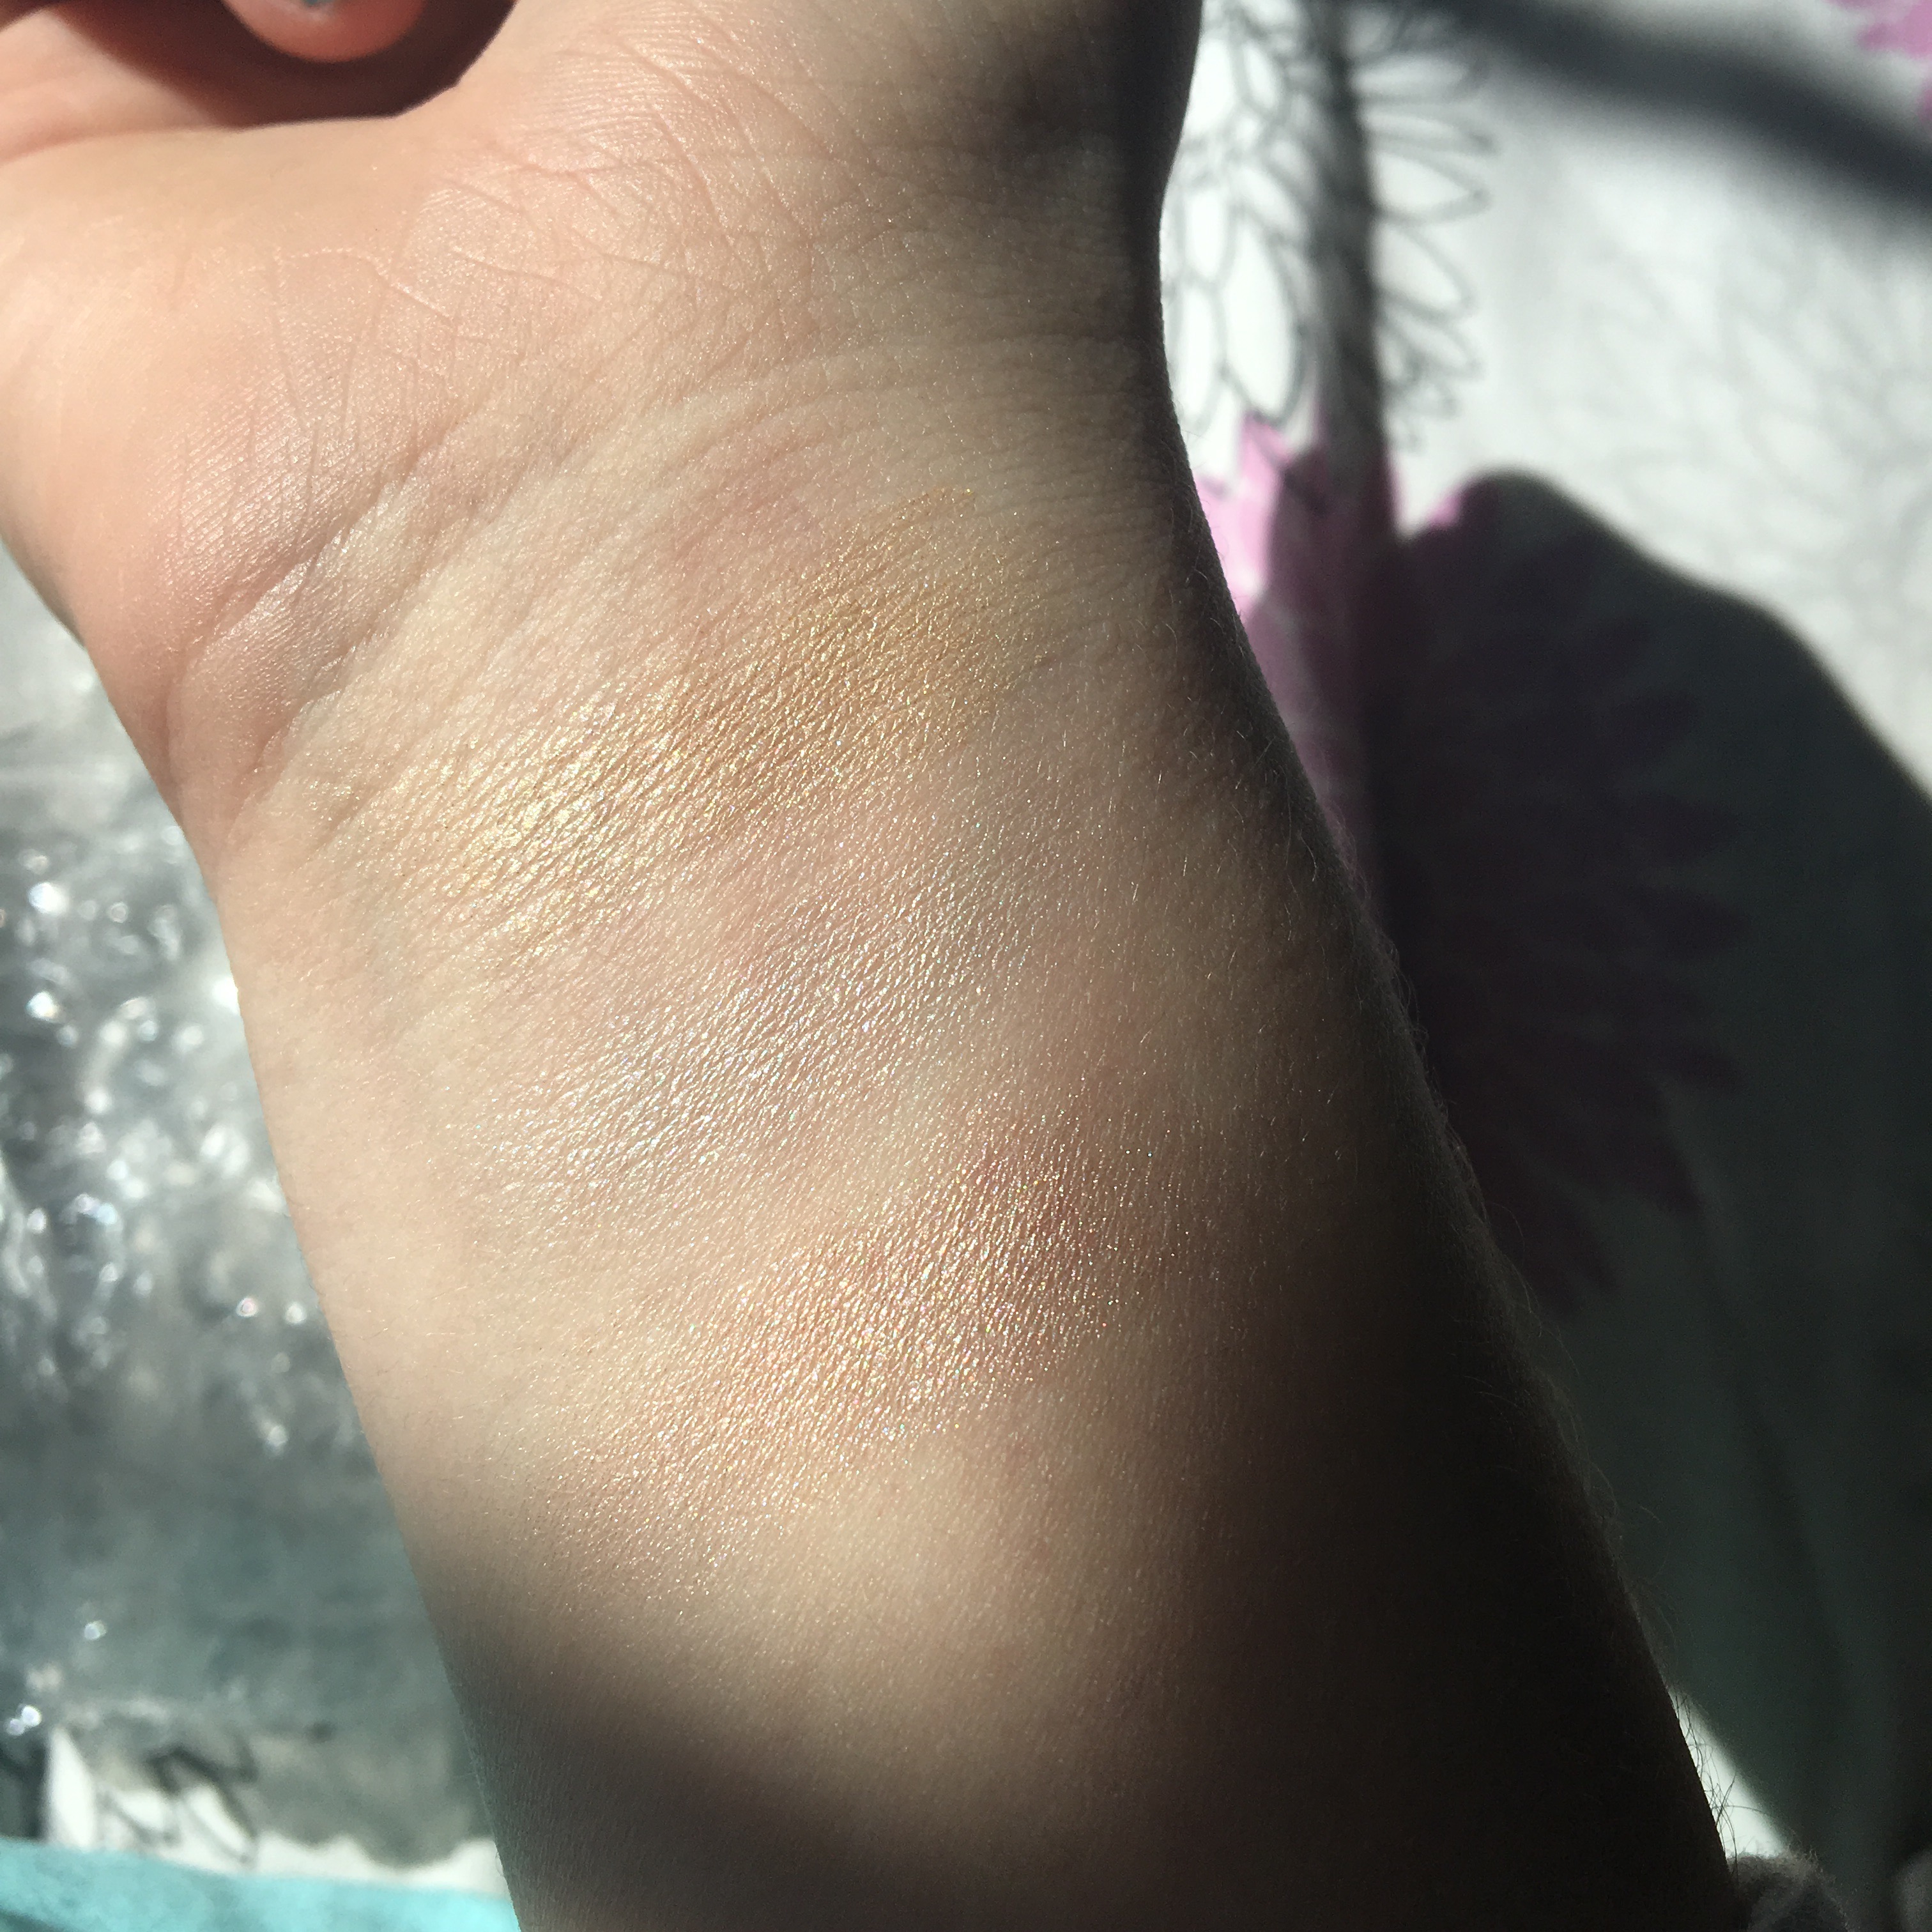
Next I received this City Color Highlight Trio. I think this is a wonderful product because they used different shades so that they could match a wider range of skin tones. I didn’t own any highlighter at the moment since it wasn’t an everyday makeup product for me but I am so happy to have received this. The pigment and colors are all beautiful, and it’s not glittery to the point that it’s noticeable, it’s more of a subtle shimmer. I would definitely recommend this to anyone who’s looking for a new highlighter, although I don’t know if this is sold online/in stores, or if it’s exclusive to Ipsy. The swatches I did go in order from left to right in the palette, with the gold shade on top. 

Item #3:

  
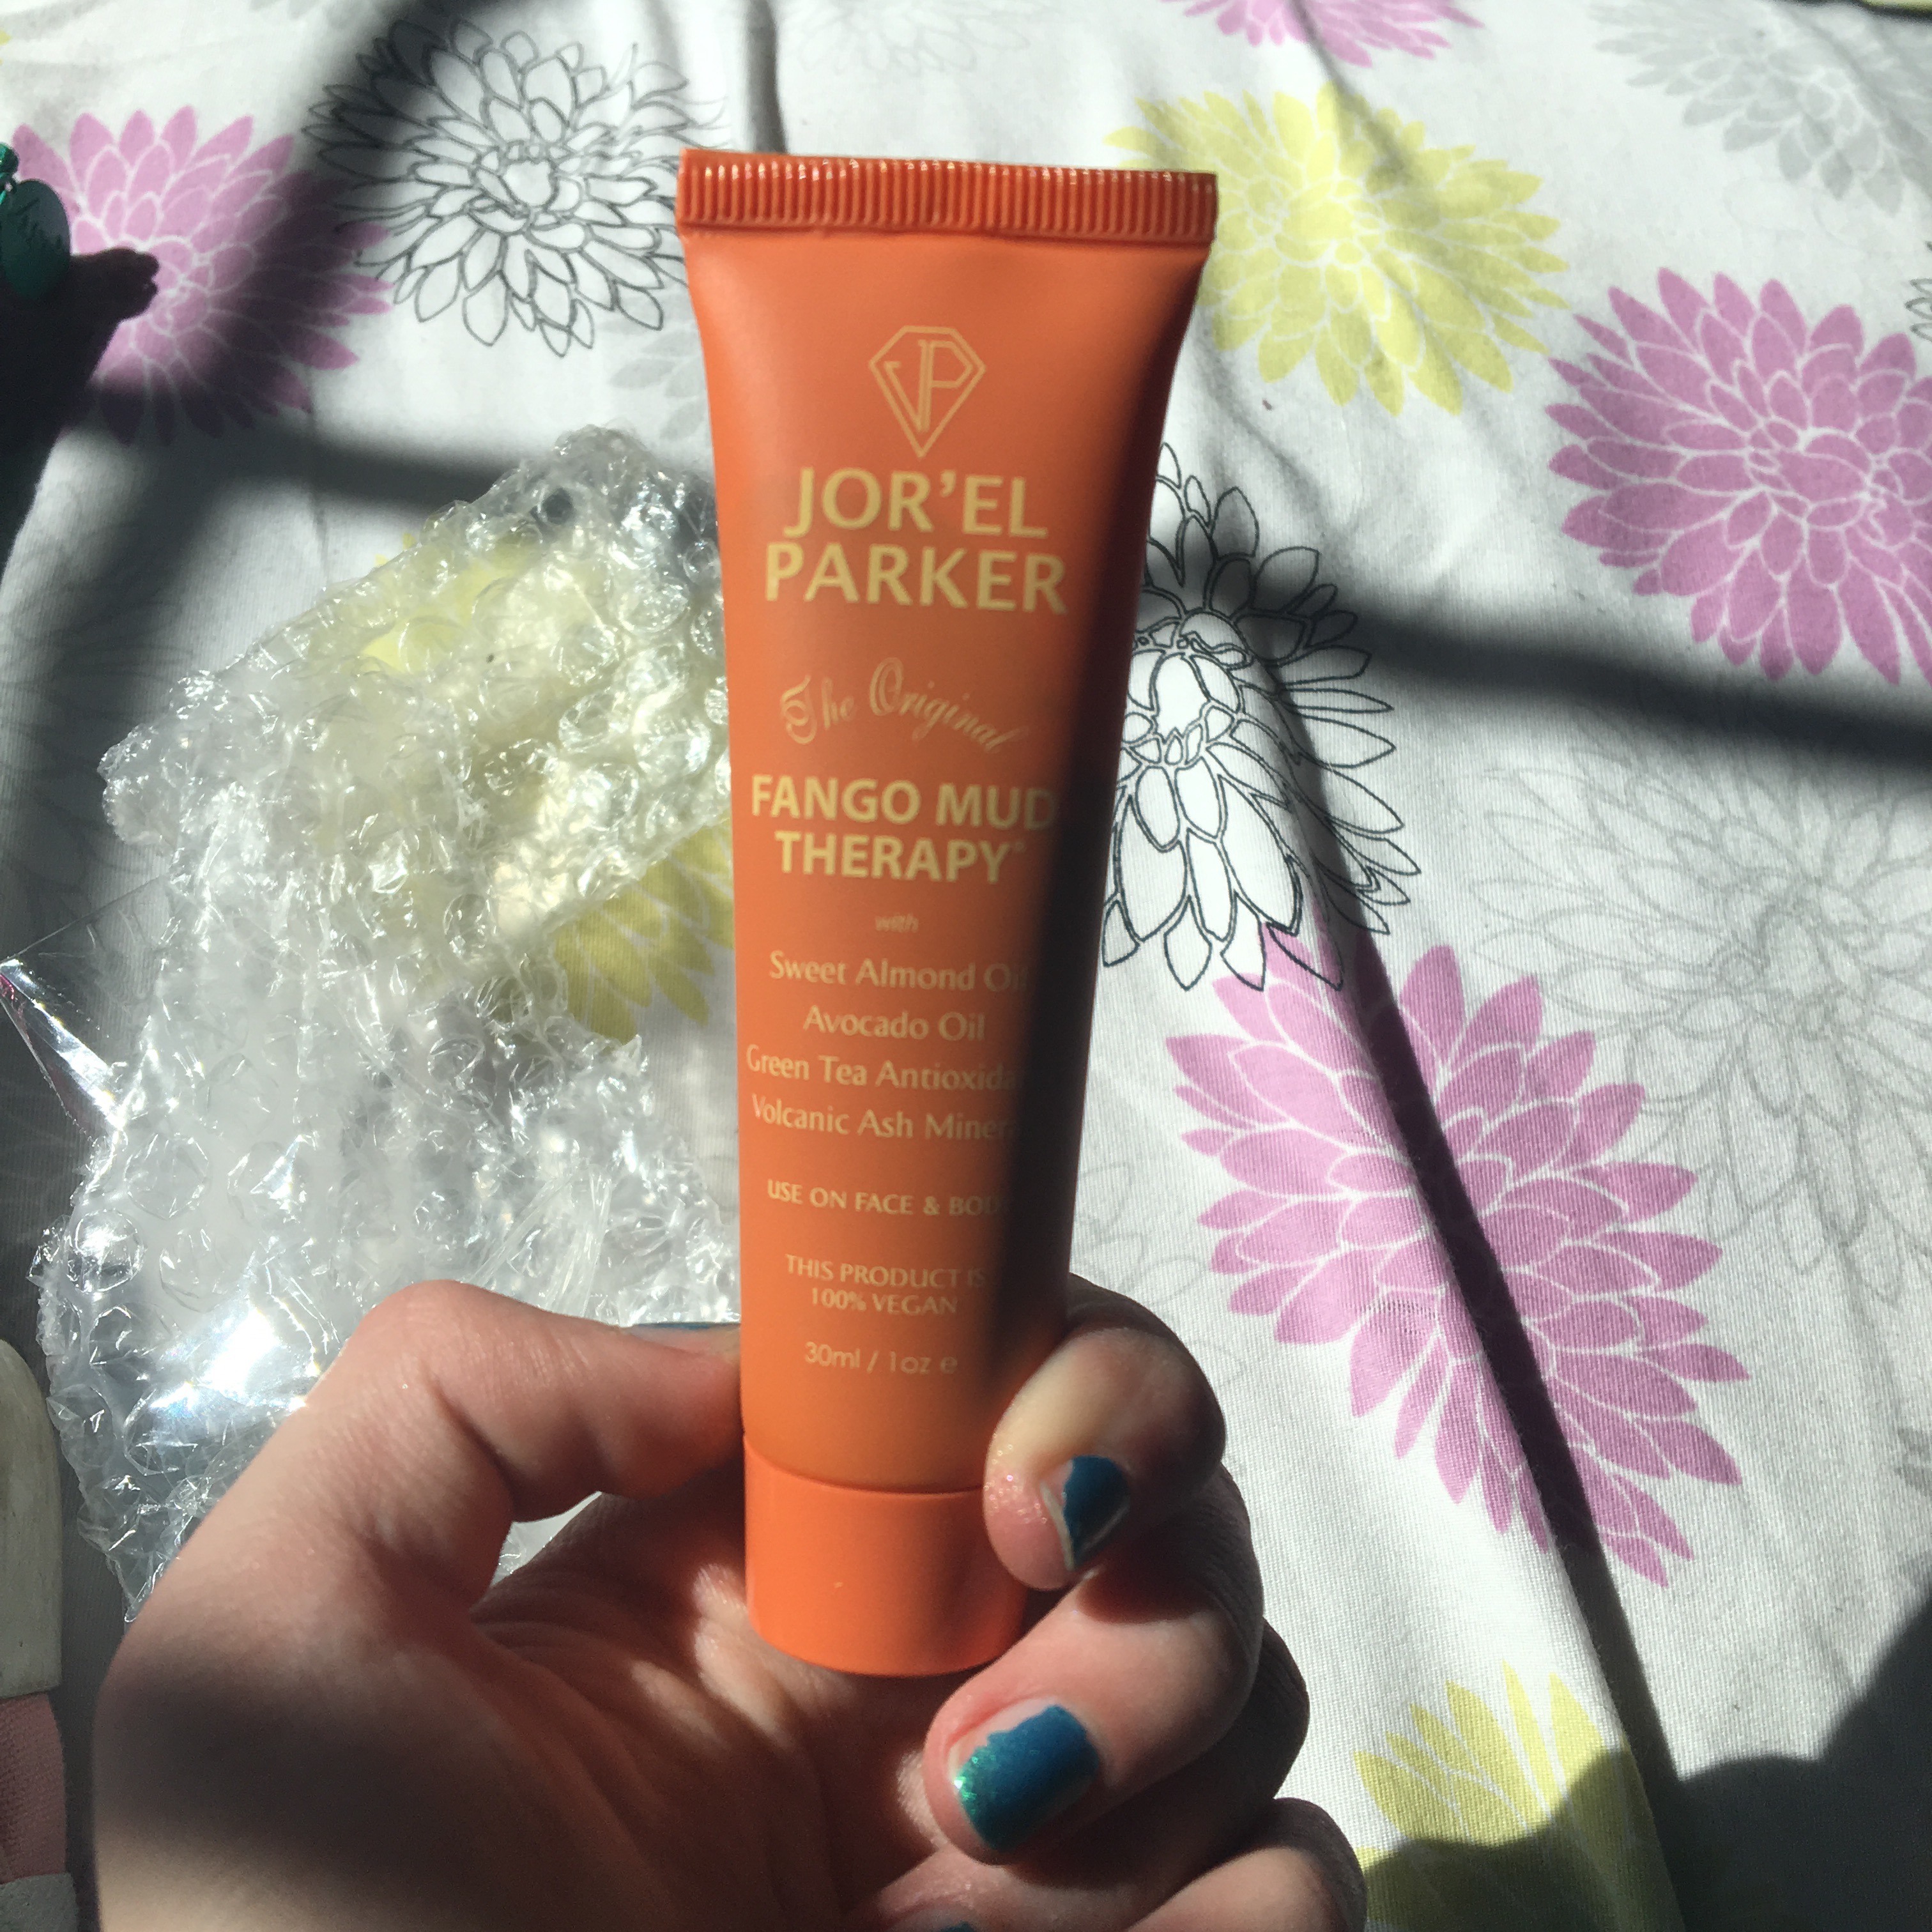
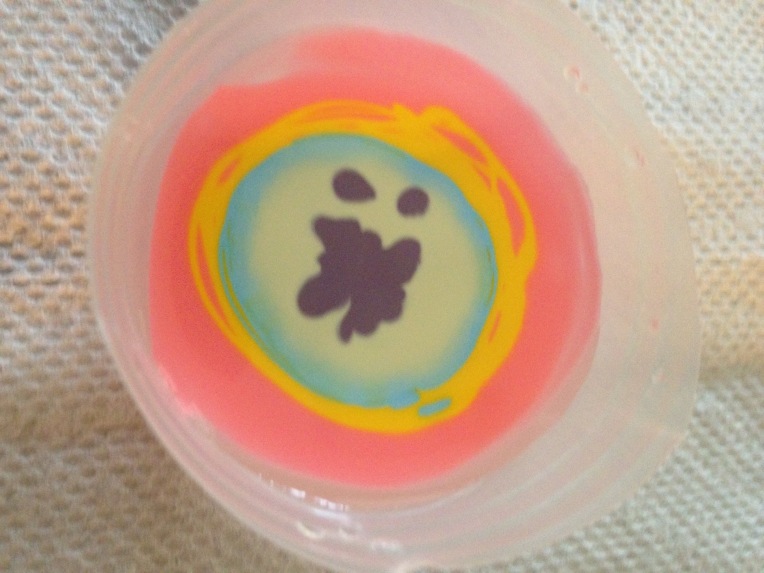
The next product in my Ipsy bag is this Jor’el Parker Fango Mud Therapy Mask for Face and Body. Unfortunately, I have yet to try this since I recieved my bag midweek and I’ve been busy with schoolwork. However, it seems like a nice product and smells good so I think I’ll try it out tomorrow and probably update this post to let you know how it works out. 

Item #4:

  
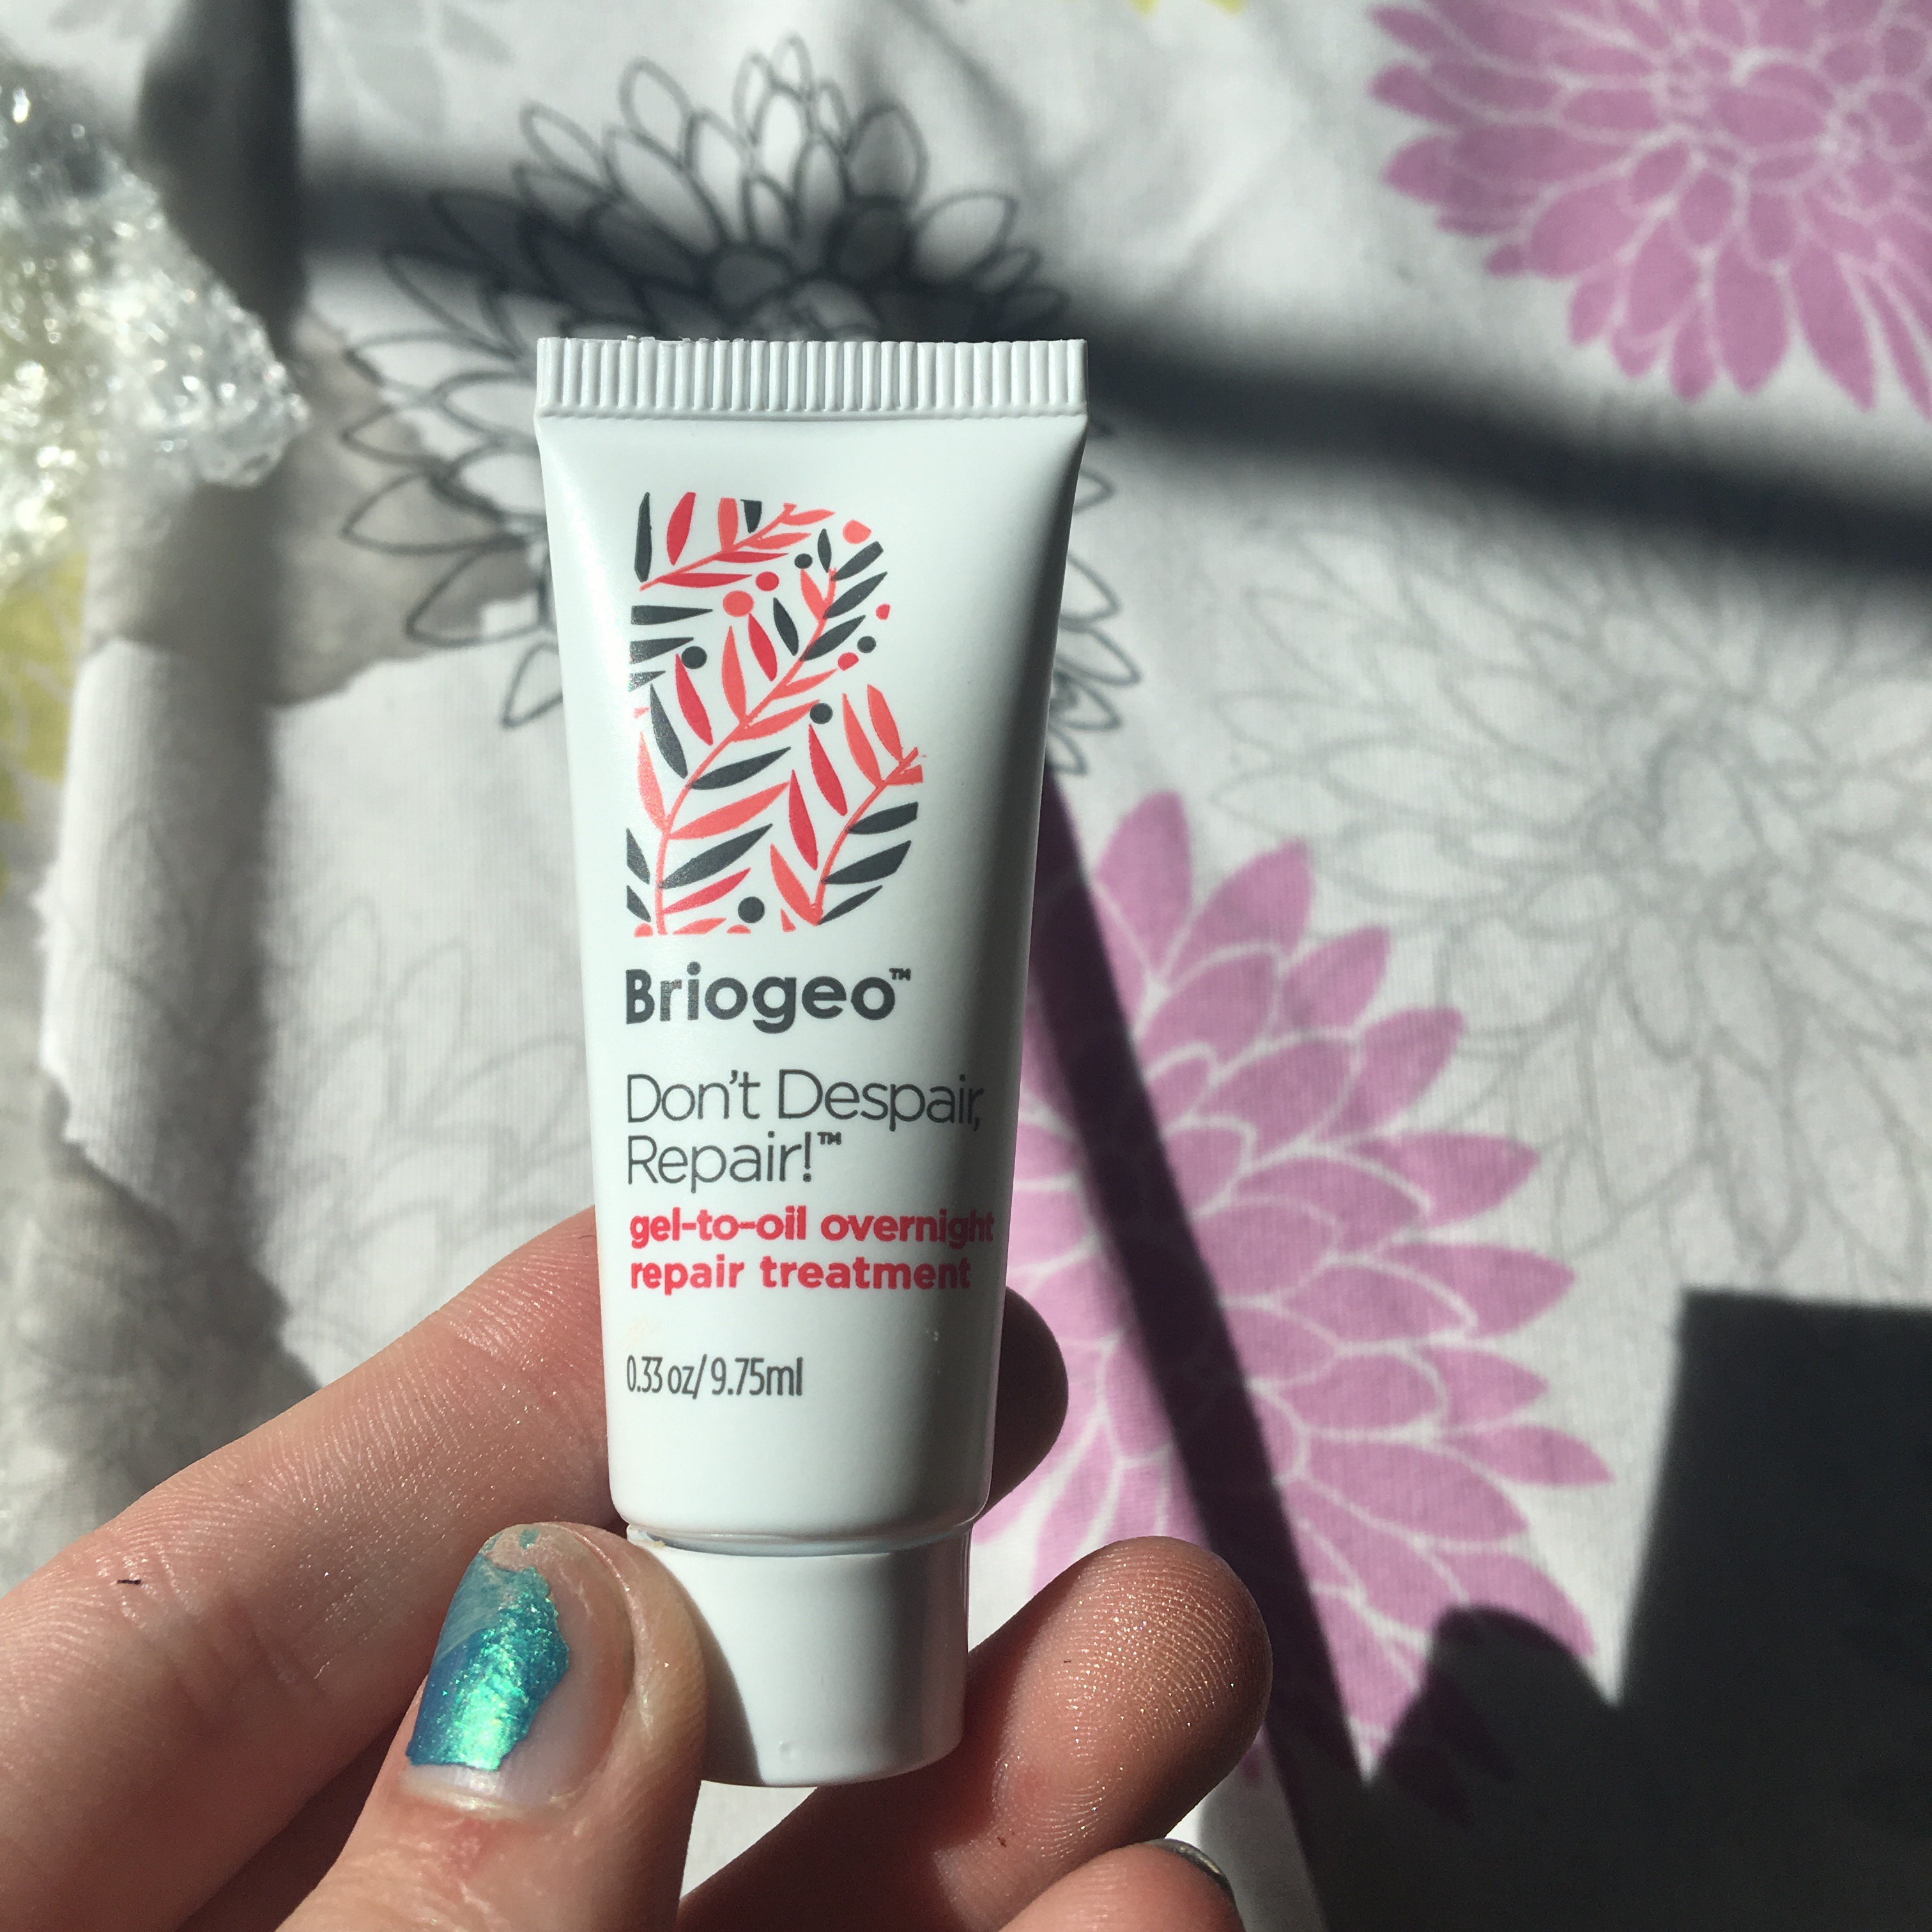
The fourth item I received is this Briogeo Don’t Despair, Repair! Gel-to-Oil Hair Treatment. I was already looking for a light oil since I have well water at my house which dries out my hair, so I was looking forward to trying this. I wouldn’t say my hair is oily, it’s about average, but it can get oily very quickly. I tried this out last night and I’m not quite sure how I feel about it. I know it’s a gel-to-oil hair product, but I didn’t think it would have he texture like hair gel, which is one that I don’t particularly like. On the back of this sample it says to put 1-2 nickel sized amounts all throughout your hair from root to tip, and I would only recommend using that amount if your hair is extremely dry. If your hair gets easily oily like mine, I would use less and not put it on the roots, only on the ends. This is probably a great product for people with dry/frizzy hair, but it doesn’t really work for me. 

Item #5:


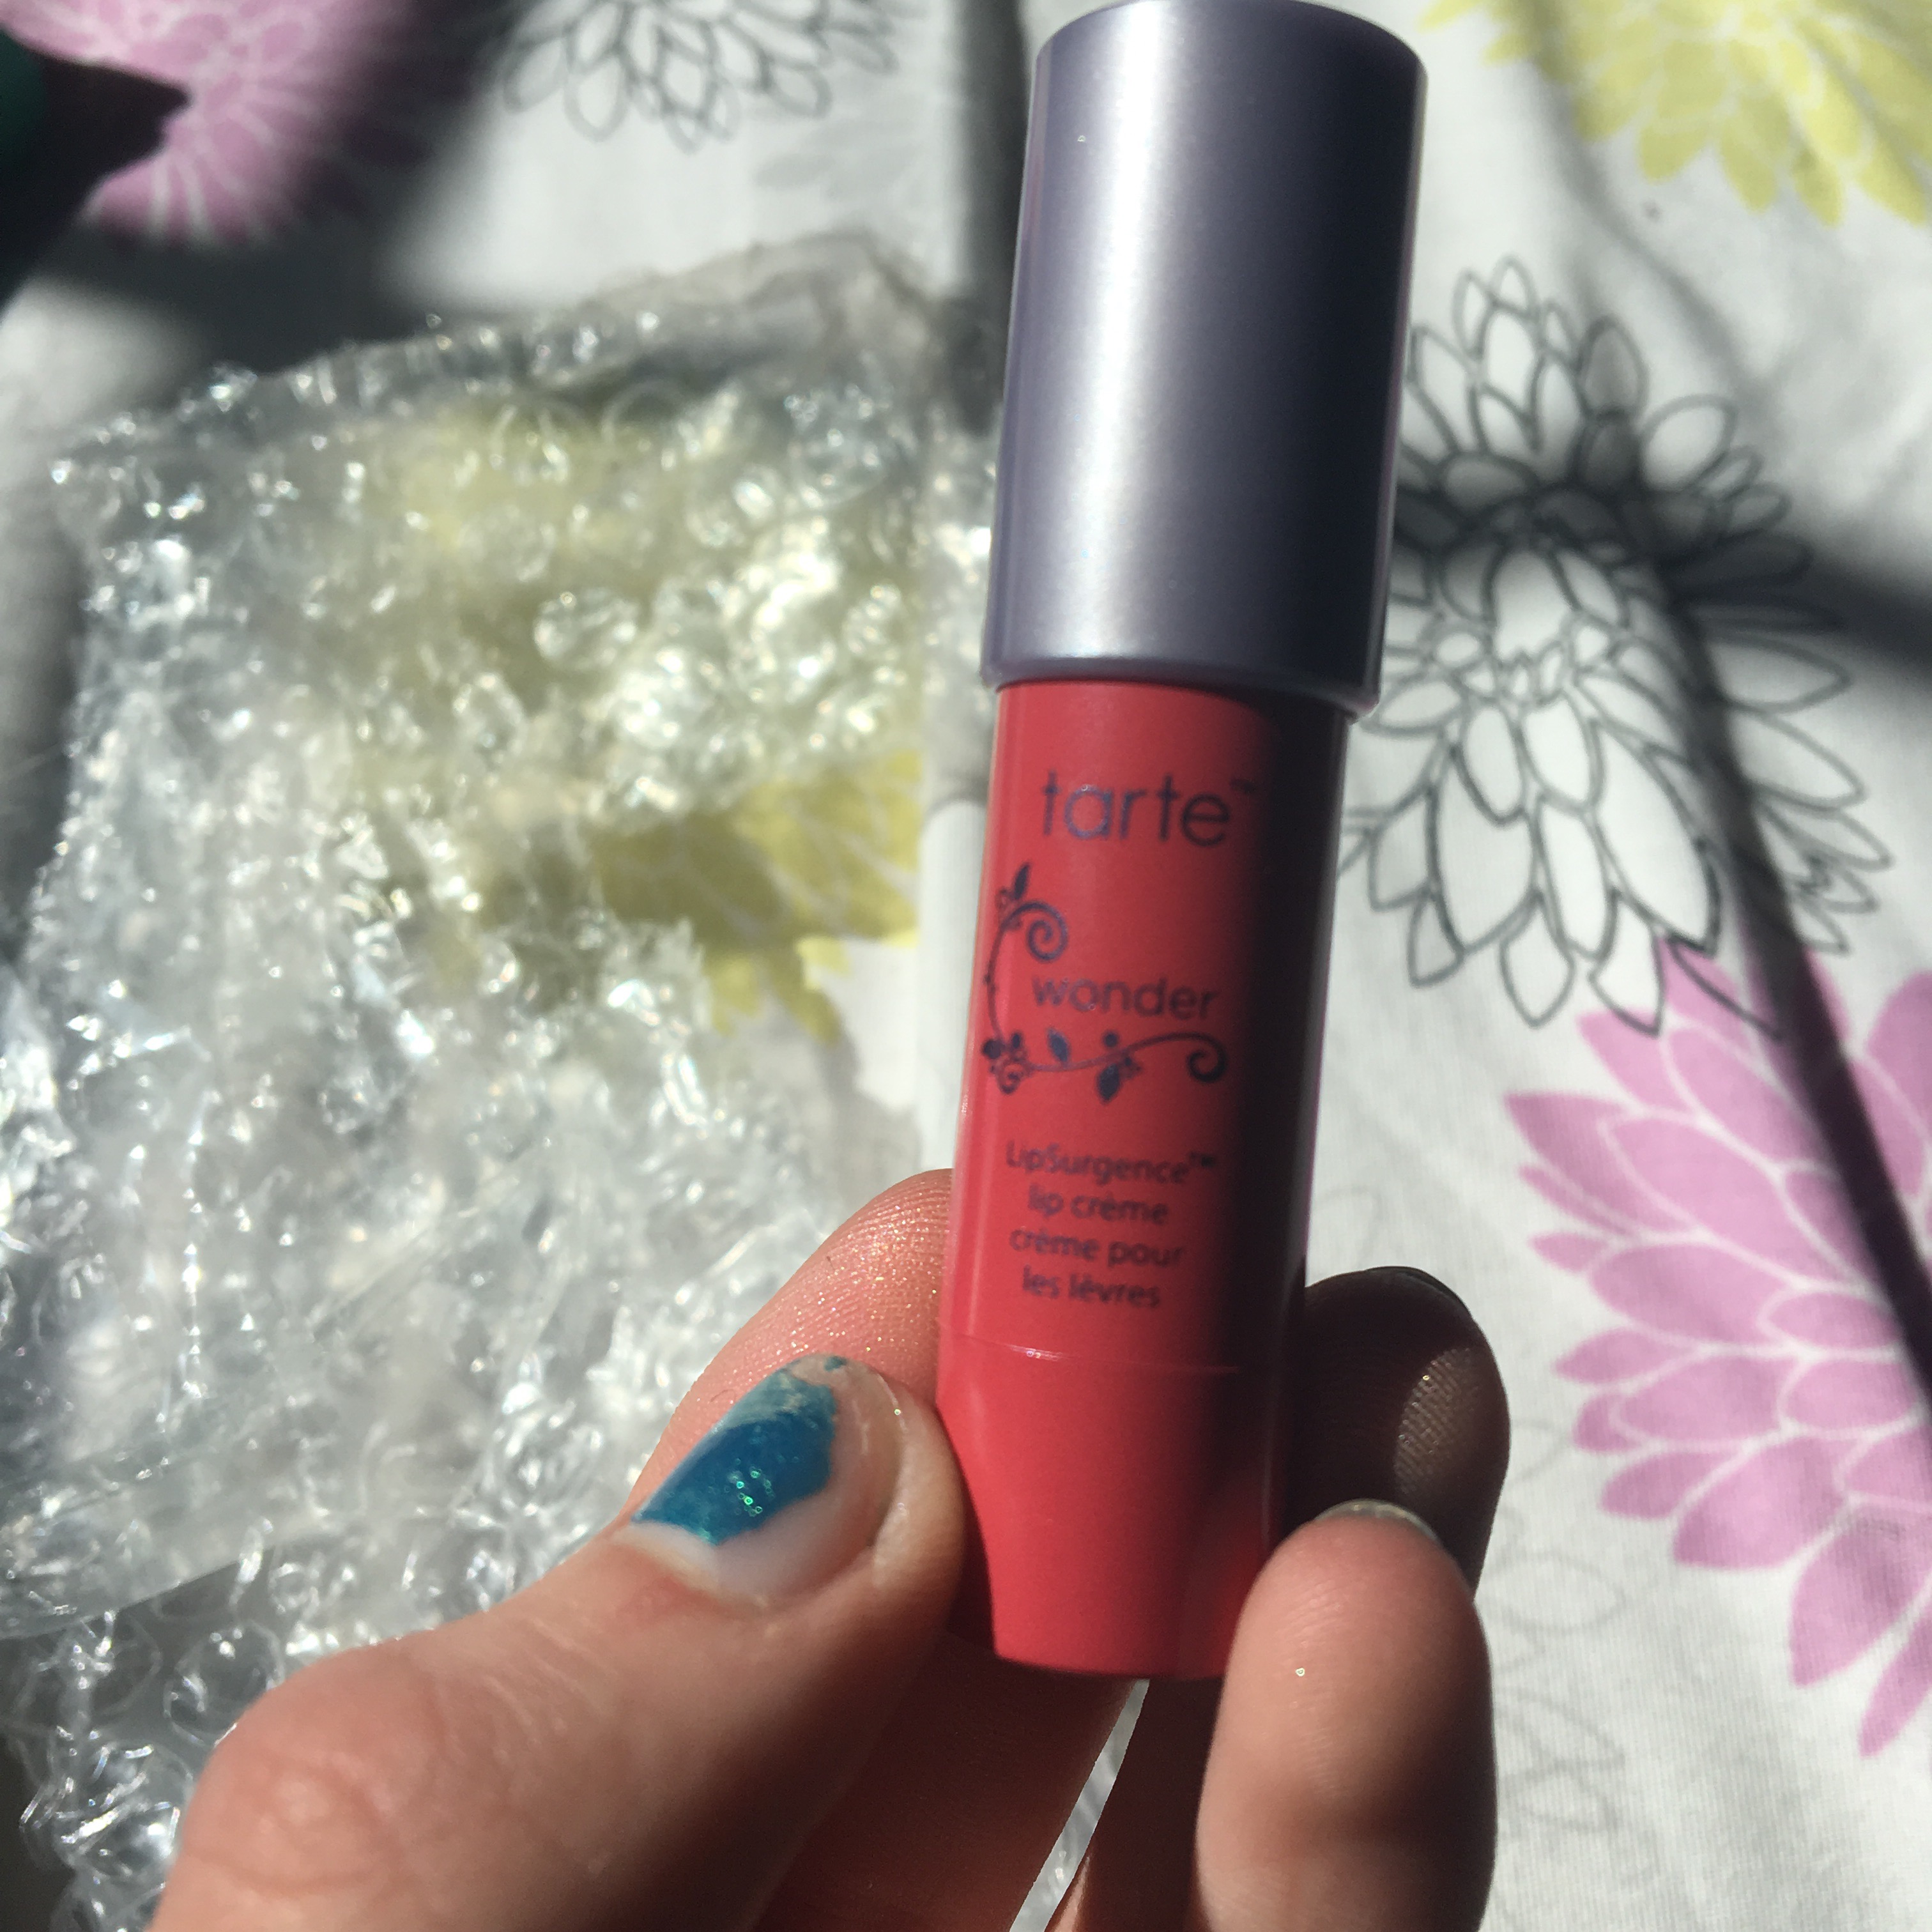
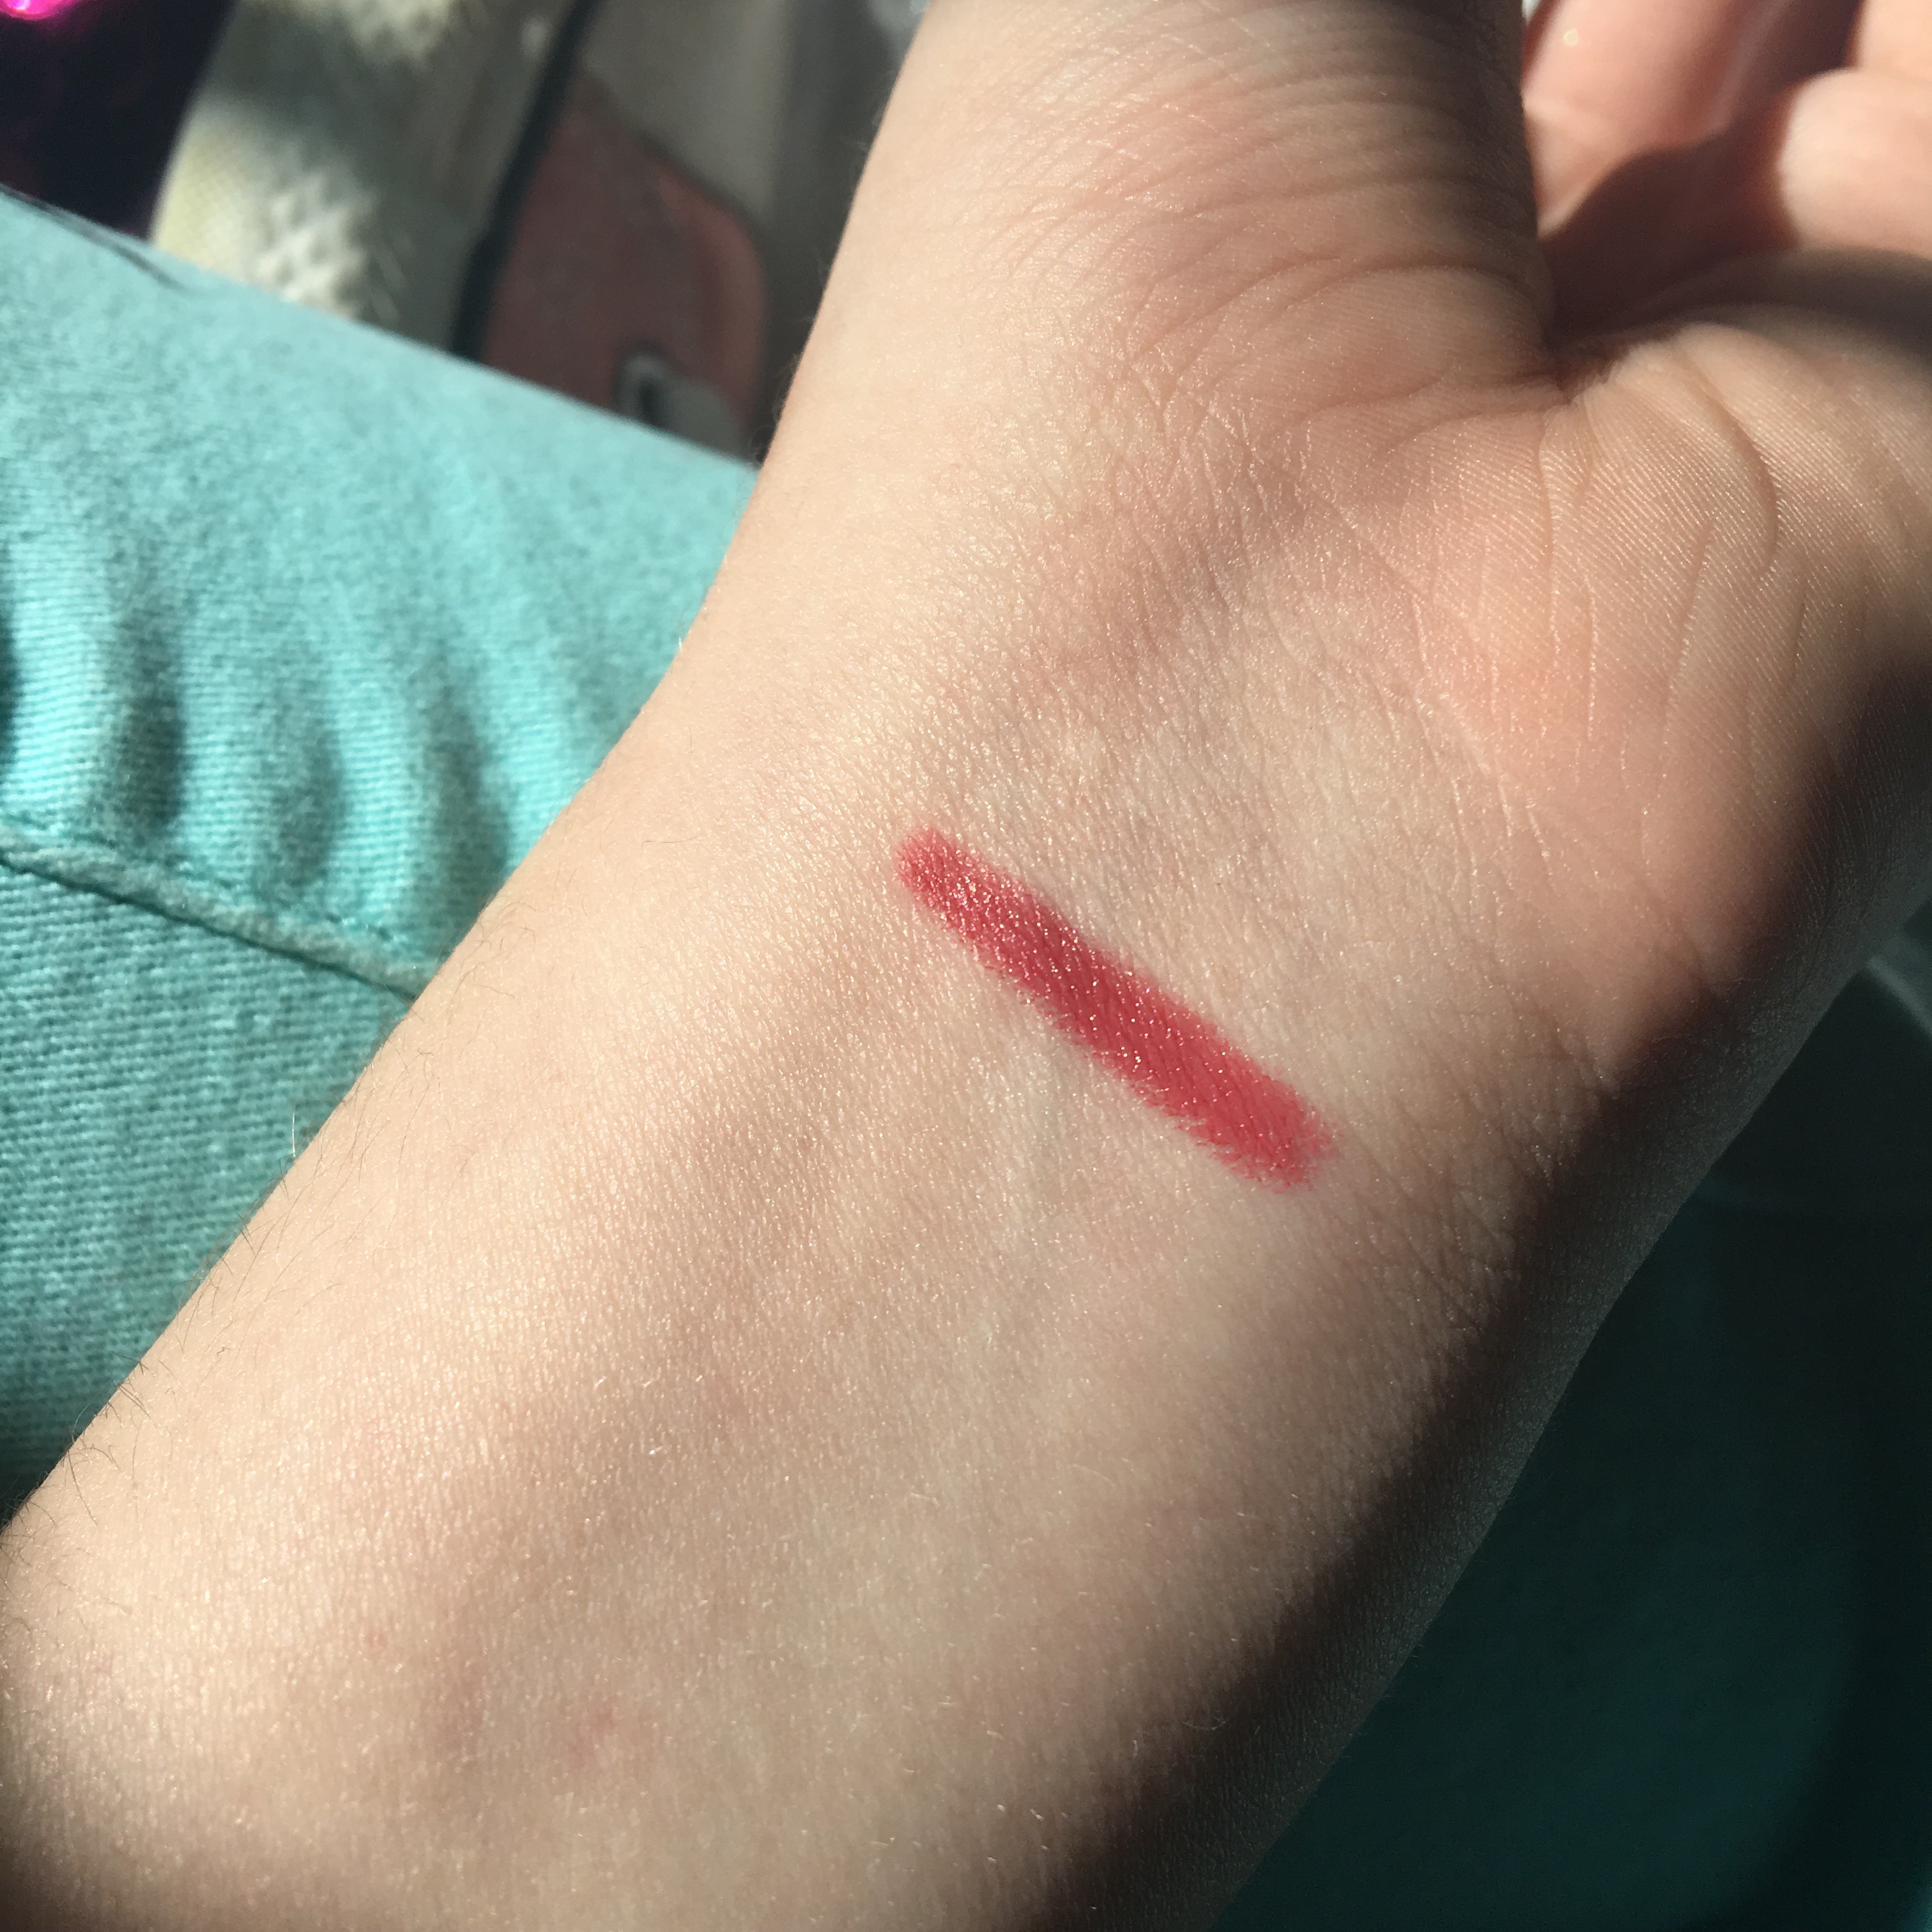
I saved the best for last! I was so excited when I saw this product in my bag. It’s a tarte LipSurgence lip creme, in Wonder. It’s in a crayon form (not sure if the full size is or not). I’ve heard so many wonderful things about tarte, especially their lip products and I know that they’re a higher-end brand which is why I’m reluctant to buy their products without trying then first, and I’m glad I got the chance to do that. This is an extremely moisturizing product, which is amazing since I’ve been having problems with dry lips lately. It’s a beautiful muted, berry-red color, which is more like a subtle red. It’s very pigmented, and relatively long-lasting. It does wear off around the inner lip area but that’s easily solved with reapplication. 

Overall, I had a fantastic Ipsy bag this month with great products. I hope you guys enjoyed this post, and see you next time! 

Winter Nail Colors ❄️⛄️

Hello Everyone! Today I wanted to show you guys an assortment of nail polish colors that I think are great for winter this year. Let’s get started!


Sally Hansen Triple Shine Nail Polish in Make a Splash

First we have this beautiful opalescent pale blue color. I love the shine to this, and the subtlety of the color as well as the opalescense. Since the color is so light, this nail polish may require more coats than a more pigmented color. 

  
Sally Hansen Triple Shine Nail Polish in Redflection

Next we have this gorgeous cranberry-red color. This is a solid, very pigmented color that would look great on a manicure if you want it to be a bit more colorful. 


Pure Ice Nail Polish in Heart Break

Here we have a nice, shimmery blue nail color. This one leans more to the green-blue side of the blue spectrum, but I thought it looked great for winter because it reminds me of ice or water in a way. 

  
Covergirl Outlast Stay Brilliant Nail Polish in Skylight

This nail color is very similar to the first one, although this one is just a solid color. It’s a very pretty light blue color that reminds me of December. 


Charming Charlie’s Nail Polish

This is a beautiful shimmery shiny emerald green nail polish. It reminds me of Christmas time, and I think it looks great on toenails. 


Essie Nail Polish in Blue Rhapsody

This is a pretty, sparkly light blue nail color. I love it because it just reminds me of a stereotypical winter color and also kind of reminds me of snowflakes. 

  
Zoya Satin Nail Polish in Tove
This is my new favorite nail polish. (It’s actually on my nails in this picture) It’s a beautiful, soft muted blue-gray color. I found that when applied and after it dried, it got a semi-matte texture without a matte topcoat which is awesome. 


Spoiled Nail Polish in I Don’t Drink Cheap Wine 

Lastly we have another berry-toned polish. This one is super cute because it’s shimmery and gives your nails a bit of extra shine. 

That’s all for today’s post. I hope you guys enjoyed it, and see you next time!

Summer Nail Polish Colors 💅🏻☀️

Hi everyone! Today I wanted to show you guys some of my favorite nail polish colors to wear during the summertime. I hope I can inspire you for what nail colors you get!
 
Ulta Nail Polish in Red Carpet Red

This is a nice, sophisticated, vibrant red color. This is more of a nail lacquer, so it’s thinner and it takes about 3 coats to achieve the desired red color, but it’s very beautiful. 
 
Poparrazi Nail Polish in Tropic Tango

This is the type of nail color I would imagine wearing on my toenails on vacation on a beach somewhere tropical. It’s a bright, yet dark orange color. I’ve found that when it smudges, it turns sort of reddish around the smudged area which actually looks cool. If you don’t use a top and base coat with this nail polish, it will peel off very easily.  
 
Flower Nail Polish in Eye of the Tiger Lily

This is a lighter, but still bright orange. This color reminds me of tangerines. This nail polish is a bit thin, so it will take a few coats to make the color opaque. 
 
Covergirl Outlast Stay Brilliant Nail Polish in Coral Silk

This is a beautiful, feminine coral-peachy color with a hint of orange. This nail polish brand is very good, so it costs a bit more but it is easily found in drugstores like CVS and Walgreens. 
 
Sally Hansen Triple Shine Nail Polish in Lemon Shark

As you can see, I’ve used this nail polish quite a bit. The brand is very reliable and on the cheaper side as well. This color is great for nail art. It’s a very energetic looking color, a bright shocking yellow. 
 
Poparazzi Nail Polish in Lime-ousine Ride

This a very zesty lime green nail color. This reminds of something I would wear on the beach. 


Nicole by OPI Nail Polish in Mer-Maid for each other

This nail polish is different from the others, because it is shimmery and opalescent. This color is a beautiful blue-green that looks like the colors of a mermaid’s tail. 
 
Sinful Colors Nail Polish in Rise and Shine 

This is another shimmery nail color, but this one is in a turquoise with a greenish tint. This color reminds of the tropical ocean. 
  

Pure Ice Nail Polish in Scream

This is another turquoise nail polish, but this is more blue. This is one of my favorite colors. I wear this all the time, in fact I’m wearing it on my toes right now. 
 
Sally Hansen Xtreme Wear Nail Polish in Blue Me Away!

This is a very bold, bright blue color. It looks the summer sky on a hot day. However pretty it is, it can be kind of hard to remove and can stain your nails if you don’t use a base coat. 
 
Sinful Colors Nail Polish in Endless Blue

This is a bold, cobalt blue color. I love this nail polish, and I wear it all the time. 
  
Milani Fierce Foil Nail Polish in Rome

This is an orchid-lilac purple color with glitter in it. It’s very girly especially with the glitter, but I bet it looks cute on your fingernails when you’re on the beach. 
 
Sinful Colors Nail Polish in Dream On

This nail polish is a super bright neon purple color. I am obsessed with this color and I wear it on my toes a lot. 


Sinful Colors Nail Polish in Out of Bounds

This color is pretty similar to the previous one. However, this color is a more pinky-fuschia shade. It tends to look more pink on, but it’s still pretty. 
   

ELF Nail Polish in Bubble Gum Pink

I don’t wear much pink nail polish, but when I’m in the mood for it, this color is great. It’s very girly and feminine. 

Those are all of my summer nail colors! I hope you guys enjoyed this post and got some inspiration for your own nails. See you next time! 

Splatter Nail Art

Hello everyone! I did my nails a few days ago and they turned out beautifully, so today I’m going to show you guys how to do it too. Let’s get started! 
What you will need: 

  • A paper plate
  • Paper towels 
  • 3 nail polish colors
  • Clear top coat nail polish
  • Clear base coat nail polish
  • 2 disposable straws


Step 1: Put the base coat on your nails. 

Step 2: Paint your nails with one color for the desired base color

  
Step 3: Put one color of nail polish on the plate. (About the amount shown down below for your fingernails.) Only do this for one color because the other color will be dry by the time you’re ready to use it if you put it on the plate. 

 
Step 4: Take one of your straws and dip it in the nail polish. Make sure some of the nail polish is inside the straw, or it won’t work. Then blow out of the other side of the straw over one of your nails to create a splatter effect. Below is an example of what it should look like. 

 
Step 5: Repeat step 4 for all of your nails. 

Step 6: Repeat steps 3-5 with the other nail polish color. 

 Step 7: Put the clear top coat on your nails after they have dried a bit. 

Step 8: Let your nails dry for a couple of hours, then clean up the edges around your nails if needed. 
Finished Product: 

 
I think this is a really cool and easy nail art DIY that anyone can do. This also looks amazing if you do it in red, white, and blue for the 4th of July. I really enjoyed doing this, and I hope you guys do too.  See you next time! 


Sharpie Nail Art

Hello everybody! Today I wanted to do another nails post because I’ve only done two of these and I know you guys really love these, so I hope y’all like this one too. I am doing nail art with sharpies for an easy beginners nail idea. 
What you will need: 

  • A nail polish color of your choice (black or white would be best) 

 
I used Sally Hansen in Hard To Get

  • A clear top coat (and a base coat if you have some) 
  • A sharpie color of your choice (I found that metallic sharpie is best)

Step 1: Paint on your clear base coat if you have it. 

Step 2: Paint on your nail polish color with as many coats as you need for it to be opaque. 

  
Step 3: Once your nail polish has dried,  make a design or pattern with sharpie. (It may be hard for the sharpie to show up, so I would recommend to dot the sharpie to let the ink pool up a bit.) 

Step 4: Once the sharpie has dried, gently paint on the topcoat. If you do not do this carefully, the sharpie ink could smear and it won’t look good unless that’s the kind of look you’re going for. 

  
Step 5: Clean up the excess nail polish around the nails. 

 
And you’re done! This is so easy and quick, and looks like you put a lot of time and effort into it when you didn’t. This is a great way for beginners to do nail art, or good if you don’t have much time, but want more than just plain nails. I love how this turned out, and I will definitely do it again. I hope you guys enjoyed this post, and see you next time! 


Spring Nail Art: Pastel Water Marble

Hey guys! I’m super happy because over the weekend, I have reached over 50 followers and that is half of my goal of 100 followers by October. Thank you guys for all of your support, and I would really appreciate it if you would give word out to your friends or other blogs that you think would like me to help me to reach my goal. 

With that aside, today I wanted to do a nail art post because I’ve only done one of these before, but I got such positive feedback so I wanted to show you guys something different this time. I am showing you how to do water-marbling on your nails. I used pastel colors to go along with springtime, but of course you can use whatever colors you would like. Let’s hop right into this!

What you will need: 

  • A small bowl that you don’t mind getting nail polish in ( I cut the top off a a plastic cup but I would not recommend doing this if you are doing this for a long time because the nail polish will eat away at the plastic)
  • 5 or more nail polish colors
  • A toothpick
  • 15-20 q-tips
  • Chapstick (optional) or nail polish remover

Step 1:

Fill your bowl up with water to a point where you can dip your finger (upside-down) in easily and keep it flat

Step 2: (optional)

If you have Chapstick, cover the skin around your fingernails up to the middle of each finger. This just makes the removal of excess nail polish much easier. 

Step 3:

Pour your nail plush colors on the water in the order you would like, pouring smaller and smaller circles in the middle of the others. 


Pink: Sally Hansen Triple Shine in Pixie Slicks

Yellow: Sally Hansen Triple Shine in Lemon Shark

Blue: Color Club in Factory Girl

Green: Covergirl Outlast Stay Brilliant in Salt Water Taffy

Purple: Elf in Lilac

Step 4: 

Apply a base coat to your nails if you would like. 

Step 5:

Take your toothpick and carefully make designs in the nail polish. Don’t mix it too much, or the designs won’t be visible on your nails. 


Step 5: Dip your nails into the designs by placing your finger in upside-down and pull it out. 

Step 6: Take some q-tips and remove the excess nail polish. You will need nail polish remover for this step if you did not have the Chapstick. 

Step 7: Apply a topcoat to your nails if you would like. 


(Yes, I know there is still nail polish around my nails but it took forever to dry and to get off so I didn’t have time to take a picture of the final look)

And you are done! This is pretty easy, and looks so cool when it’s done. However, it is time consuming, but it’s great if you have a lot of free time or you get bored and don’t know what to do. I hope you guys enjoyed this post, and see you next time! 

Nail Polish Colors for the Springtime 🌸🌹🌻

Hi everyone! Today I wanted to show you some nail colors that are perfect for spring. So here they are!

IMG_1826

Elf Nail polish in Mod Mauve

This nail color looks great on. I currently have it on my nails and I’m loving it. Plus it looks like the color of the year, marsala.

IMG_1829

Elf nail polish in Nude

This nail polish is pretty much the same color as the one above, only in a lighter shade. It is sort of a nude-pink shade, so you can look kind of girly, but not too girly.

IMG_1830

Sally Hansen Triple Shine Nail Polish in Pixie Slicks

This is definitely a brighter nail polish than the previous ones. It is a light almost neon pink, and is super cute and feminine.

IMG_1831

Sally Hansen Triple Shine Nail Polish in Lemon Shark

This is a bright, fun, adorable yellow nail polish that is perfect for spring and summer. It also looks great in nail art as well.

IMG_1832

Covergirl Outlast stay Brilliant Nail Polish in Salt Water Taffy

This is an extremely pale shade of mint green. It is even hard to see that it is green, but when it’s on, it’s much easier to tell. This is a nice, soft, feminine green color that is great for the springtime.

IMG_1833

Petites Nail Polish in Daze

I first saw this on my best friend a while back and I loved it, so next time I went to the store I bought it. It’s a glittery lime green color, and looks really good on your toes.

IMG_1835

Pure Ice Nail Polish in Scream

This nail polish is a bright, turquoise color that is suited for spring and summer. This is one of my favorite colors, and I love it.

IMG_1836

Elf Nail Polish in Lilac

This is a beautiful lavender-colored nail polish that I will wear probably almost every week this spring. I absolutely love this color, and it looks like the epitome of spring.

IMG_1837

Covergirl Outlast Stay Brilliant Nail Polish in Coral Silk

This is a bright coral color that I am obsessed with. This is one of the colors for spring or summer that I love so much.

IMG_1838

Pure Ice Nail Polish in Feelin Hot

This is a pearlescent light pink color that is super beautiful. It looks like a ballet-slipper pink with a touch of metallic.

IMG_1839

Nicole by OPI in Mer-maid for Each Other

This nail color is a shimmery metallic blue-green color. It’s actually kind of hard to tell what color it is, but it is strangely beautiful.

IMG_1840

Covergirl Outlast Stay Brilliant Nail Polish in Skylight

This is a nice, sky-blue nail polish that is amazing for spring. It is a fabulous pastel blue color.

IMG_1842

Sally Hansen Triple Shine Nail Polish in Drama Sheen

This is another pearlescent nail color, but in a pastel purple shade. It is very sheer, so you will need to apply 3-4 coats of it.

IMG_1844

Sinful  Colors Nail Polish in Bali Mist

This is another metallic nail polish. This one is especially pretty because it is a nice orchid shade of purple.

That’s all for this post! I hope you enjoyed it, and see you next time!

Valentine’s Day Nail Idea ❤❤❤

Hey guys! Today I wanted to show you an adorable Valentine’s Day nail idea. I think this is so cute and you should definitely try it out if you have a little more time on your hands. Plus it looks way better than just plain red or pink nails. Let’s get right into it!

What you will need:

  • a base coat
  • a shade of nail polish in either red, pink, or white
  • a top coat
  • a matte top coat
  • a  heart glitter nail polish

IMG_1774


Sally Hansen Nail Hardener (works as a base coat)


IMG_1775

Nicole by OPI nail polish in Sweet Daisy


IMG_1778

IMG_1776

Essie Matte about you

IMG_1777

Nicole by OPI nail polish in Love Your Life

Step 1: Paint your base coat on your nails.

Step 2: Paint your colored nail polish on with as many coats as needed.

Step 3: Paint your top coat over your nail polish.

Step 4: Take your matte top coat and apply it to your nails.

IMG_1779

Step 5: Take your heart glitter nail polish and put it on each ring finger.

Step 6: Remove any excess nail polish on your fingers.

IMG_1780

And you are done! This is quite simple, but it also looks like you put a lot of time into it. I love this look for Valentine’s Day and I hope you do too!


January Favorites 2015!

Hey guys. So yesterday I updated the look of my blog’s website and I’m really excited about it! Let me know what you think about it in the comments. Anyways, today I wanted to show you all of my favorite products from this month. I hope you guys try some of this stuff out!

Music

Alternative:

  • Ballad of Mona Lisa- Panic! At The Disco
  • Yellow Flicker Beat- Lorde
  • I’m So Sick- Flyleaf
  • Breaking and Entering- Tonight Alive
  • If I’m James Dean, You’re Audrey Hepburn- Sleeping with Sirens

Books

  • Nil by Lynne Matson

Description: On the mysterious island of Nil, the rules are set. You have one year. Exactly 365 days- to escape- or you die. Seventeen-year-old Charley doesn’t know the rules. She doesn’t even know where she is. The last thing she remembers is blacking out. When she wakes up she’s lying naked in an empty rock field. Lost and alone, Charley can find no signs of other people until she meets Thad, the gorgeous leader of a clan of teenager refugees. Soon Charley learns that leaving the island is harder than she thought… and so is falling in love. With Thad’s time running out, Charley realizes that to save their future, Charley must first save him. And on an island rife with hidden dangers, their greatest threat is time.

  • Hysteria by Megan Miranda

Description: Everyone knows that Mallory killed her boyfriend, Brian. They even know it was self-defense. But no one knows what really happened, including Mallory. Her parents’ fear– and the community’s curiosity and contempt– beat at her incessantly, constant companions to her own anxiety. Hoping to give her a fresh start, Mallory’s parents ship her off to Monroe, a fancy prep school where secrets are the currency fueling social interactions. And it’s not long before Mallory’s secret is uncovered and used against her. Someone knows exactly what happened between Mallory and Brian– someone who wants her dead. Until she remembers the details of that tragic night, Mallory, and everyone around her, is in grave danger…

  • Auracle by Gina Rosati

Description: On the surface there’s nothing special about Anna Rogan: she gets average grades, she is not especially popular, and she spends most of her time just hanging out with her best friend Rei. But Anna has a secret: she can astrally project out of her body, allowing her spirit to explore the world and the far reaches of the universe. When there’s an accident and Anna’s classmate Taylor takes over her body, what was an exhilarating distraction from her repressive life threatens to become a permanent state. Faced with a future of never aging, never being seen or heard or touched, Anna turns to Rei for help. Now the two of them not only have to get Anna back into her body, but they also have to stop Taylor from accusing an innocent friend being responsible for murder. Together Rei and Anna form a plan, but it doesn’t take into account the deeper feelings that are beginning to grow between them.  

Beauty

IMG_1673

Maybelline New York Eyestudio gel eyeliner in blackest black- $5

IMG_1674

Nyx Matte lipstick in Hippie Chic- $5

I love this lipstick shade because it’s the perfect blend of peachy and coral+ it’s matte.

IMG_1675

Nivea moisturizer- $2

IMG_1676

Essie Matte about you nail polish topcoat- $8.50

This is a bit more pricey than I’d prefer, but it was recommended to me from a friend and it really works. I absolutely love the effect it produces! Here’s what it looks like over black nail polish:

IMG_1677

Others

The Sims 4 computer game- $60

This game is pretty expensive, but it is definitely worth is! I would recommend this to anyone. One thing I really like about this is that you can download custom content, which is user-created objects, clothing , hairstyles, and more, for free. Here is the link to my favorite site for custom content:

http://www.thesimsresource.com/

That’s all for my January Favorites post! I hope you enjoyed it, and see you next time!