Splatter Nail Art

Hello everyone! I did my nails a few days ago and they turned out beautifully, so today I’m going to show you guys how to do it too. Let’s get started! 
What you will need: 

  • A paper plate
  • Paper towels 
  • 3 nail polish colors
  • Clear top coat nail polish
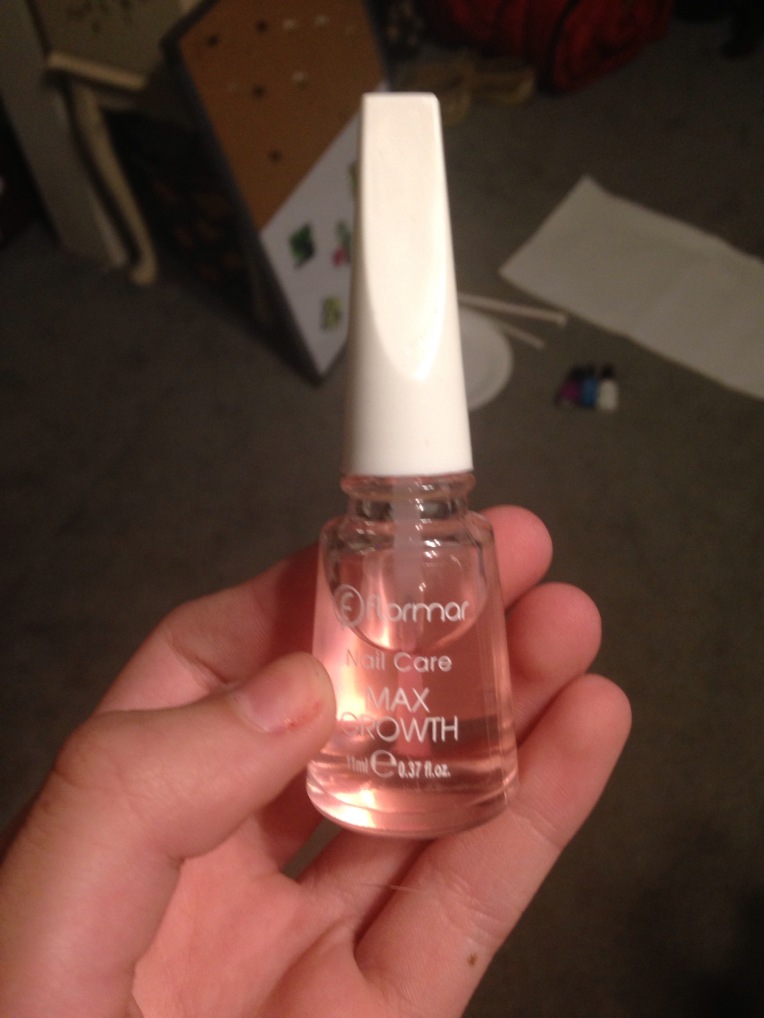
  • Clear base coat nail polish
  • 2 disposable straws


Step 1: Put the base coat on your nails. 

Step 2: Paint your nails with one color for the desired base color

  
Step 3: Put one color of nail polish on the plate. (About the amount shown down below for your fingernails.) Only do this for one color because the other color will be dry by the time you’re ready to use it if you put it on the plate. 
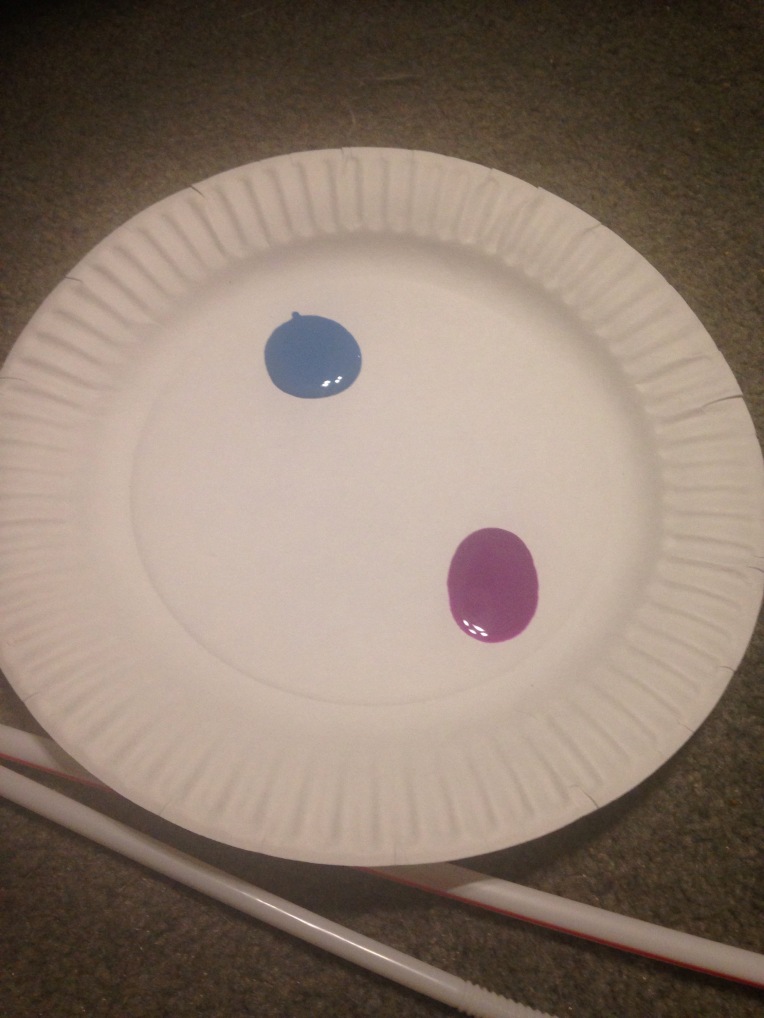
 
Step 4: Take one of your straws and dip it in the nail polish. Make sure some of the nail polish is inside the straw, or it won’t work. Then blow out of the other side of the straw over one of your nails to create a splatter effect. Below is an example of what it should look like. 

 
Step 5: Repeat step 4 for all of your nails. 

Step 6: Repeat steps 3-5 with the other nail polish color. 

 Step 7: Put the clear top coat on your nails after they have dried a bit. 

Step 8: Let your nails dry for a couple of hours, then clean up the edges around your nails if needed. 
Finished Product: 

 
I think this is a really cool and easy nail art DIY that anyone can do. This also looks amazing if you do it in red, white, and blue for the 4th of July. I really enjoyed doing this, and I hope you guys do too.  See you next time! 


Sharpie Nail Art

Hello everybody! Today I wanted to do another nails post because I’ve only done two of these and I know you guys really love these, so I hope y’all like this one too. I am doing nail art with sharpies for an easy beginners nail idea. 
What you will need: 

  • A nail polish color of your choice (black or white would be best) 

 
I used Sally Hansen in Hard To Get

  • A clear top coat (and a base coat if you have some) 
  • A sharpie color of your choice (I found that metallic sharpie is best)

Step 1: Paint on your clear base coat if you have it. 

Step 2: Paint on your nail polish color with as many coats as you need for it to be opaque. 

  
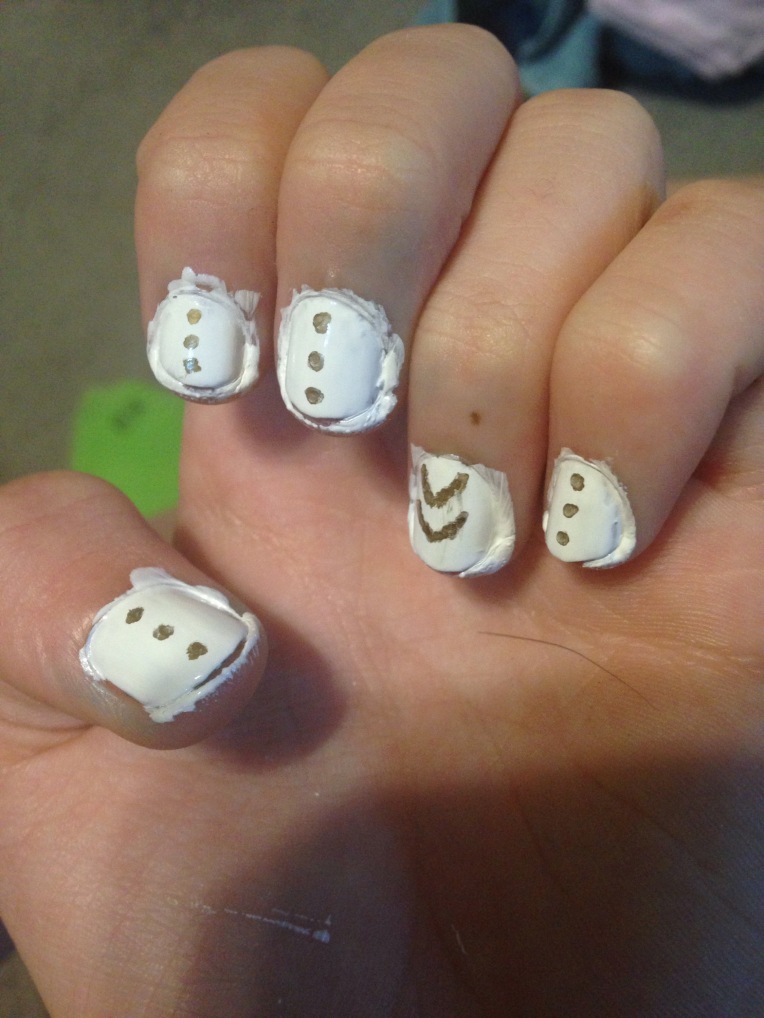
Step 3: Once your nail polish has dried,  make a design or pattern with sharpie. (It may be hard for the sharpie to show up, so I would recommend to dot the sharpie to let the ink pool up a bit.) 

Step 4: Once the sharpie has dried, gently paint on the topcoat. If you do not do this carefully, the sharpie ink could smear and it won’t look good unless that’s the kind of look you’re going for. 

  
Step 5: Clean up the excess nail polish around the nails. 

 
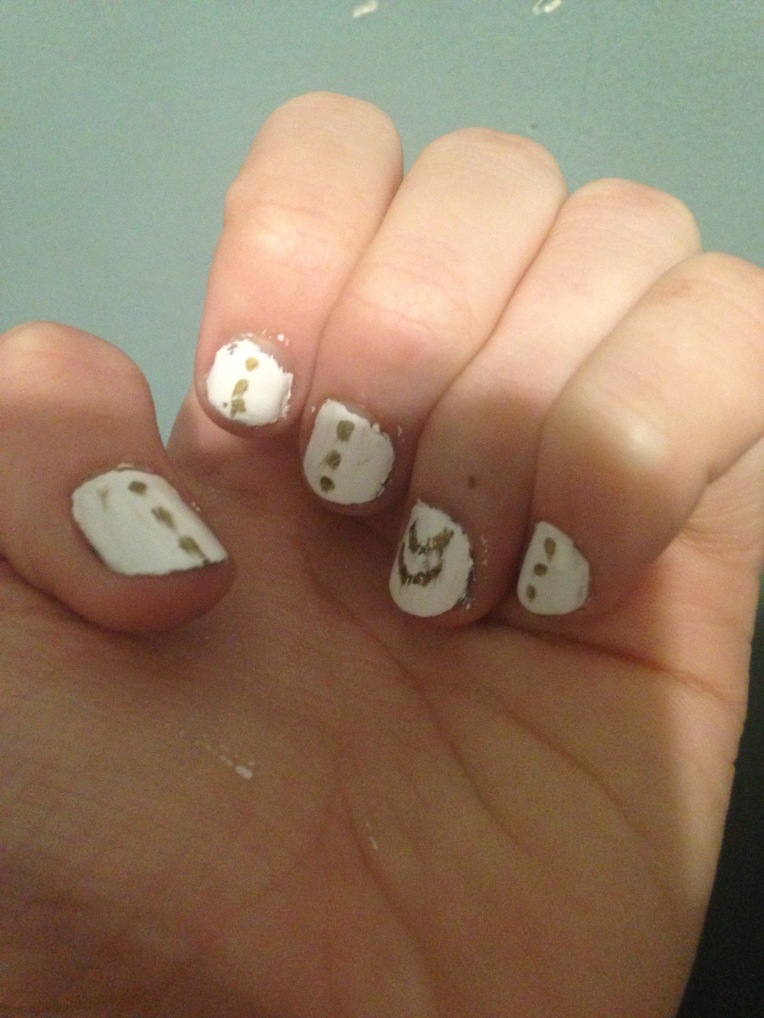
And you’re done! This is so easy and quick, and looks like you put a lot of time and effort into it when you didn’t. This is a great way for beginners to do nail art, or good if you don’t have much time, but want more than just plain nails. I love how this turned out, and I will definitely do it again. I hope you guys enjoyed this post, and see you next time! 
 

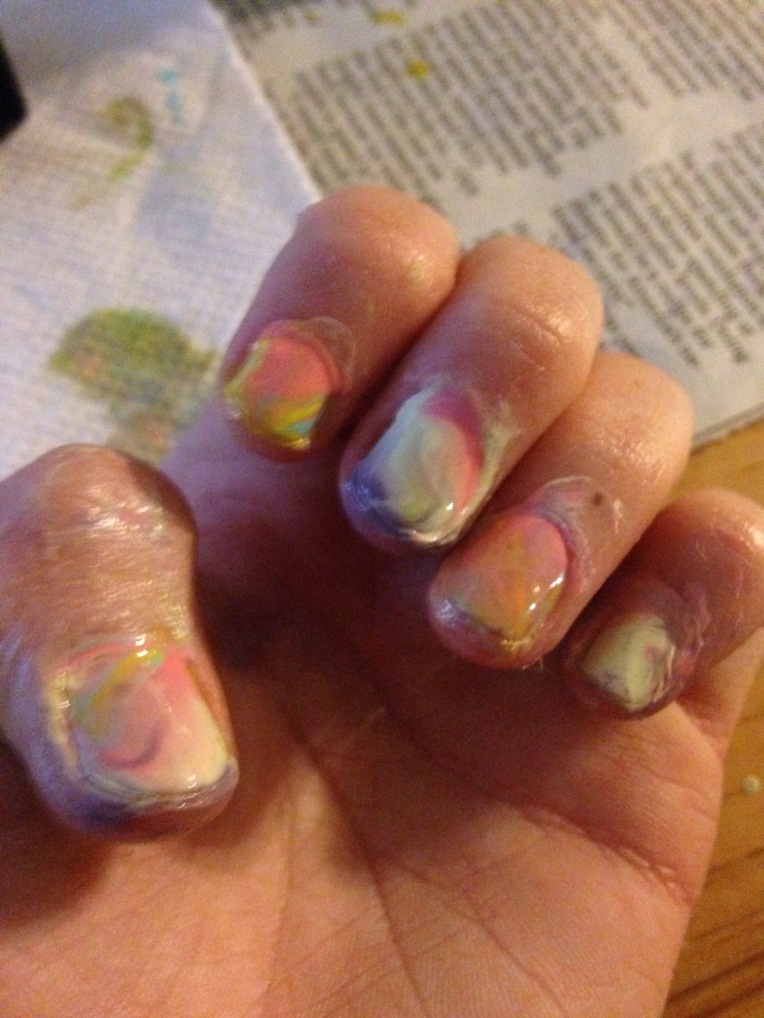
Spring Nail Art: Pastel Water Marble

Hey guys! I’m super happy because over the weekend, I have reached over 50 followers and that is half of my goal of 100 followers by October. Thank you guys for all of your support, and I would really appreciate it if you would give word out to your friends or other blogs that you think would like me to help me to reach my goal. 

With that aside, today I wanted to do a nail art post because I’ve only done one of these before, but I got such positive feedback so I wanted to show you guys something different this time. I am showing you how to do water-marbling on your nails. I used pastel colors to go along with springtime, but of course you can use whatever colors you would like. Let’s hop right into this!

What you will need: 

  • A small bowl that you don’t mind getting nail polish in ( I cut the top off a a plastic cup but I would not recommend doing this if you are doing this for a long time because the nail polish will eat away at the plastic)
  • 5 or more nail polish colors
  • A toothpick
  • 15-20 q-tips
  • Chapstick (optional) or nail polish remover

Step 1:

Fill your bowl up with water to a point where you can dip your finger (upside-down) in easily and keep it flat

Step 2: (optional)

If you have Chapstick, cover the skin around your fingernails up to the middle of each finger. This just makes the removal of excess nail polish much easier. 

Step 3:

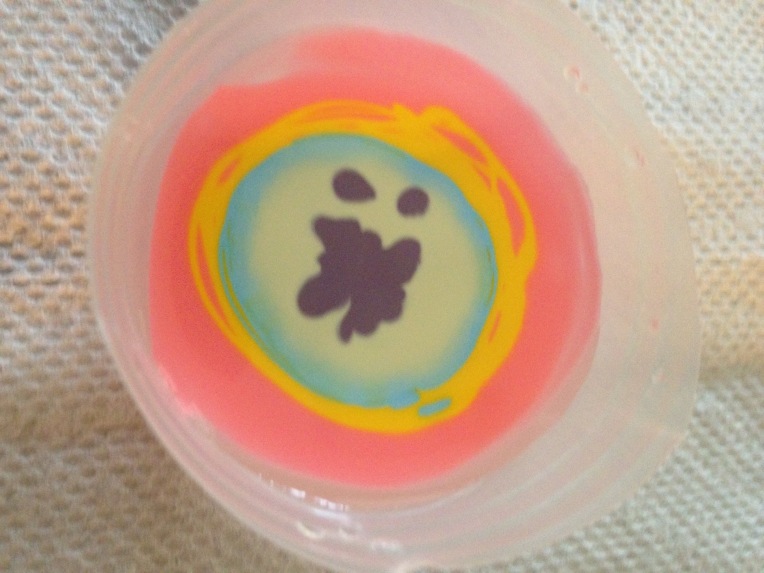
Pour your nail plush colors on the water in the order you would like, pouring smaller and smaller circles in the middle of the others. 


Pink: Sally Hansen Triple Shine in Pixie Slicks

Yellow: Sally Hansen Triple Shine in Lemon Shark

Blue: Color Club in Factory Girl

Green: Covergirl Outlast Stay Brilliant in Salt Water Taffy

Purple: Elf in Lilac

Step 4: 

Apply a base coat to your nails if you would like. 

Step 5:

Take your toothpick and carefully make designs in the nail polish. Don’t mix it too much, or the designs won’t be visible on your nails. 


Step 5: Dip your nails into the designs by placing your finger in upside-down and pull it out. 

Step 6: Take some q-tips and remove the excess nail polish. You will need nail polish remover for this step if you did not have the Chapstick. 

Step 7: Apply a topcoat to your nails if you would like. 


(Yes, I know there is still nail polish around my nails but it took forever to dry and to get off so I didn’t have time to take a picture of the final look)

And you are done! This is pretty easy, and looks so cool when it’s done. However, it is time consuming, but it’s great if you have a lot of free time or you get bored and don’t know what to do. I hope you guys enjoyed this post, and see you next time! 

Valentine’s Day Nail Idea ❤❤❤

Hey guys! Today I wanted to show you an adorable Valentine’s Day nail idea. I think this is so cute and you should definitely try it out if you have a little more time on your hands. Plus it looks way better than just plain red or pink nails. Let’s get right into it!

What you will need:

  • a base coat
  • a shade of nail polish in either red, pink, or white
  • a top coat
  • a matte top coat
  • a  heart glitter nail polish

IMG_1774


Sally Hansen Nail Hardener (works as a base coat)


IMG_1775

Nicole by OPI nail polish in Sweet Daisy


IMG_1778

IMG_1776

Essie Matte about you

IMG_1777

Nicole by OPI nail polish in Love Your Life

Step 1: Paint your base coat on your nails.

Step 2: Paint your colored nail polish on with as many coats as needed.

Step 3: Paint your top coat over your nail polish.

Step 4: Take your matte top coat and apply it to your nails.

IMG_1779

Step 5: Take your heart glitter nail polish and put it on each ring finger.

Step 6: Remove any excess nail polish on your fingers.

IMG_1780

And you are done! This is quite simple, but it also looks like you put a lot of time into it. I love this look for Valentine’s Day and I hope you do too!


DIY fall leaf nail art

Hello! Today I wanted to help you get into the spirit of fall with some fall-inspired nail art.
What you will need: a clear base coat nail polish, a brown nail polish, a glittery orange nail polish, and a clear top coat nail polish, and a dotting tool.

Step 1: Apply one coat of your clear base coat nail polish. I used Sally Hansen double duty base & top coat.
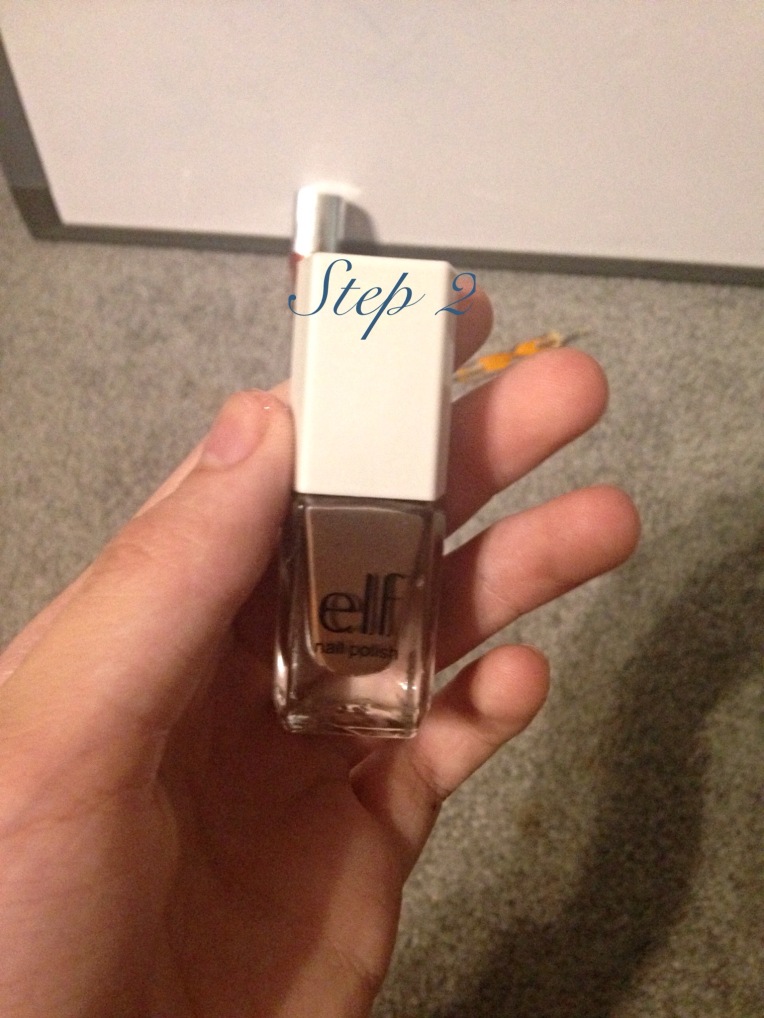
Step 2: Apply a coat or two of your brown nail polish. I used elf’s smoky brown.
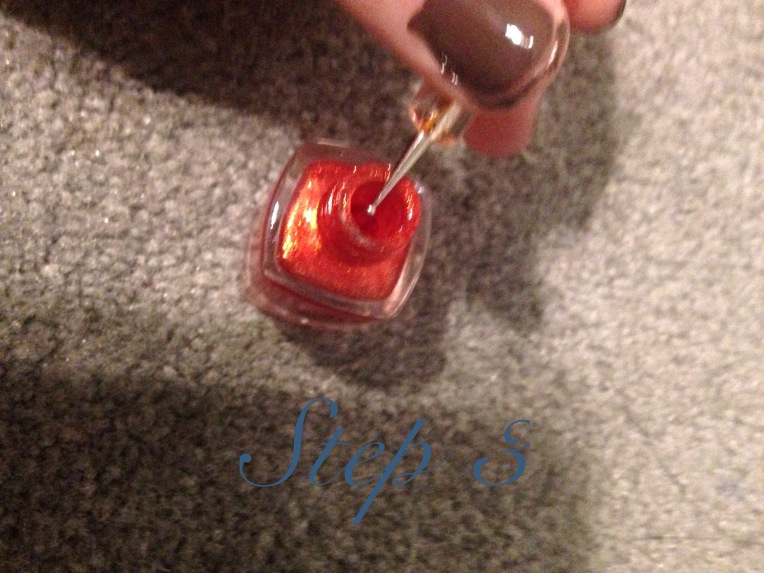
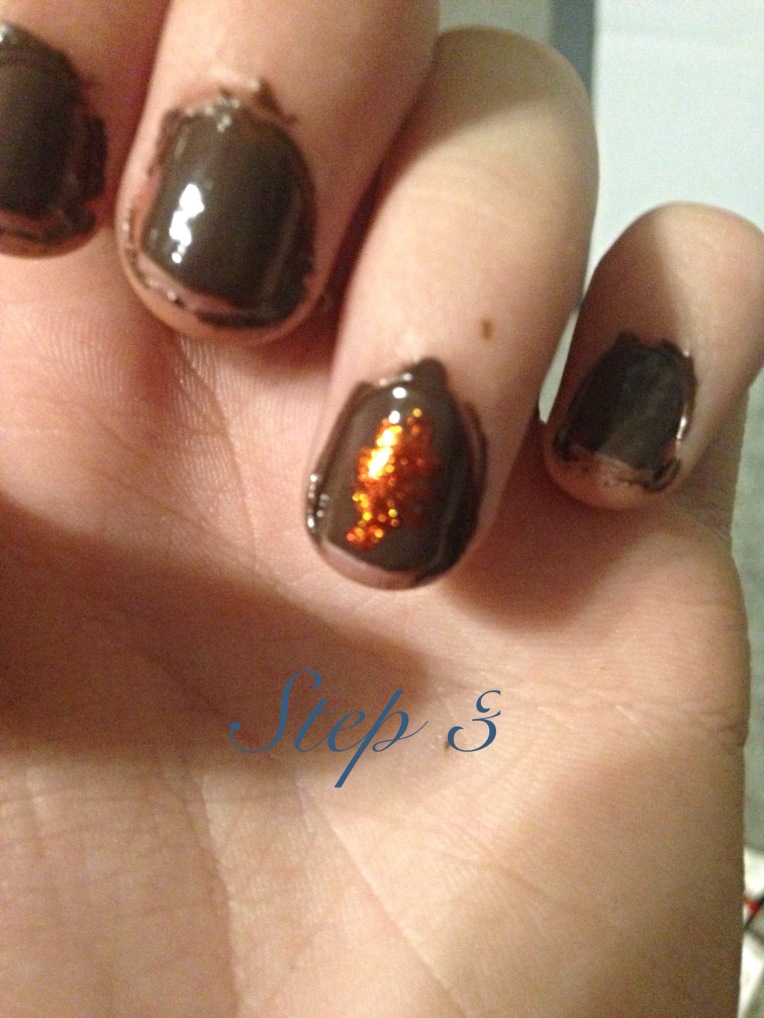
Step 3: Take the smallest end of your dotting tool and dip in in your glittery orange nail polish. I used covergirl outlast stay brilliant glosstinis in rogue red. Then take your dotting tool and draw a leaf on your ring fingers.
Cover with your clear top coat and you are done! This is an easy nail art tutorial and it doesn’t take very long either! I love doing things like this for school. I will see you later, bye. 🙂 IMG_0984.JPGIMG_0986.JPG

IMG_0985.JPG

IMG_0988.JPG

IMG_0987.JPG

IMG_0989.JPG

IMG_0990.JPG