
Hello everyone! First off, I’m sorry I didn’t post last week but it was my birthday party so I needed a little break from work. But today’s post is super exciting and fun! I know I haven’t done a DIY/room decor post for a while now, and I’ve found some really cute ideas on Pinterest that I kind of put my own spin on, so I’ll be showing you how to make them. Let’s get started!
1) Ping Pong Ball Multicolored Lights
Original Pinterest Post Photo:
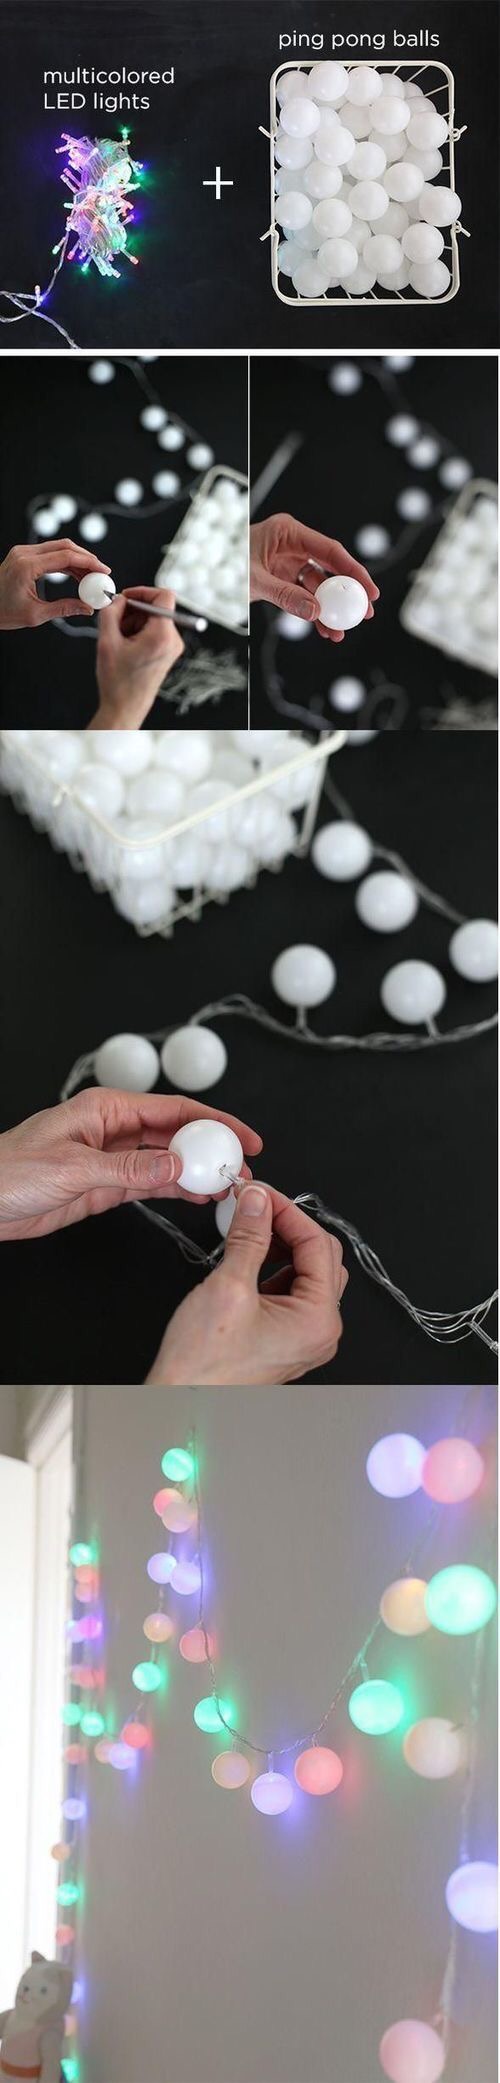
What you will need:
- Multicolored battery powered lasting lights (I used a 10 count, but you can use however many you want)
- As many Ping-Pong Balls as lights you have, with a few extras (preferably with no logo, but if it has a small logo then it’s ok)
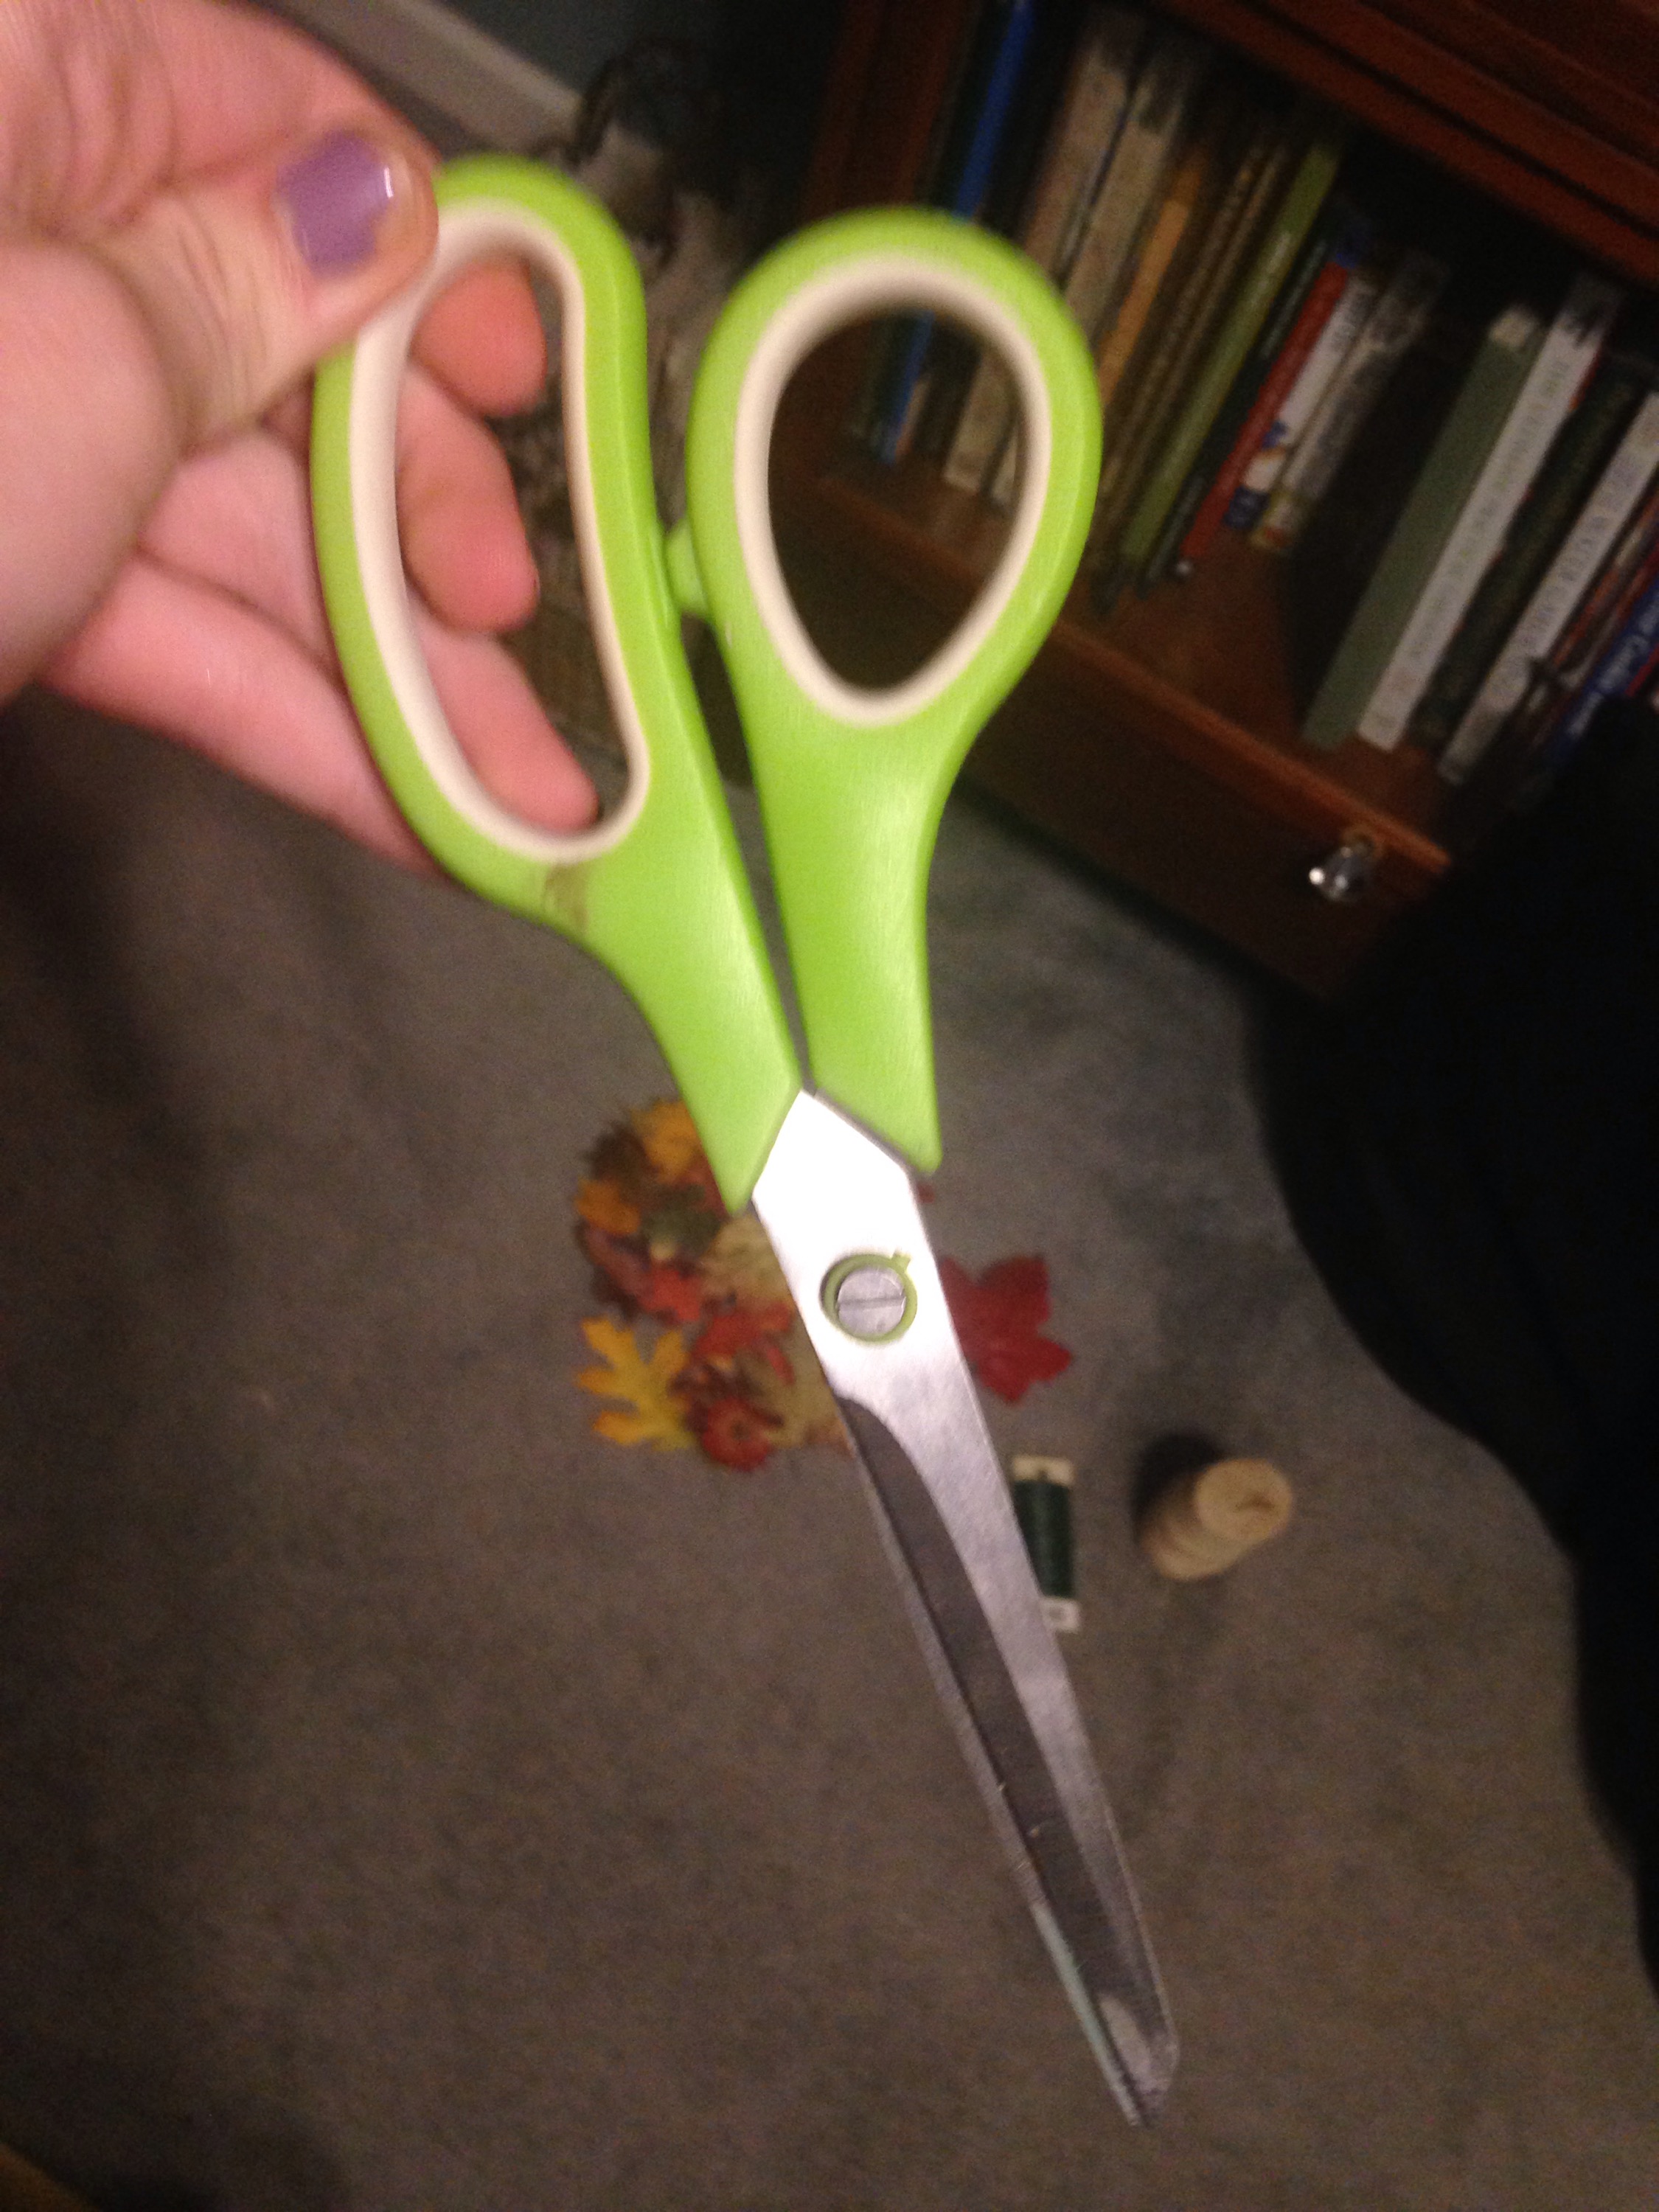
- An X-Acto knife or some small scissors (like sewing scissors)
- Batteries to power the lights
Step 1- Put batteries in the lights and check to see if they all work.
Step 2- Take your knife or scissors and poke a crisscross (like an x) in the ping pong ball. (If your balls have logos just poke the holes over the logo) Continue with this step for each ball.
Step 3- Push a ball over a lightbulb, but don’t use too much pressure or the hole might get bigger. You can always make he hole bigger if it’s too small. Do this for every ball and bulb.
Step 4- Find somewhere to hang your light strand and turn it on.
This is a really unique alternative to the general lights that many people hang in their rooms. This is also something you can keep up all year, it’s just a holiday type DIY because these lights are easier to find around Christmas. I love how quickly this took, and how easy it was, yet it looks very expensive and fancy.
My Results:
With other lights on:
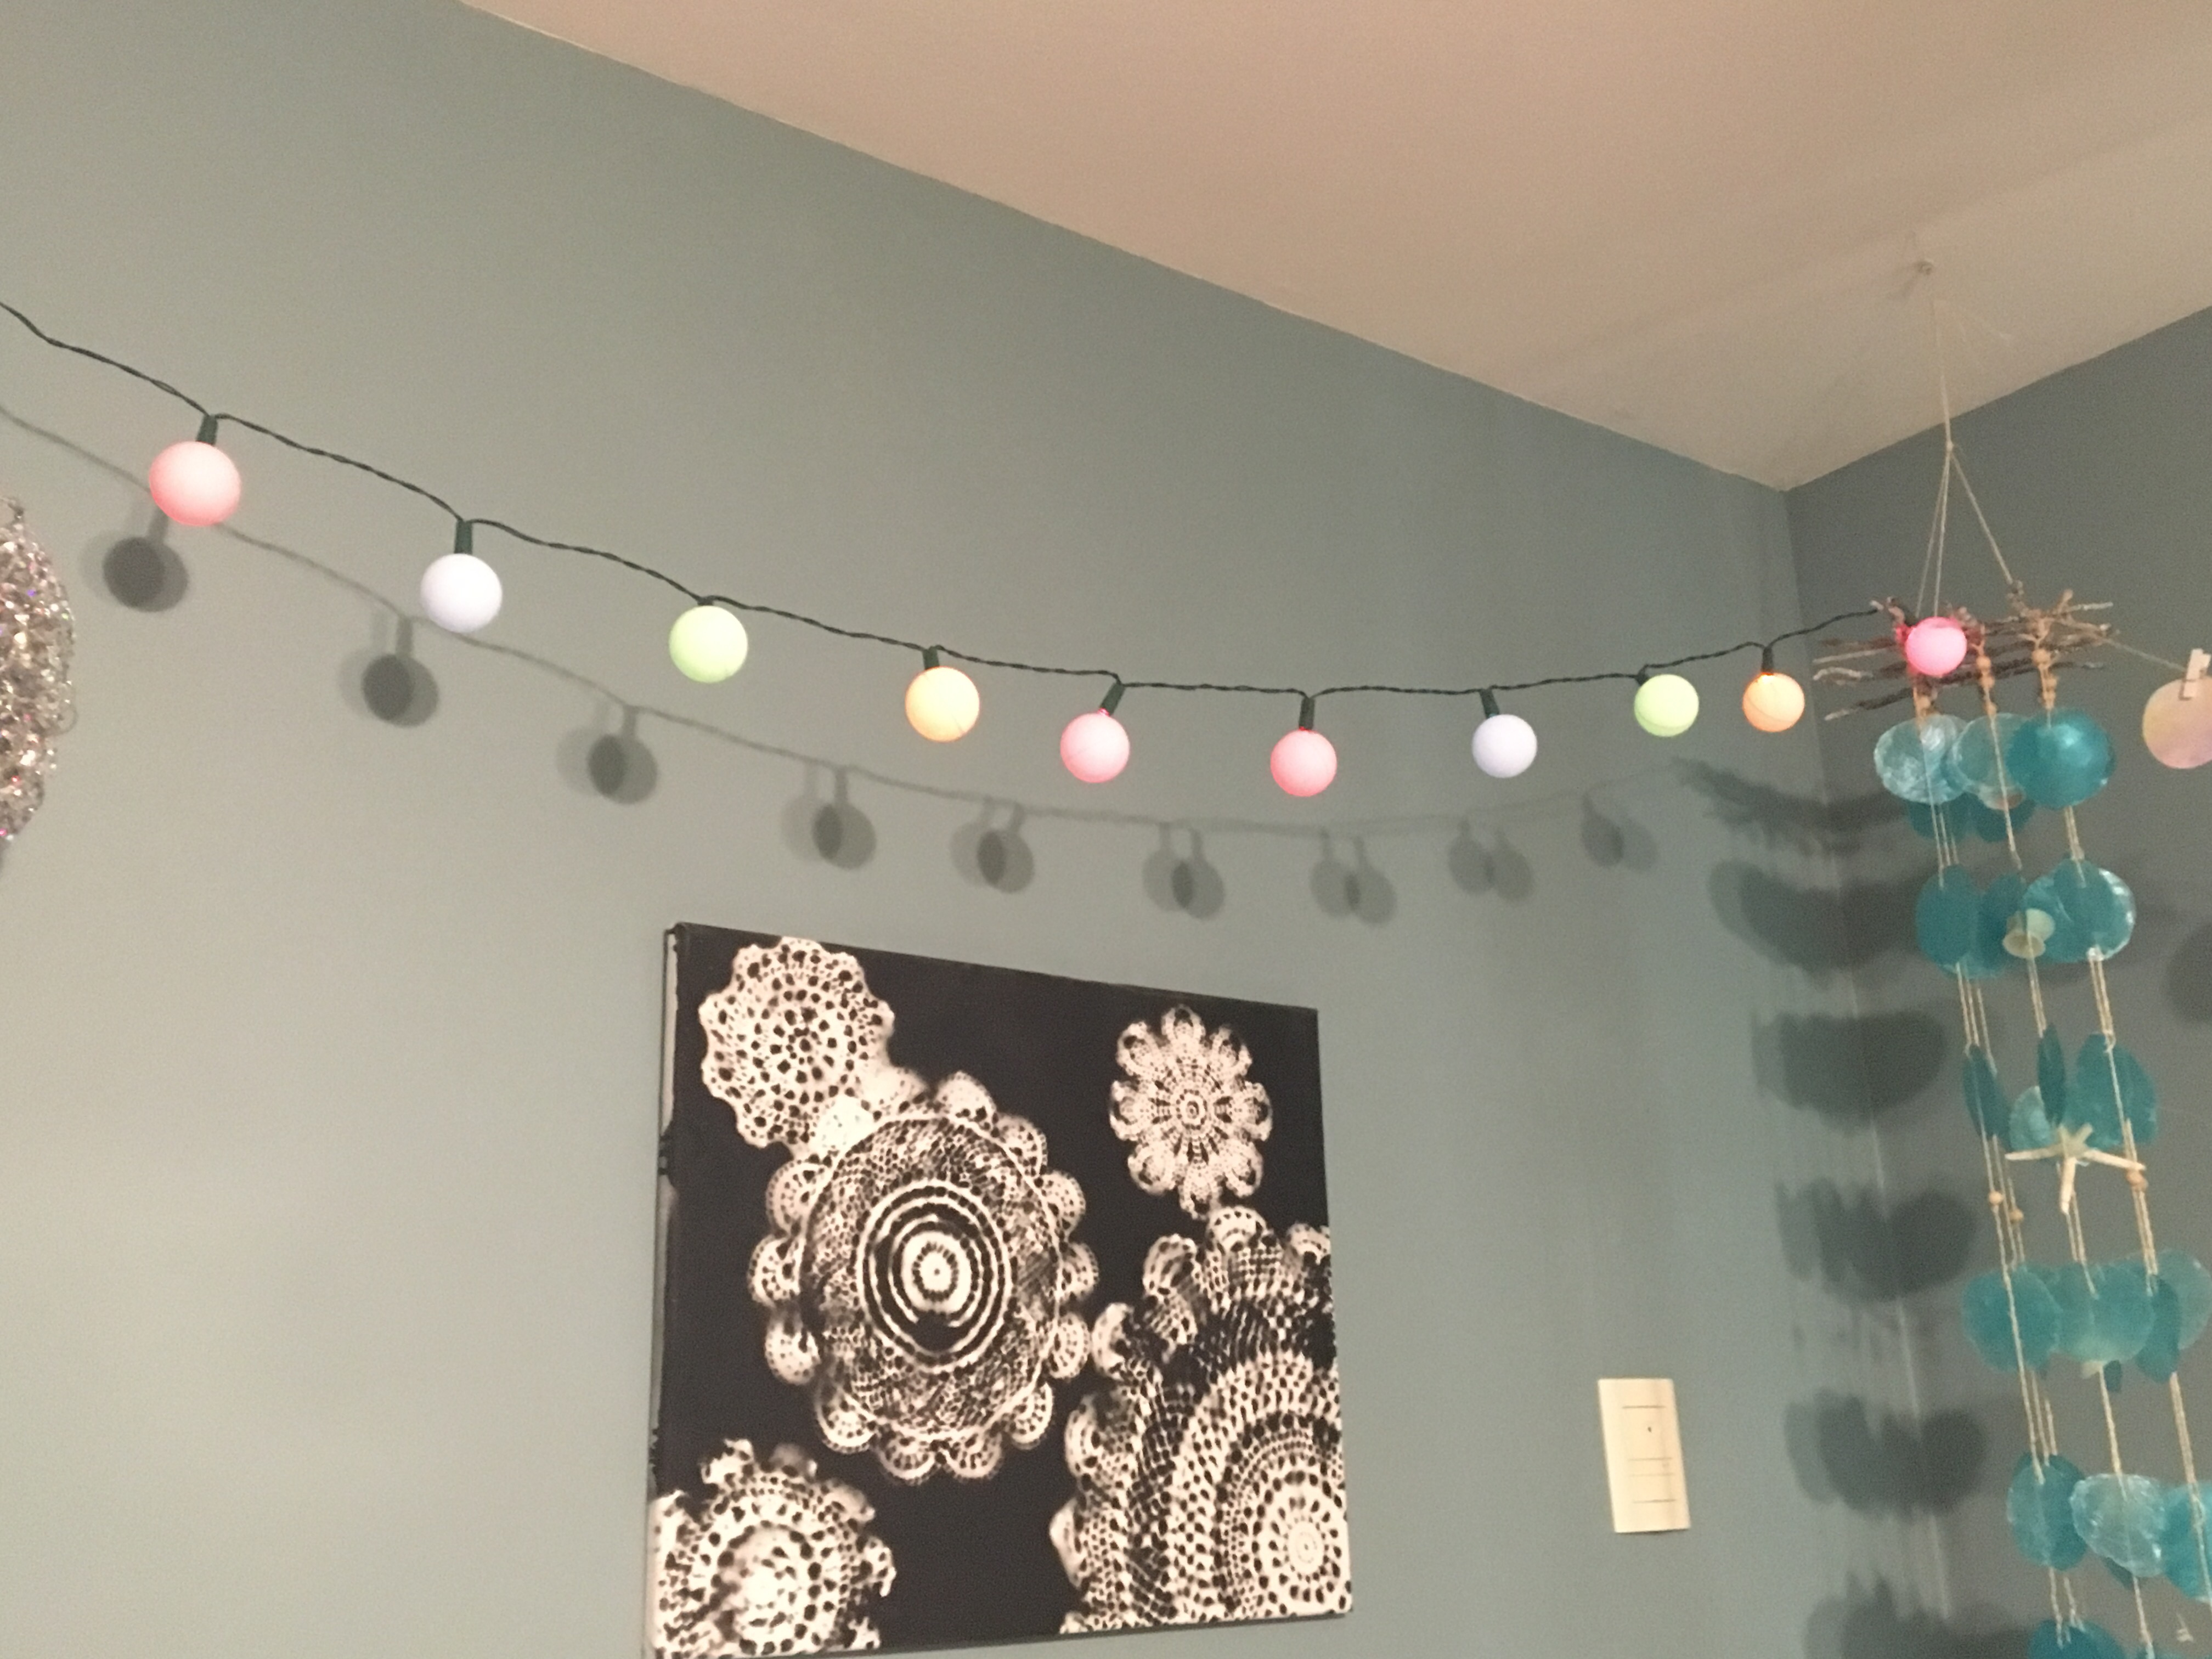
With lights turned off:


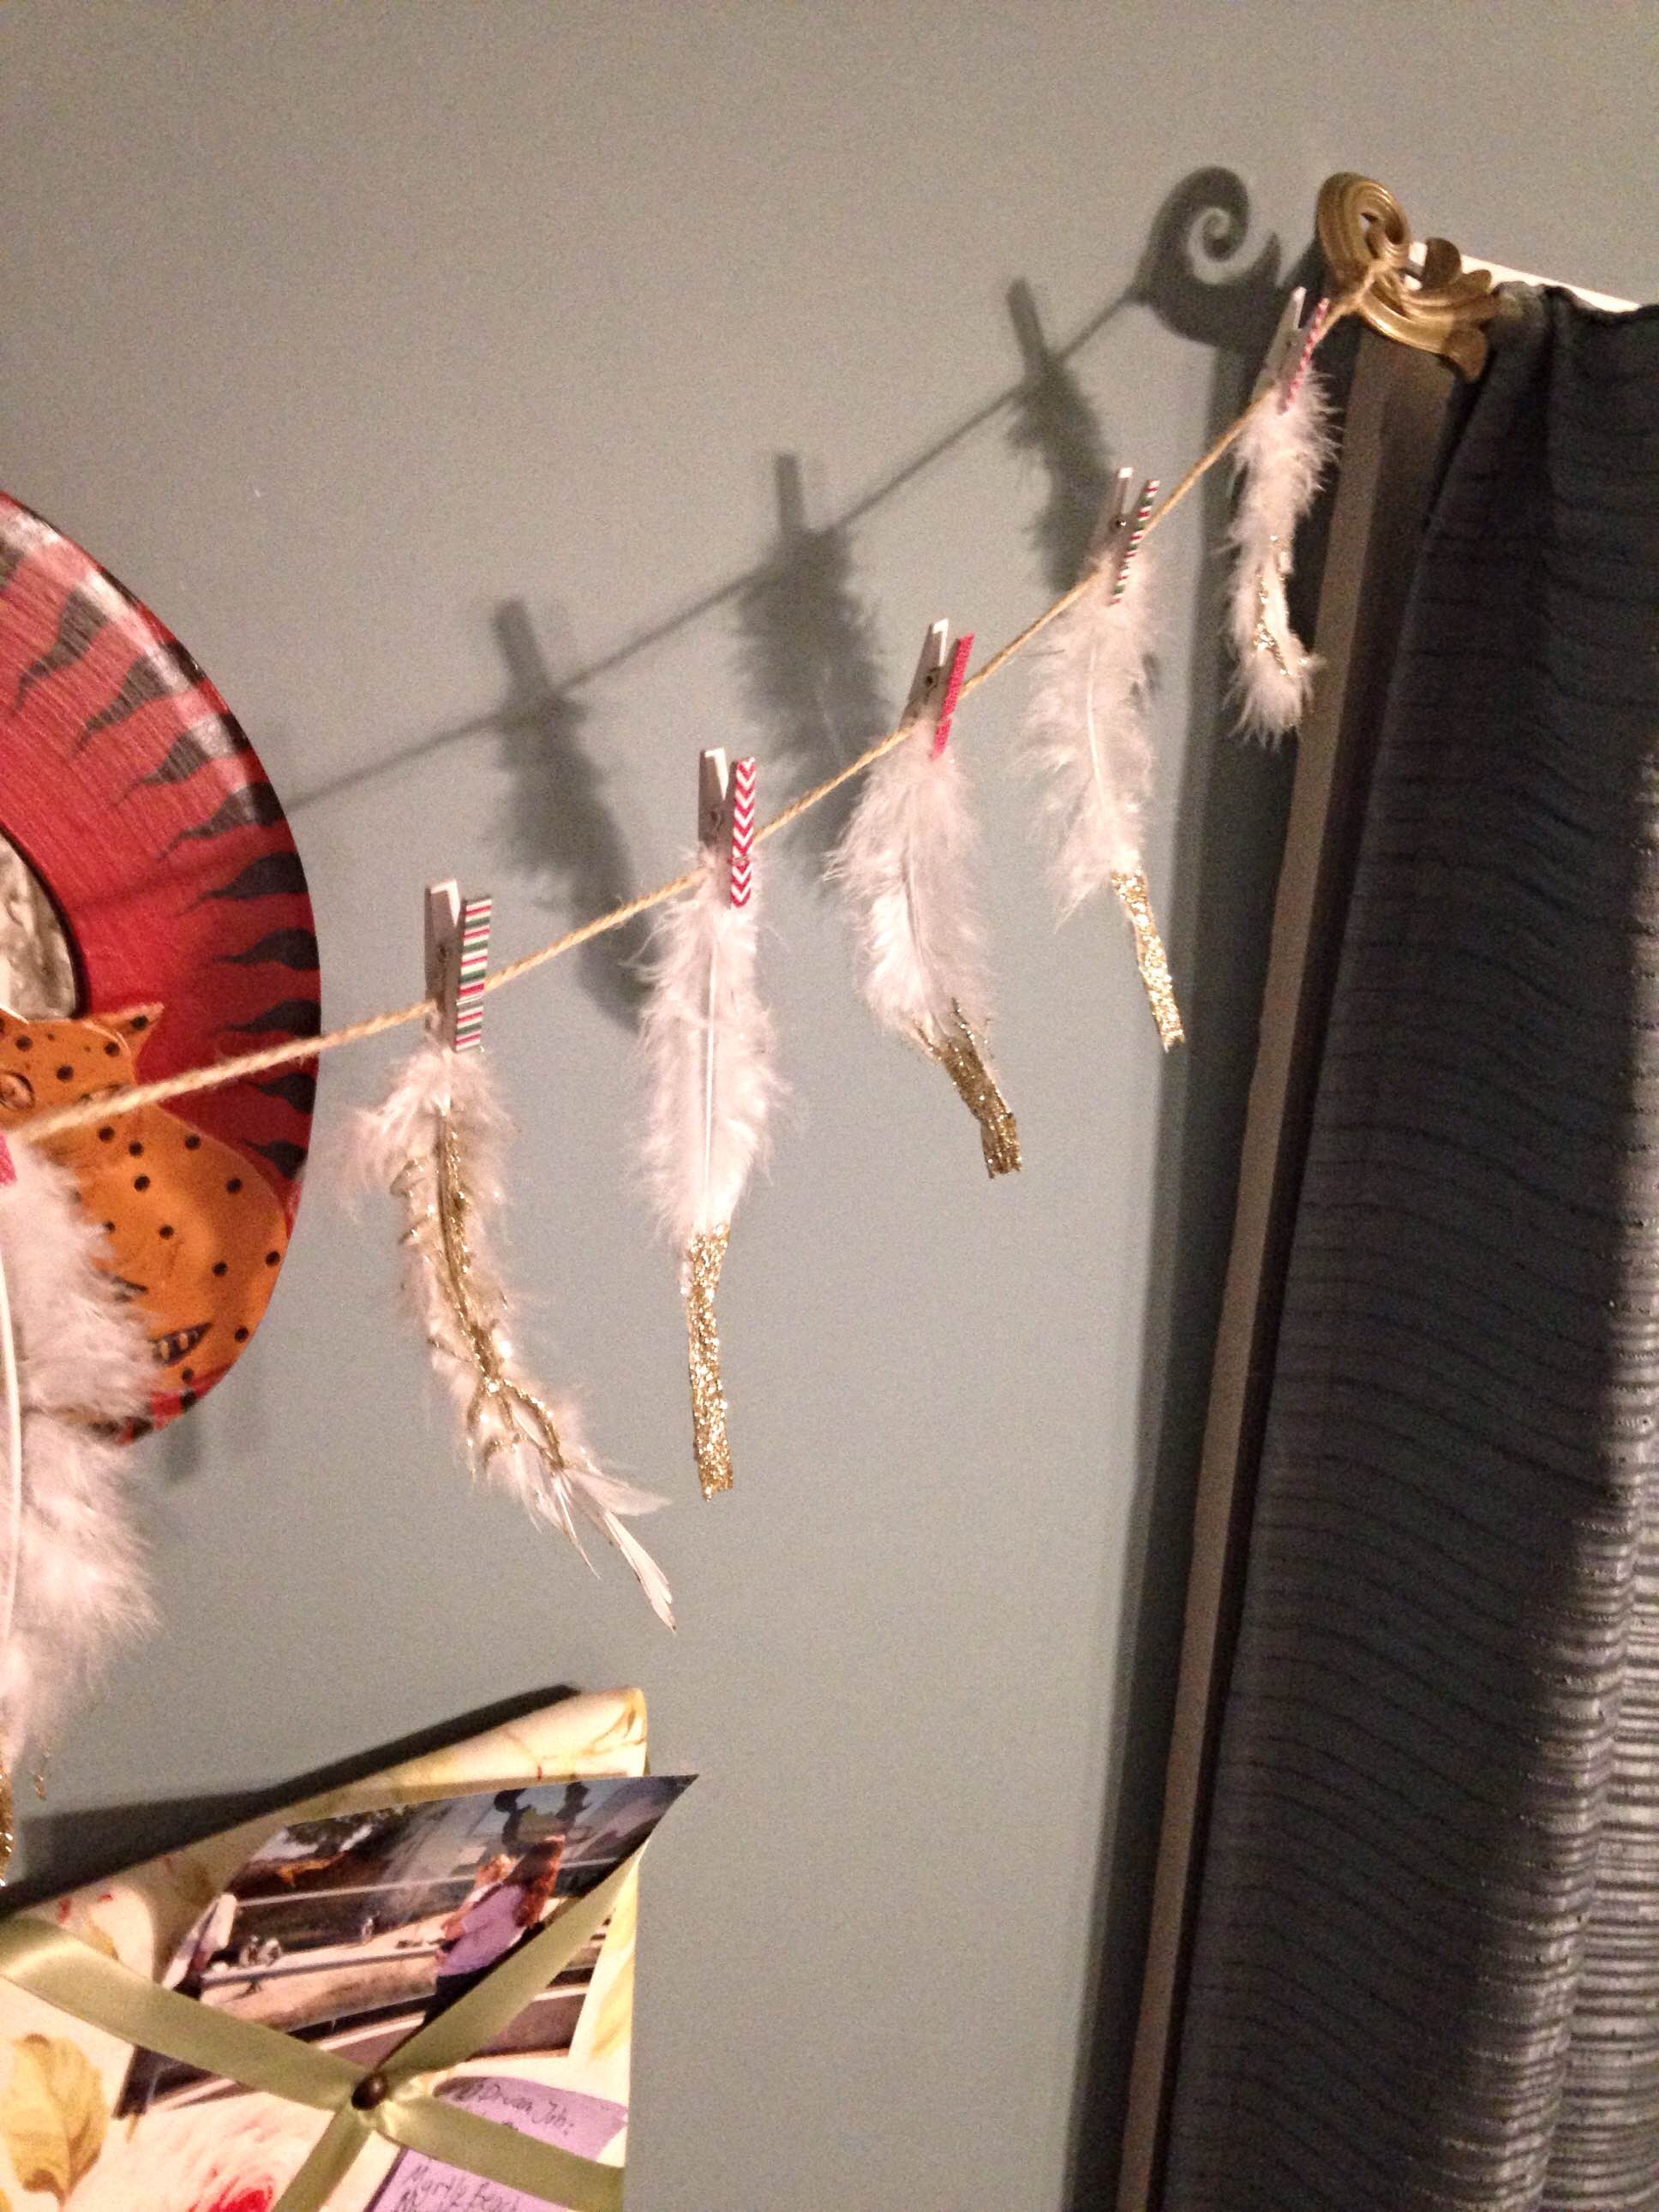
2) Shadow Box Scene
Original Pinterest Post Photo:
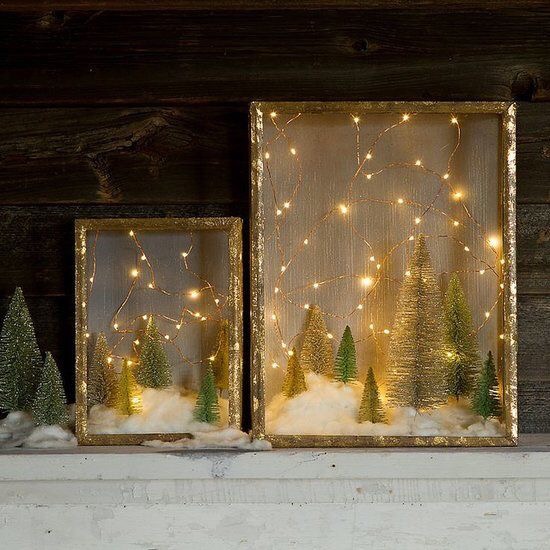
I definitely modified this to my own style, but it’s something that you can really make however you’d like.
What you will need:
- A shadow box (11 in by 14 in is what I got for about $30 from Michaels which is kind of pricey, but their shadow boxes were buy one get one free, so I got another one for another craft hopefully)

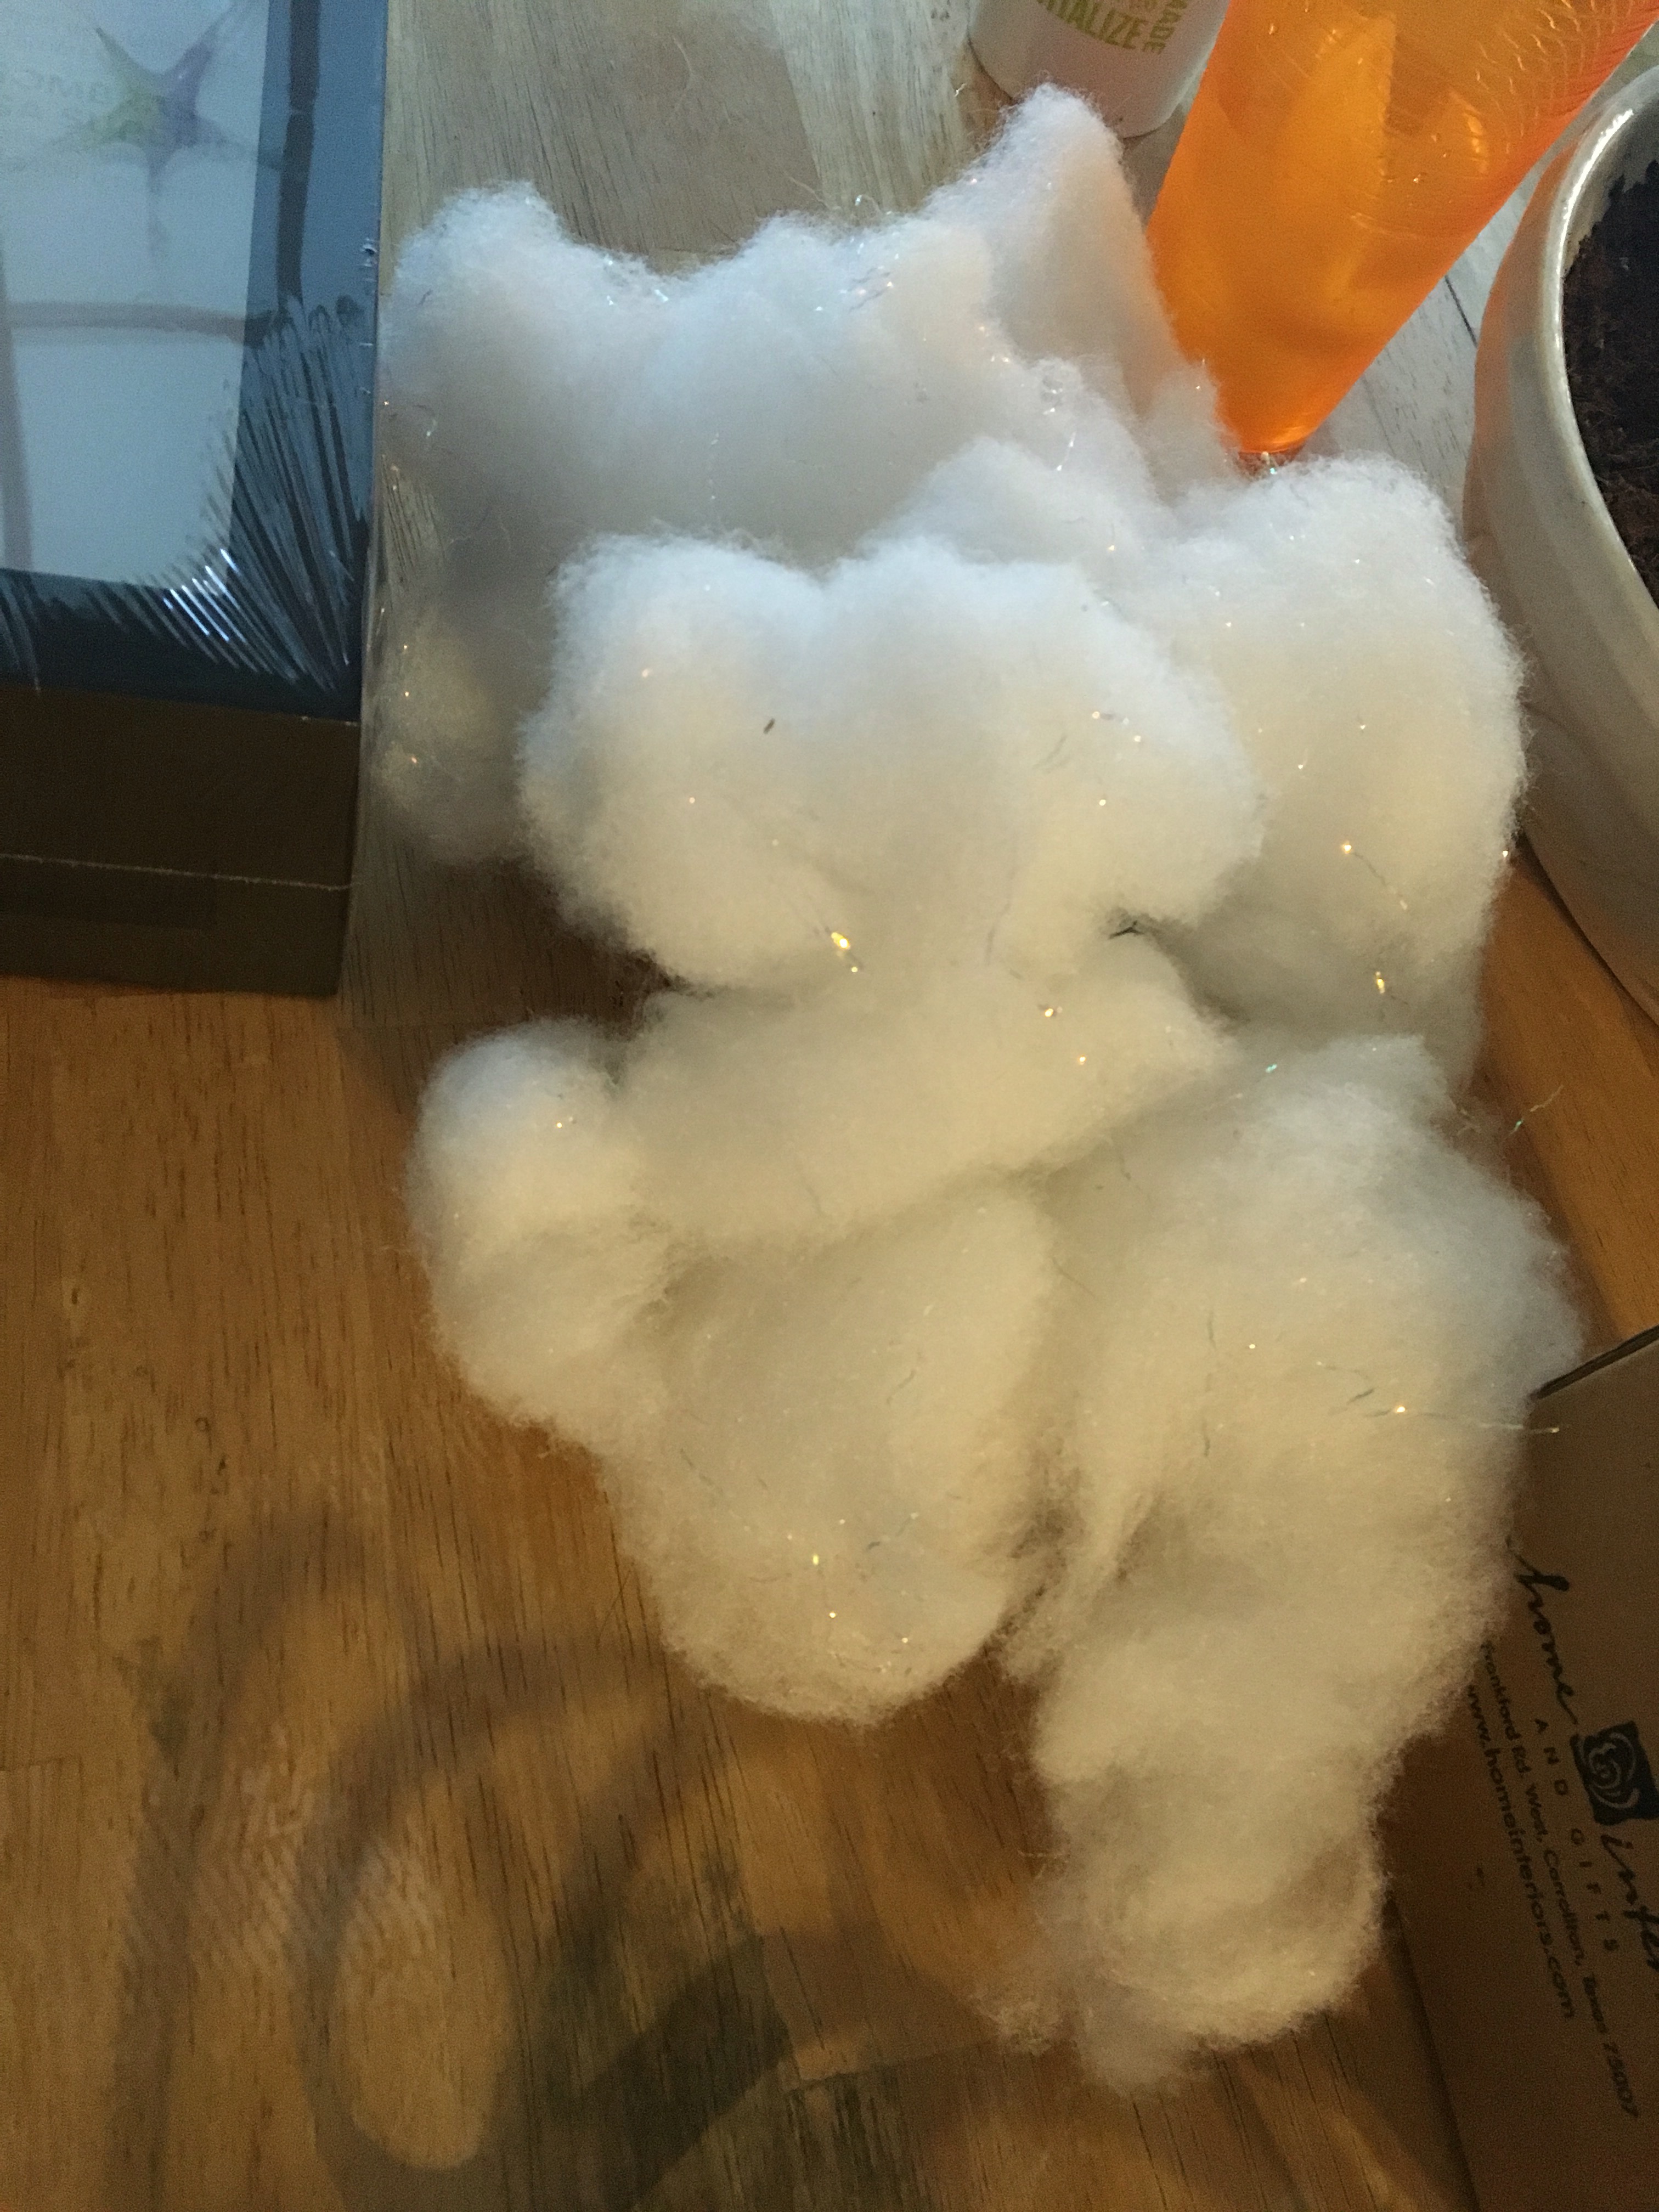
- Fake Snow (cotton) or cotton balls
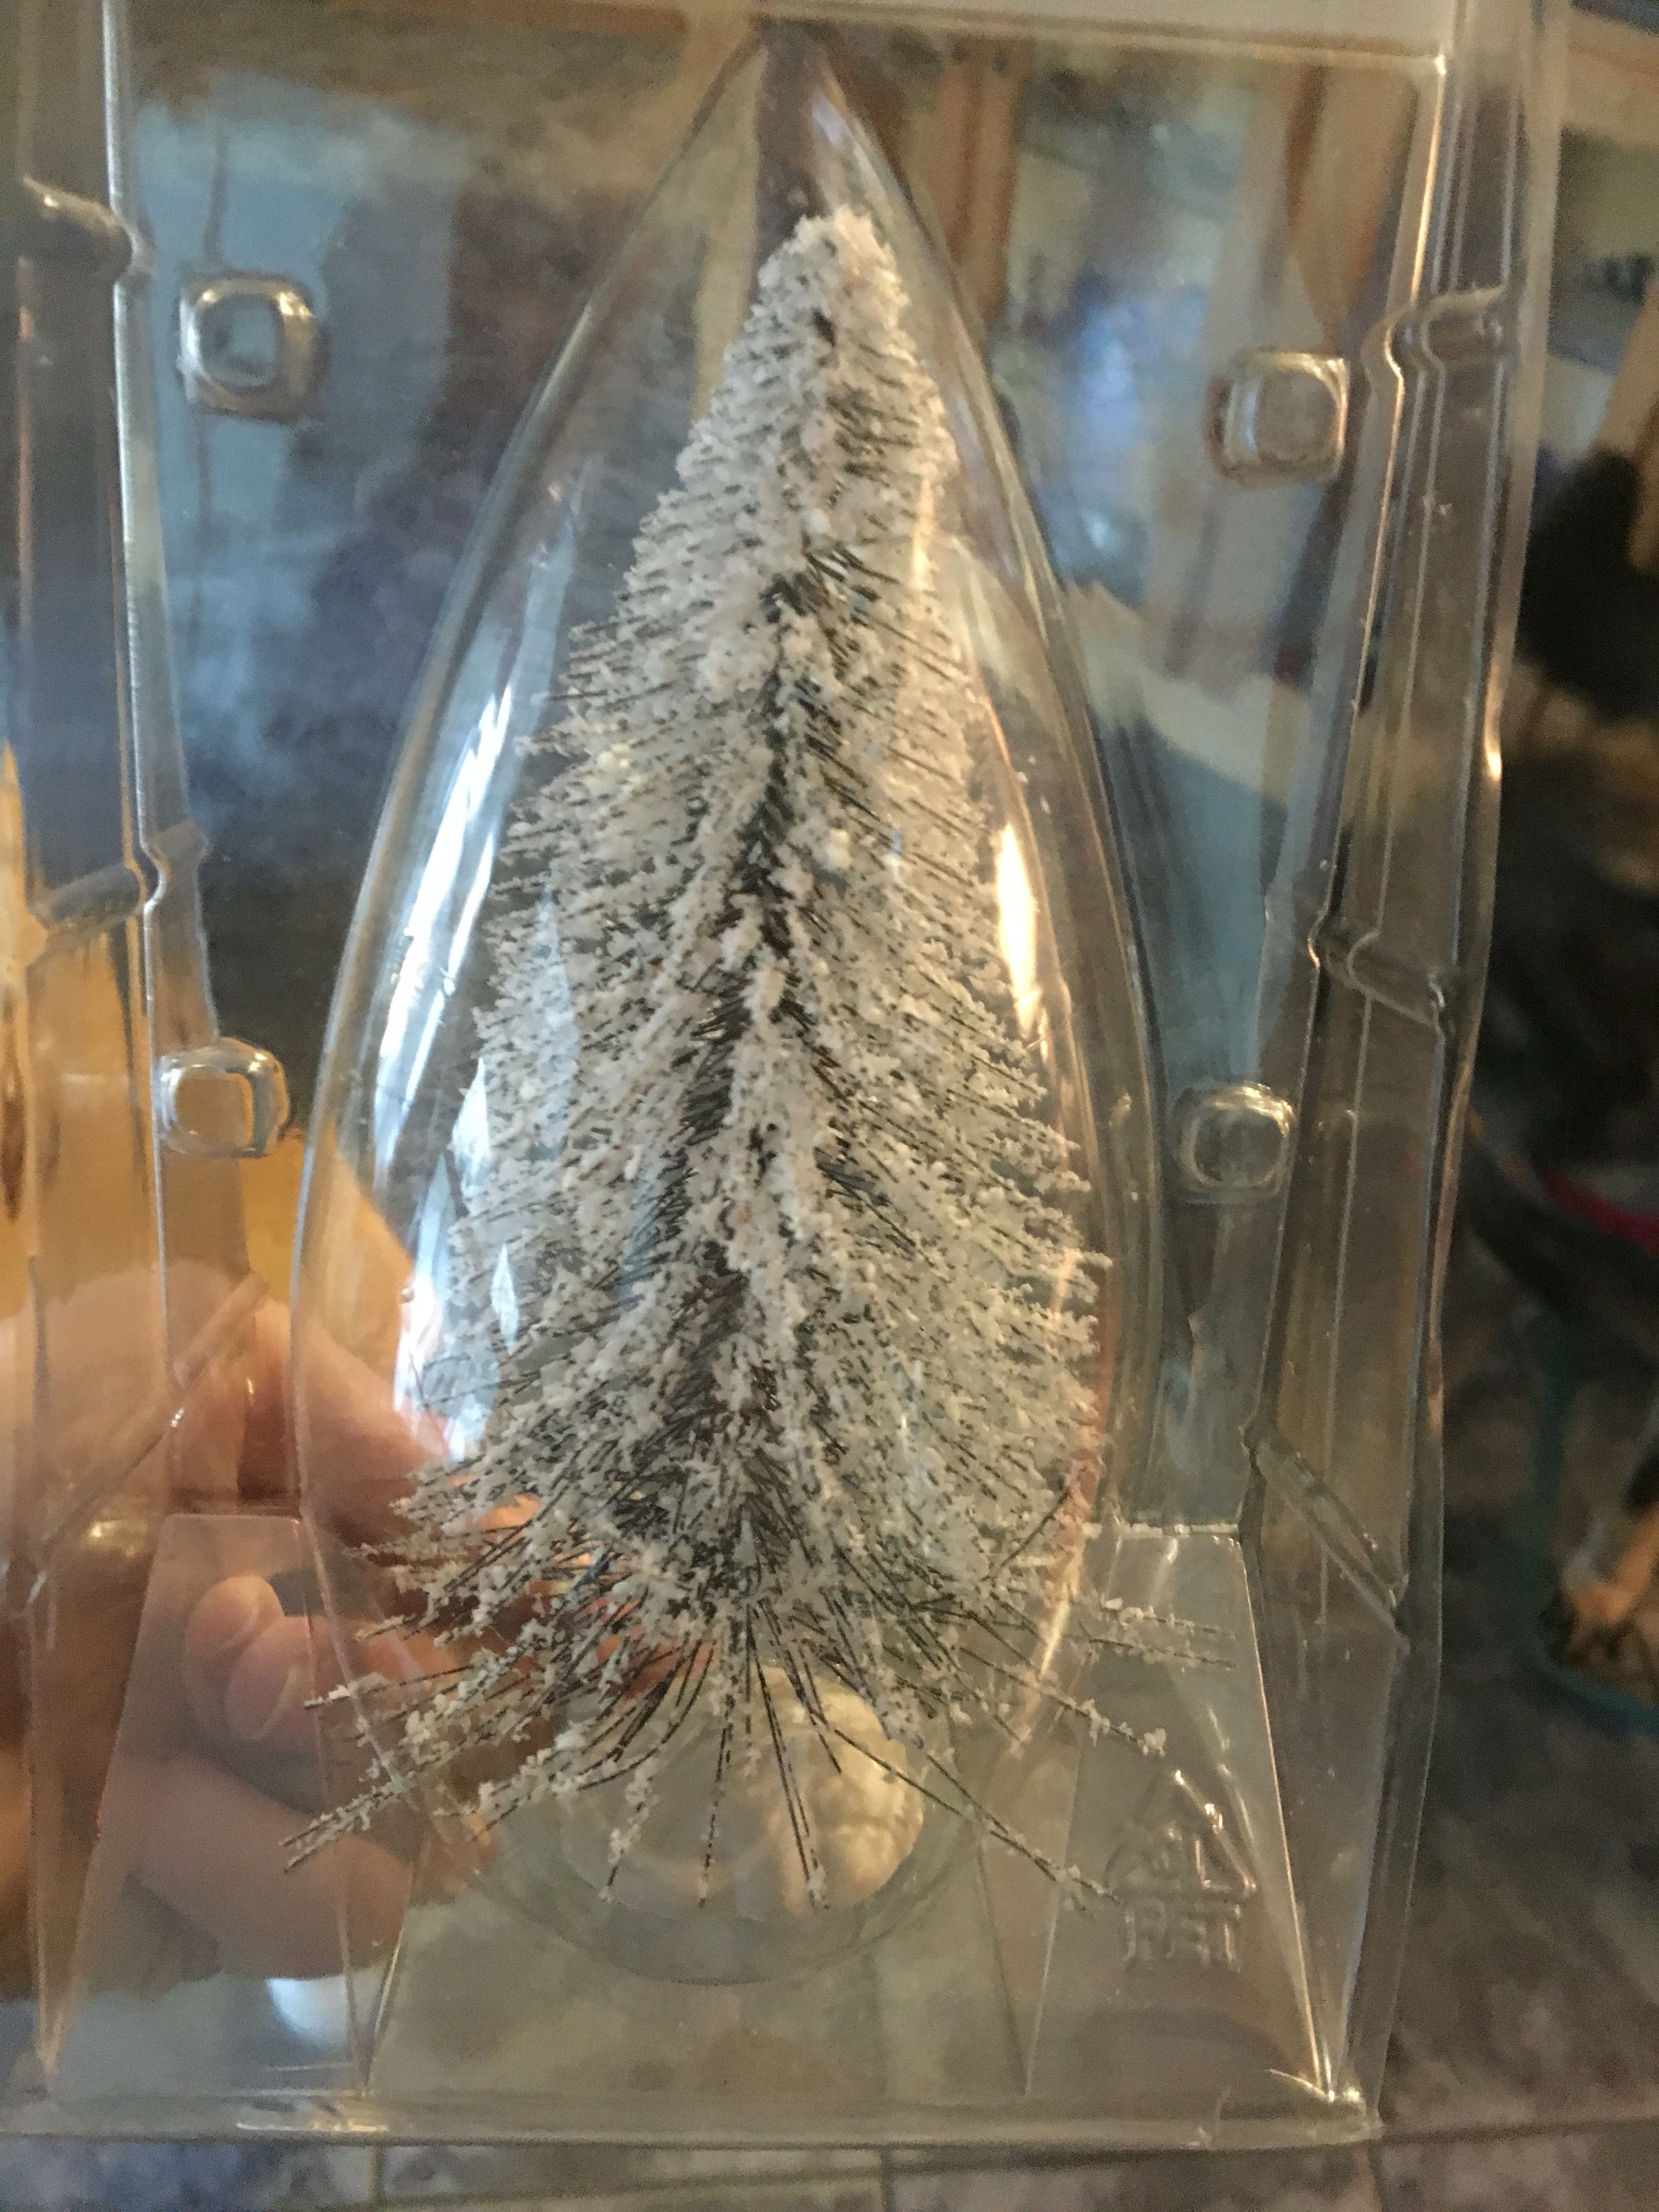
- Some small fake trees and other wintery objects


- A hot glue gun
- Some copper wire fairy lights (optional)
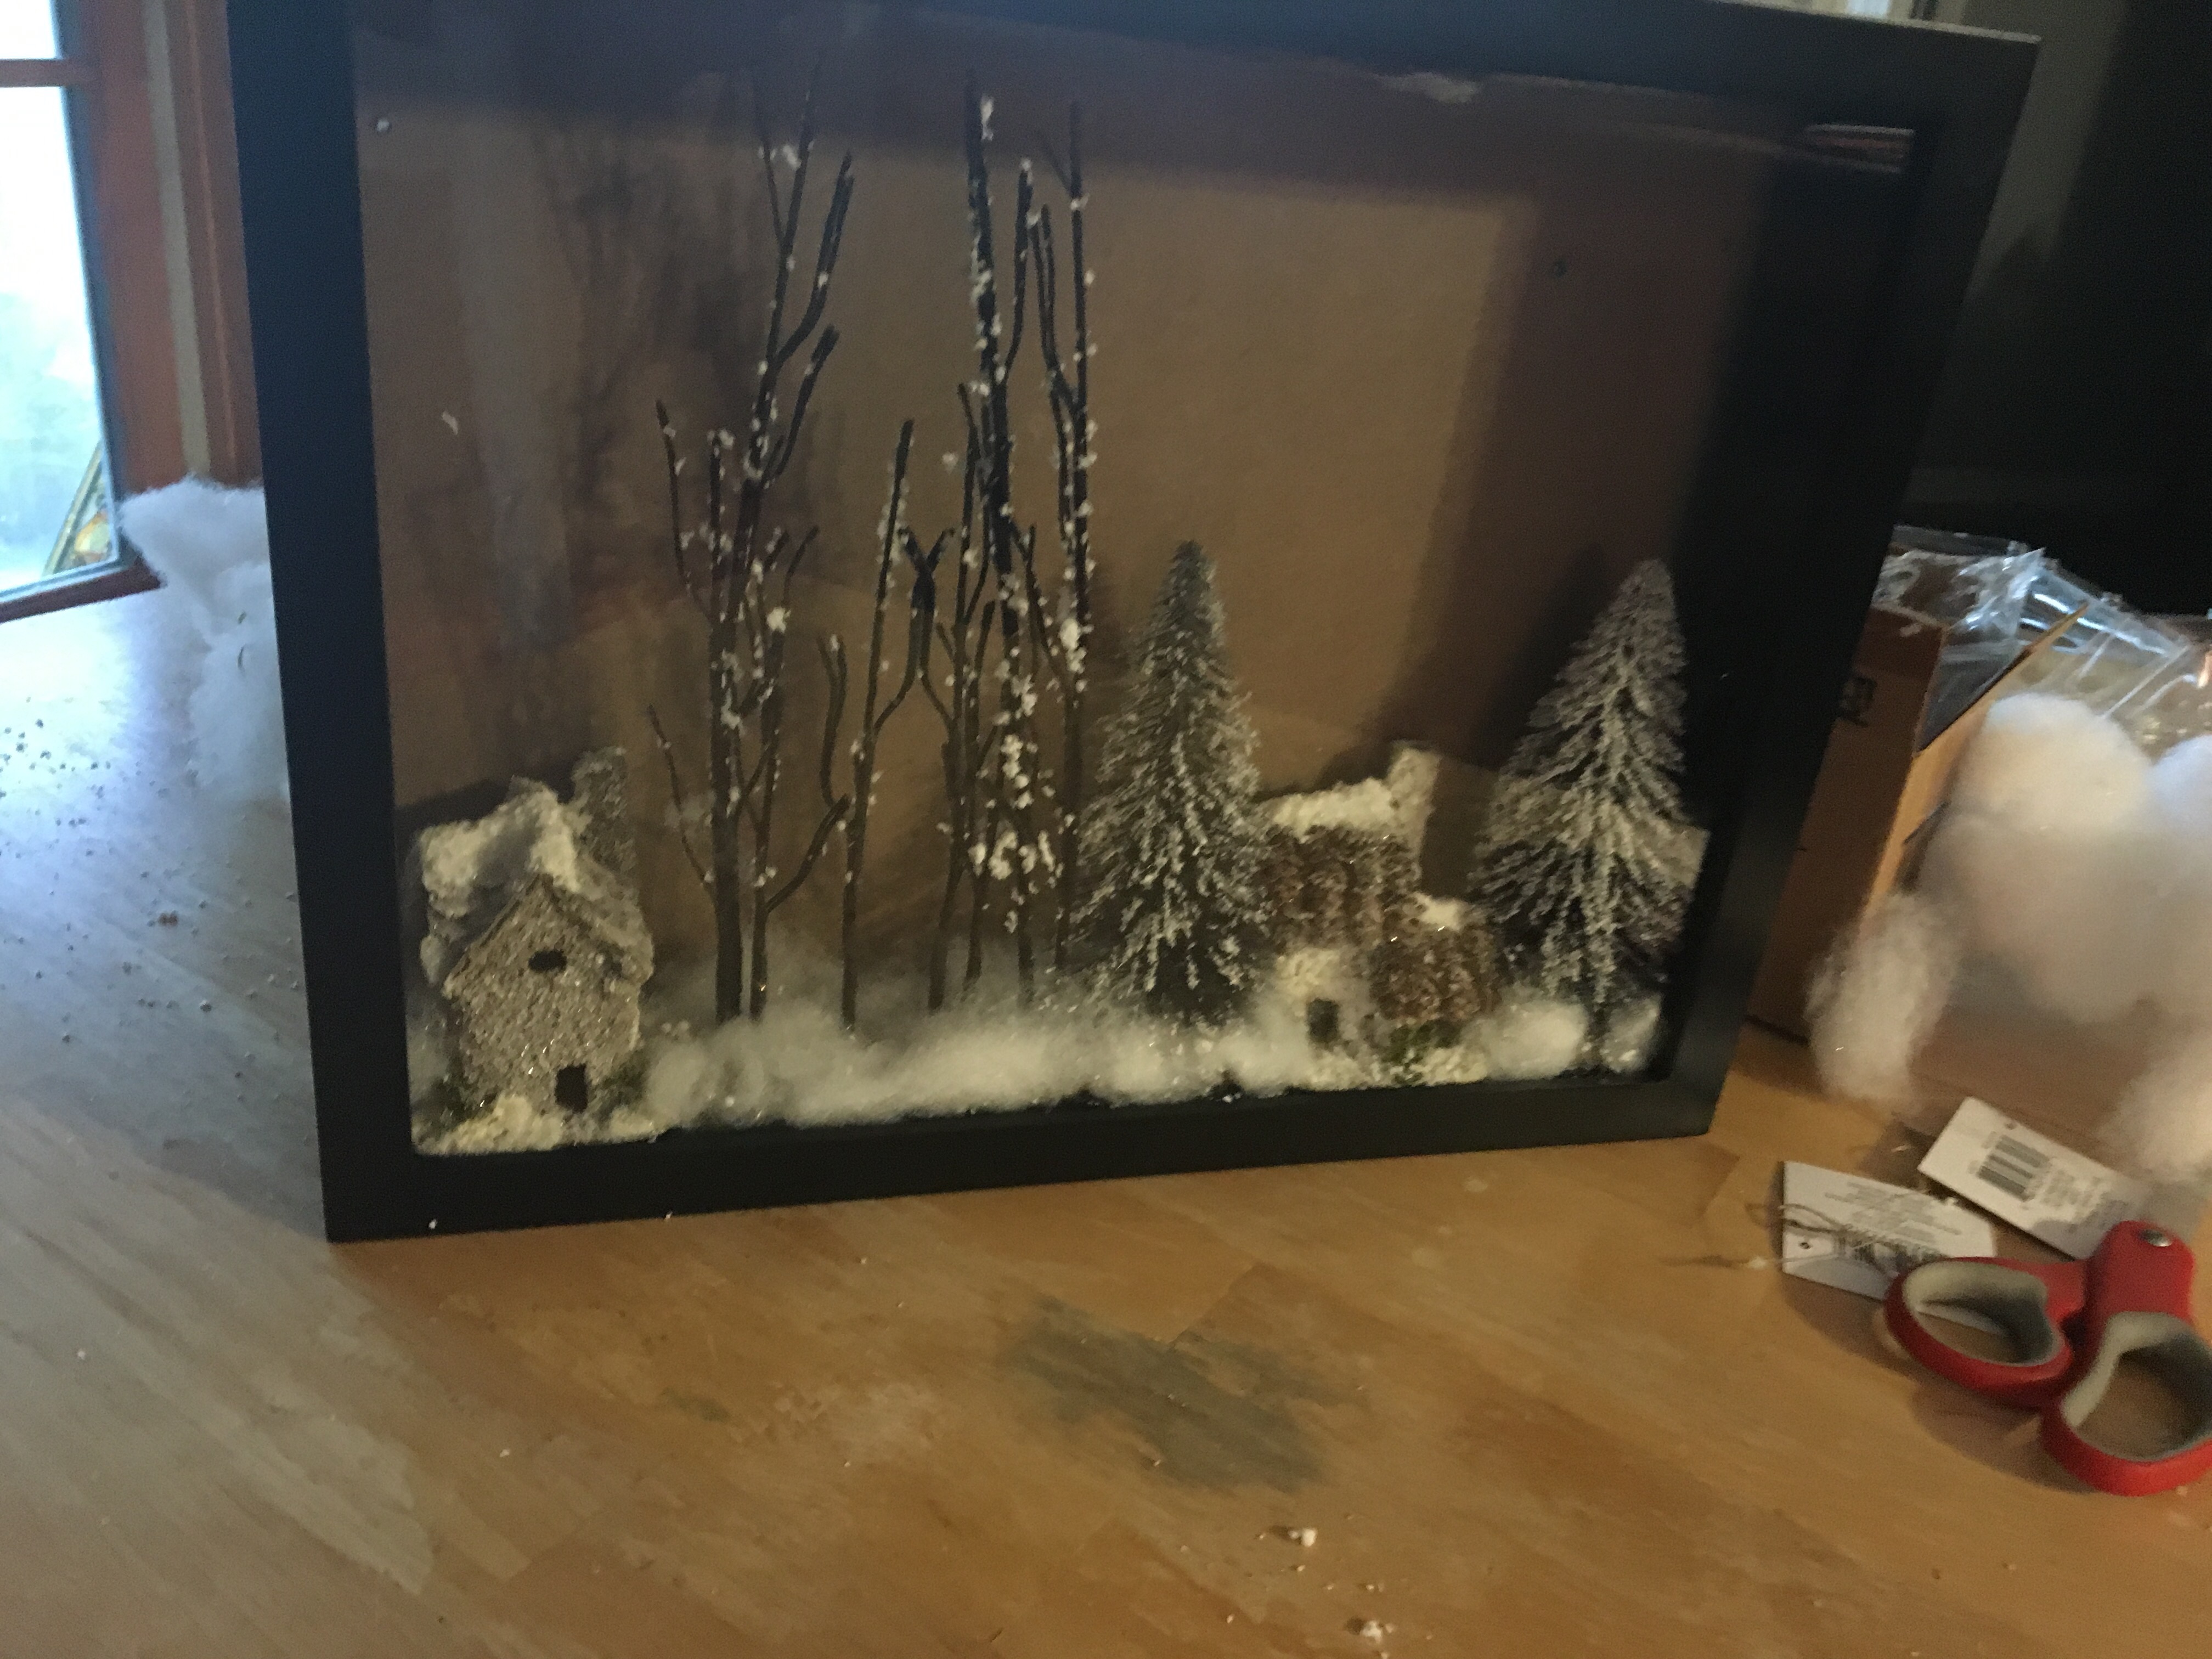
Step 1- Arrange your objects how you would like them, making sure that they’re in the front of the box and that you can slide the box closed at the end.
Step 2- Using the hot glue gun, glue down your objects.
Step 3- Make sure you can fit the cotton in the edges of the box and in front of the bases of your trees and your objects, making it look natural.
Step 4- Carefully put hot glue where you would put your snow and glue down the cotton. (If you’re using cotton balls, stretch them out first so they’re not in a ball shape)
Step 5- Glue down more snow behind your objects so it looks more realistic.
Step 6- Add lights if you would like (I didn’t). Just be sure to hide the battery pack under some snow if you can and string the lights on the backboard or around your objects.
Step 7- Close the box.
And you’re done! This is an adorable holiday DIY that is perfect for the winter season. You could also add a cute wintery patterned paper to the backboard if you don’t want it to be just brown. This is a really cool craft that you can customize to your own tastes.
My Results:

That’s all for today’s post! I hope you guys enjoyed it, and see you next time.