Hello! Today I wanted to help you get into the spirit of fall with some fall-inspired nail art.
What you will need: a clear base coat nail polish, a brown nail polish, a glittery orange nail polish, and a clear top coat nail polish, and a dotting tool.
Step 1: Apply one coat of your clear base coat nail polish. I used Sally Hansen double duty base & top coat.
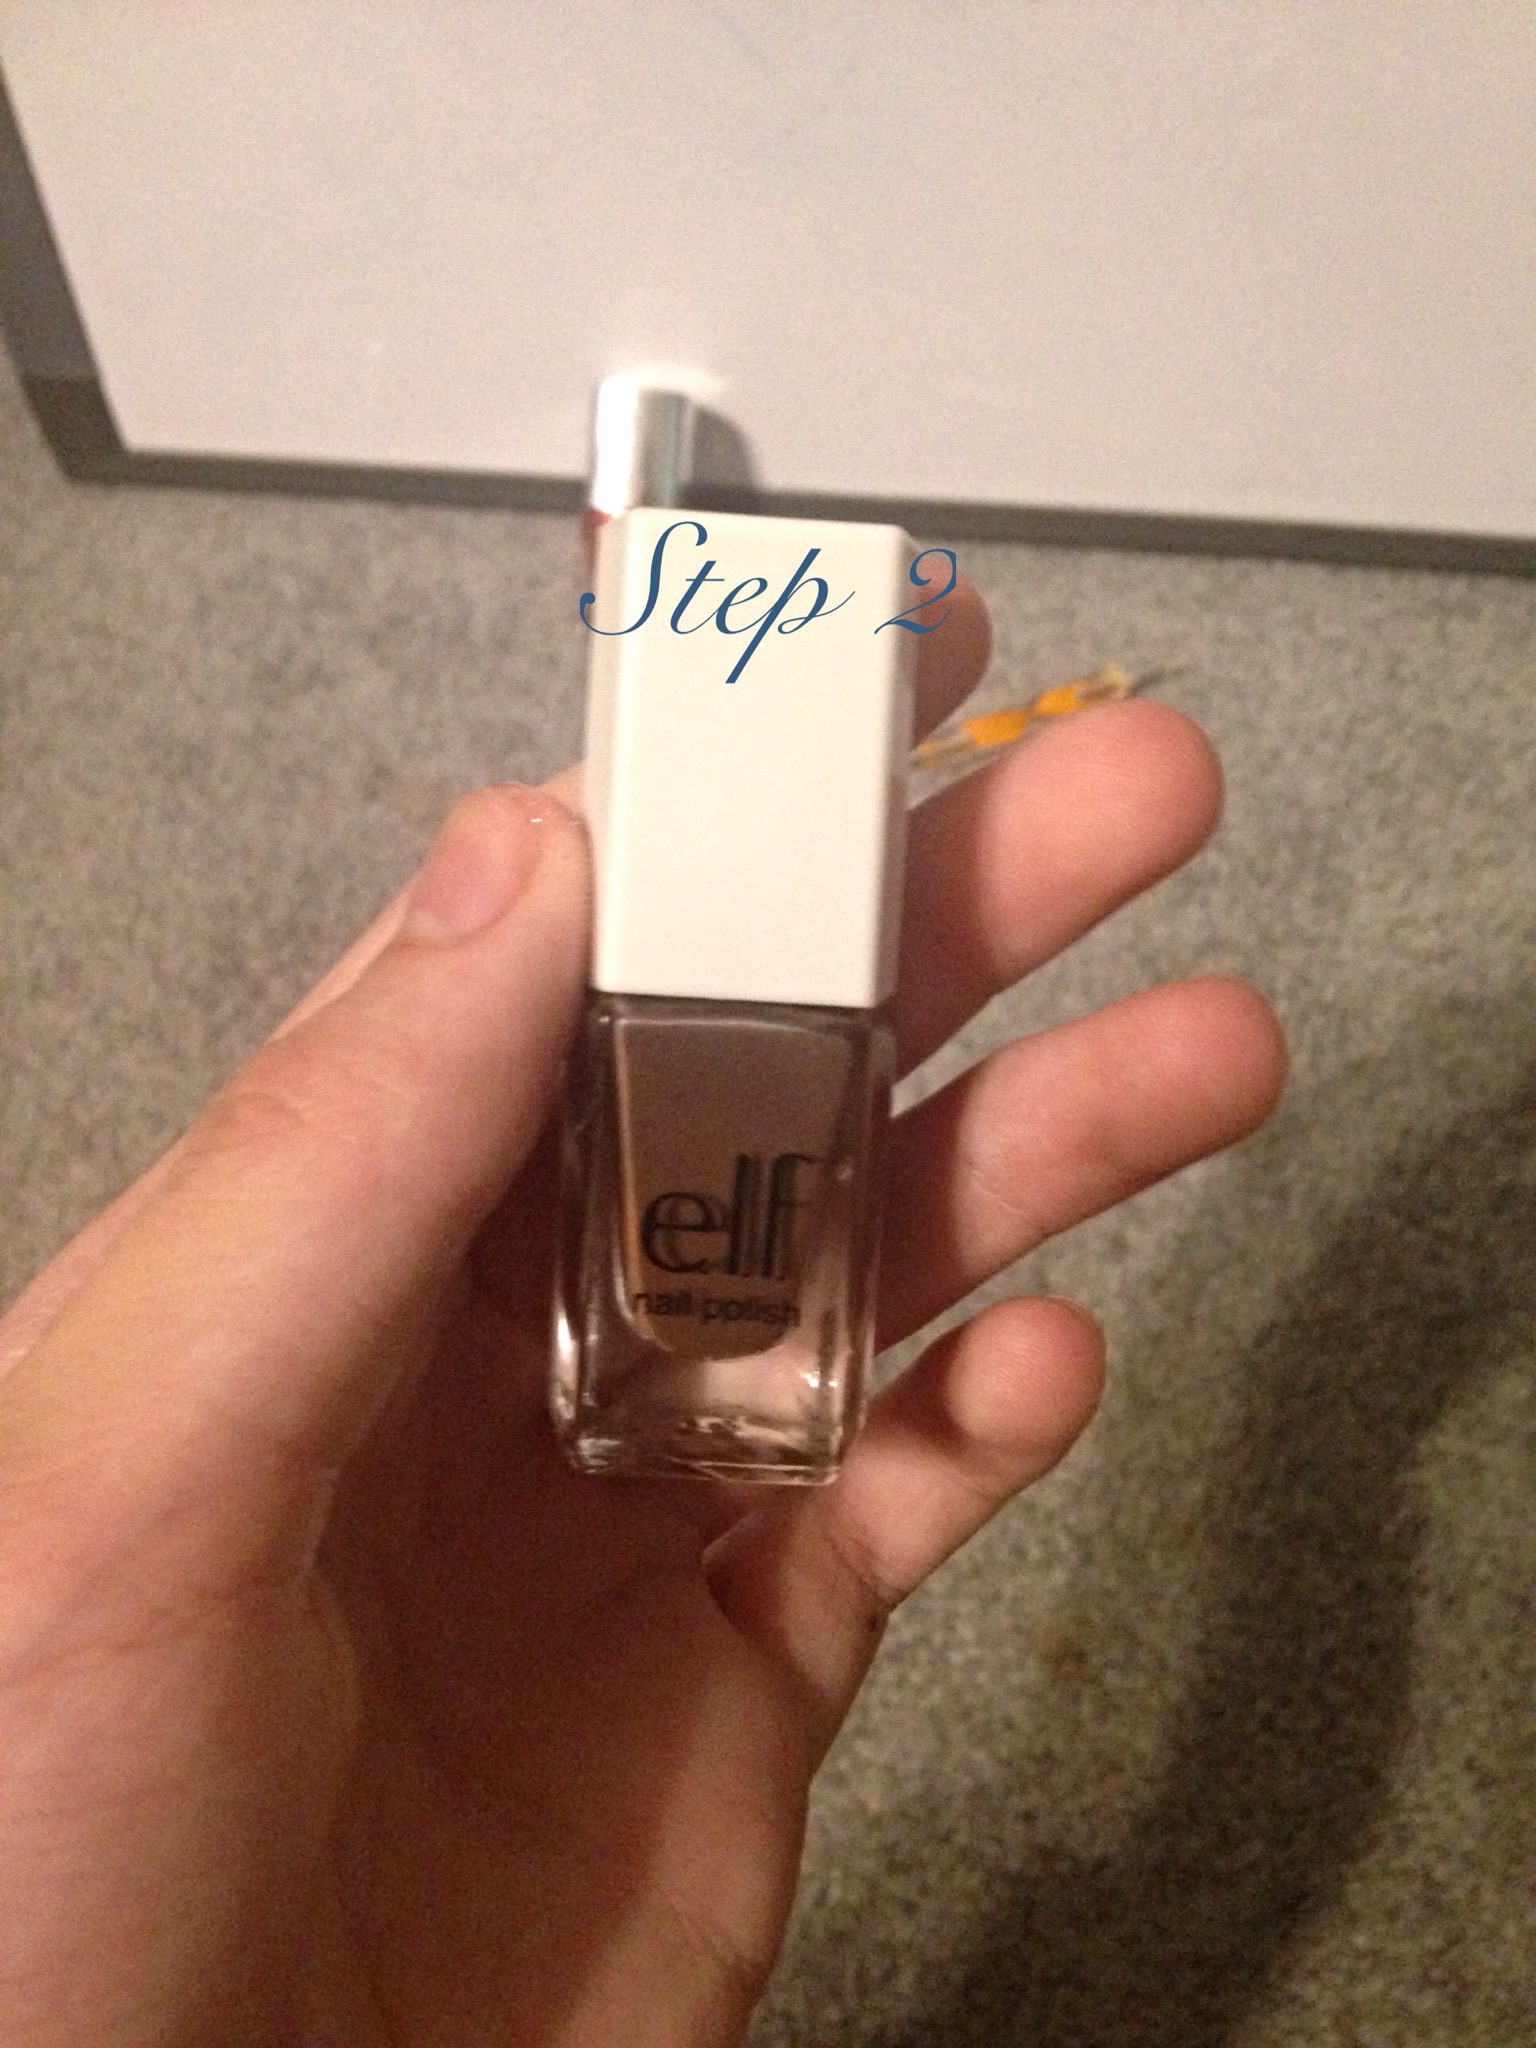
Step 2: Apply a coat or two of your brown nail polish. I used elf’s smoky brown.
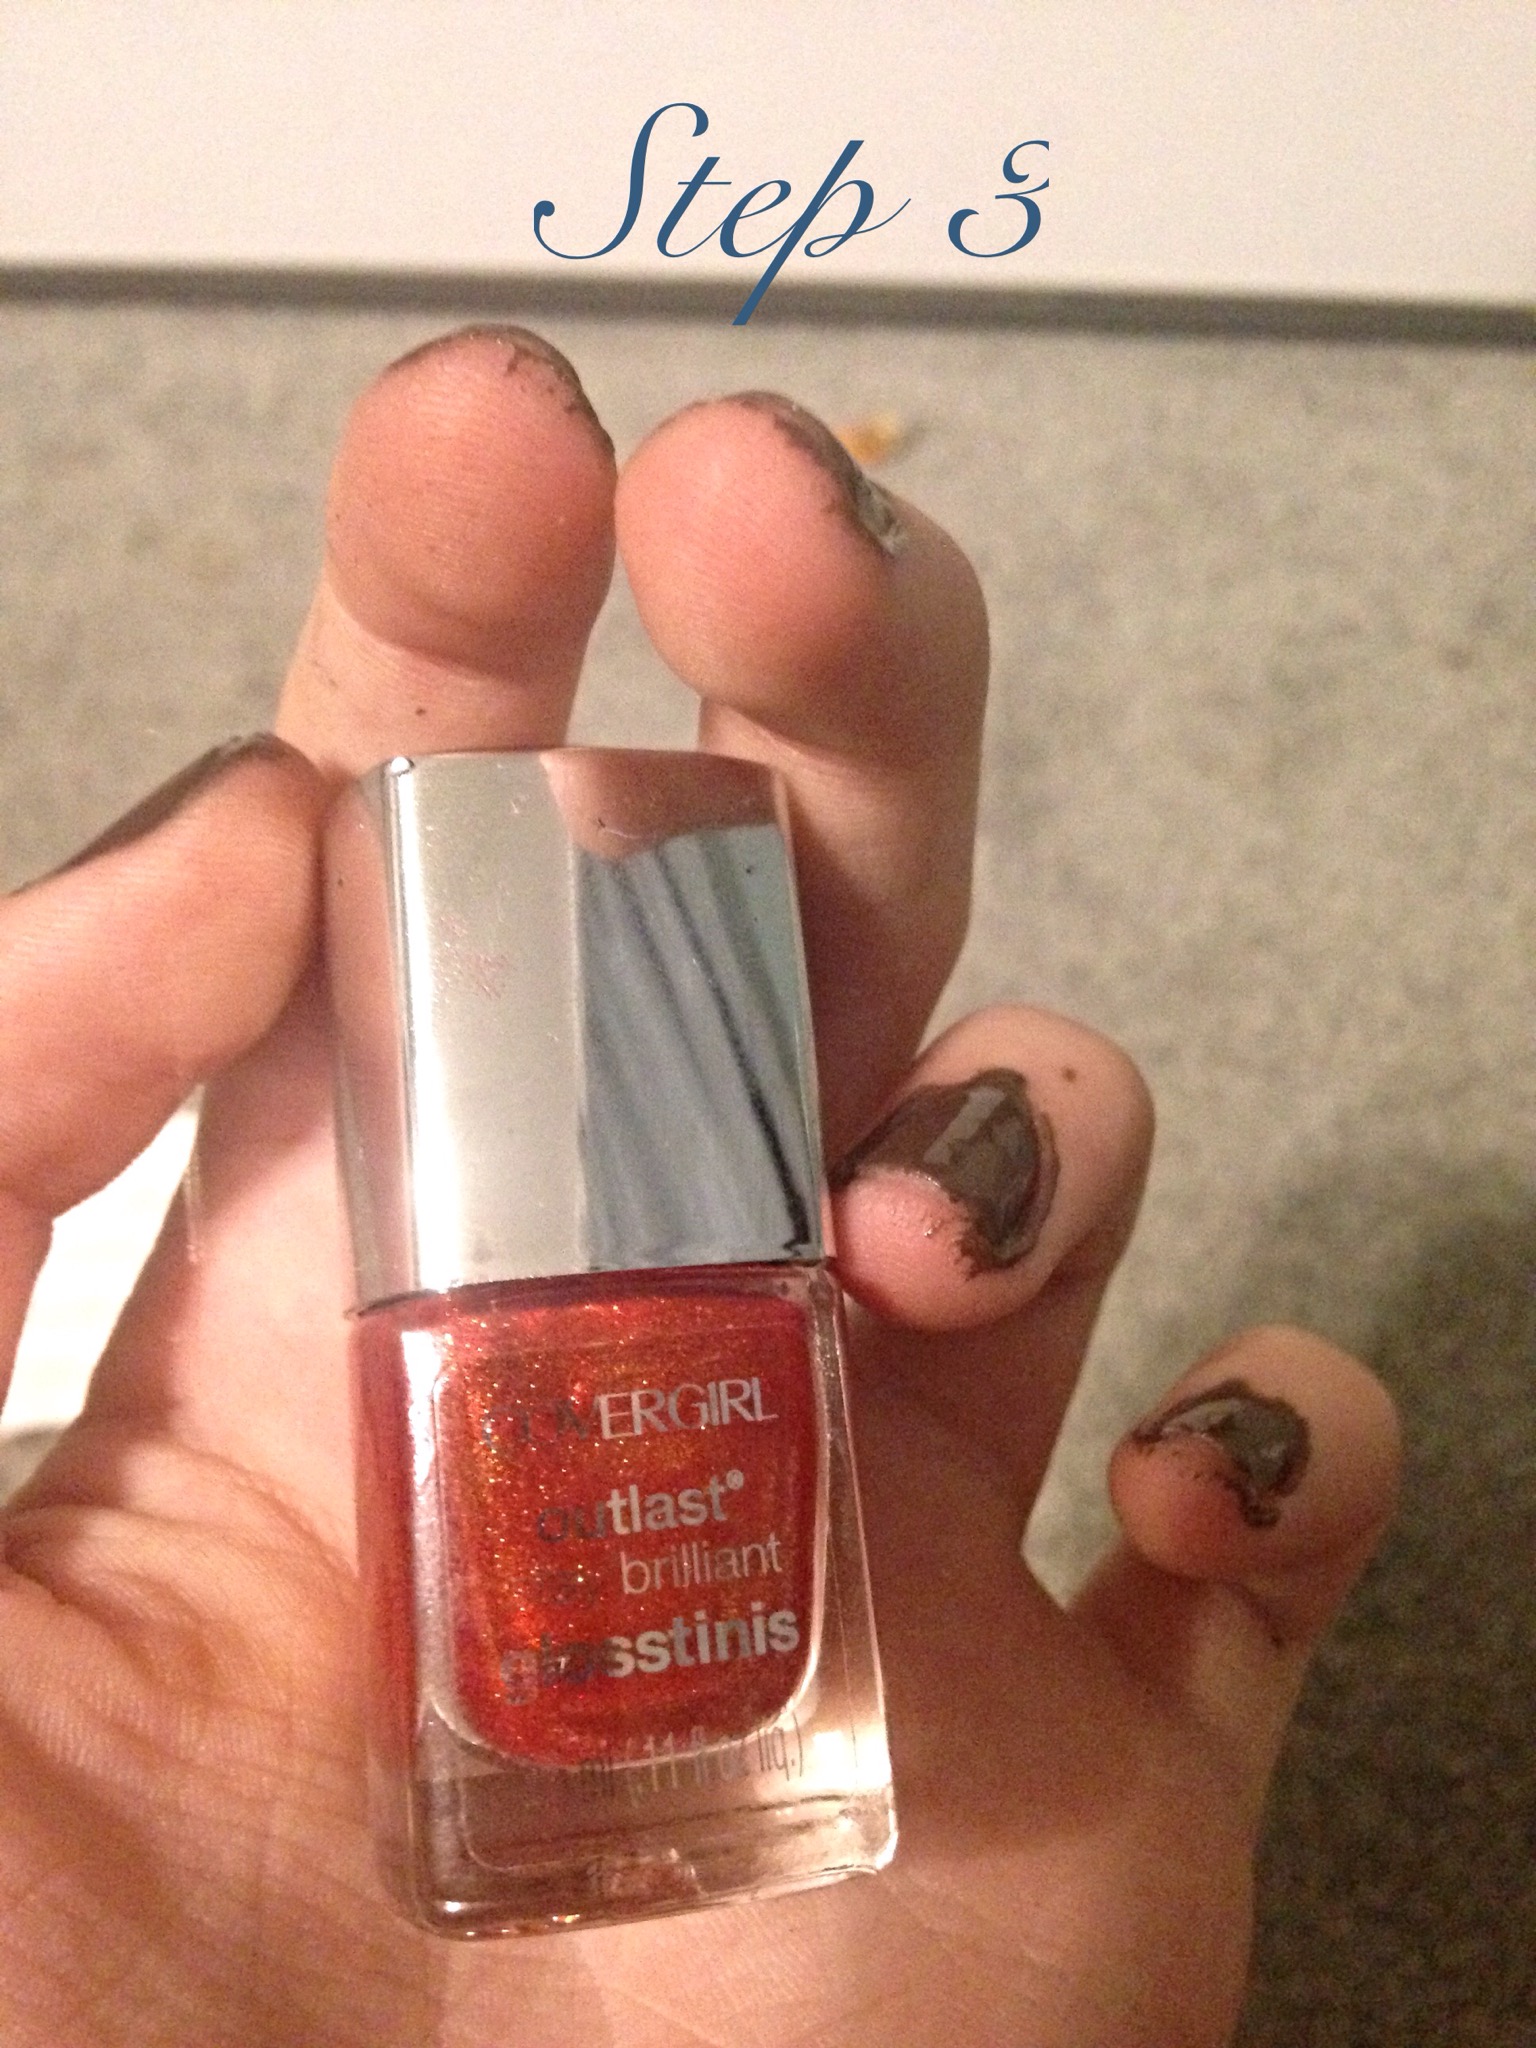
Step 3: Take the smallest end of your dotting tool and dip in in your glittery orange nail polish. I used covergirl outlast stay brilliant glosstinis in rogue red. Then take your dotting tool and draw a leaf on your ring fingers.
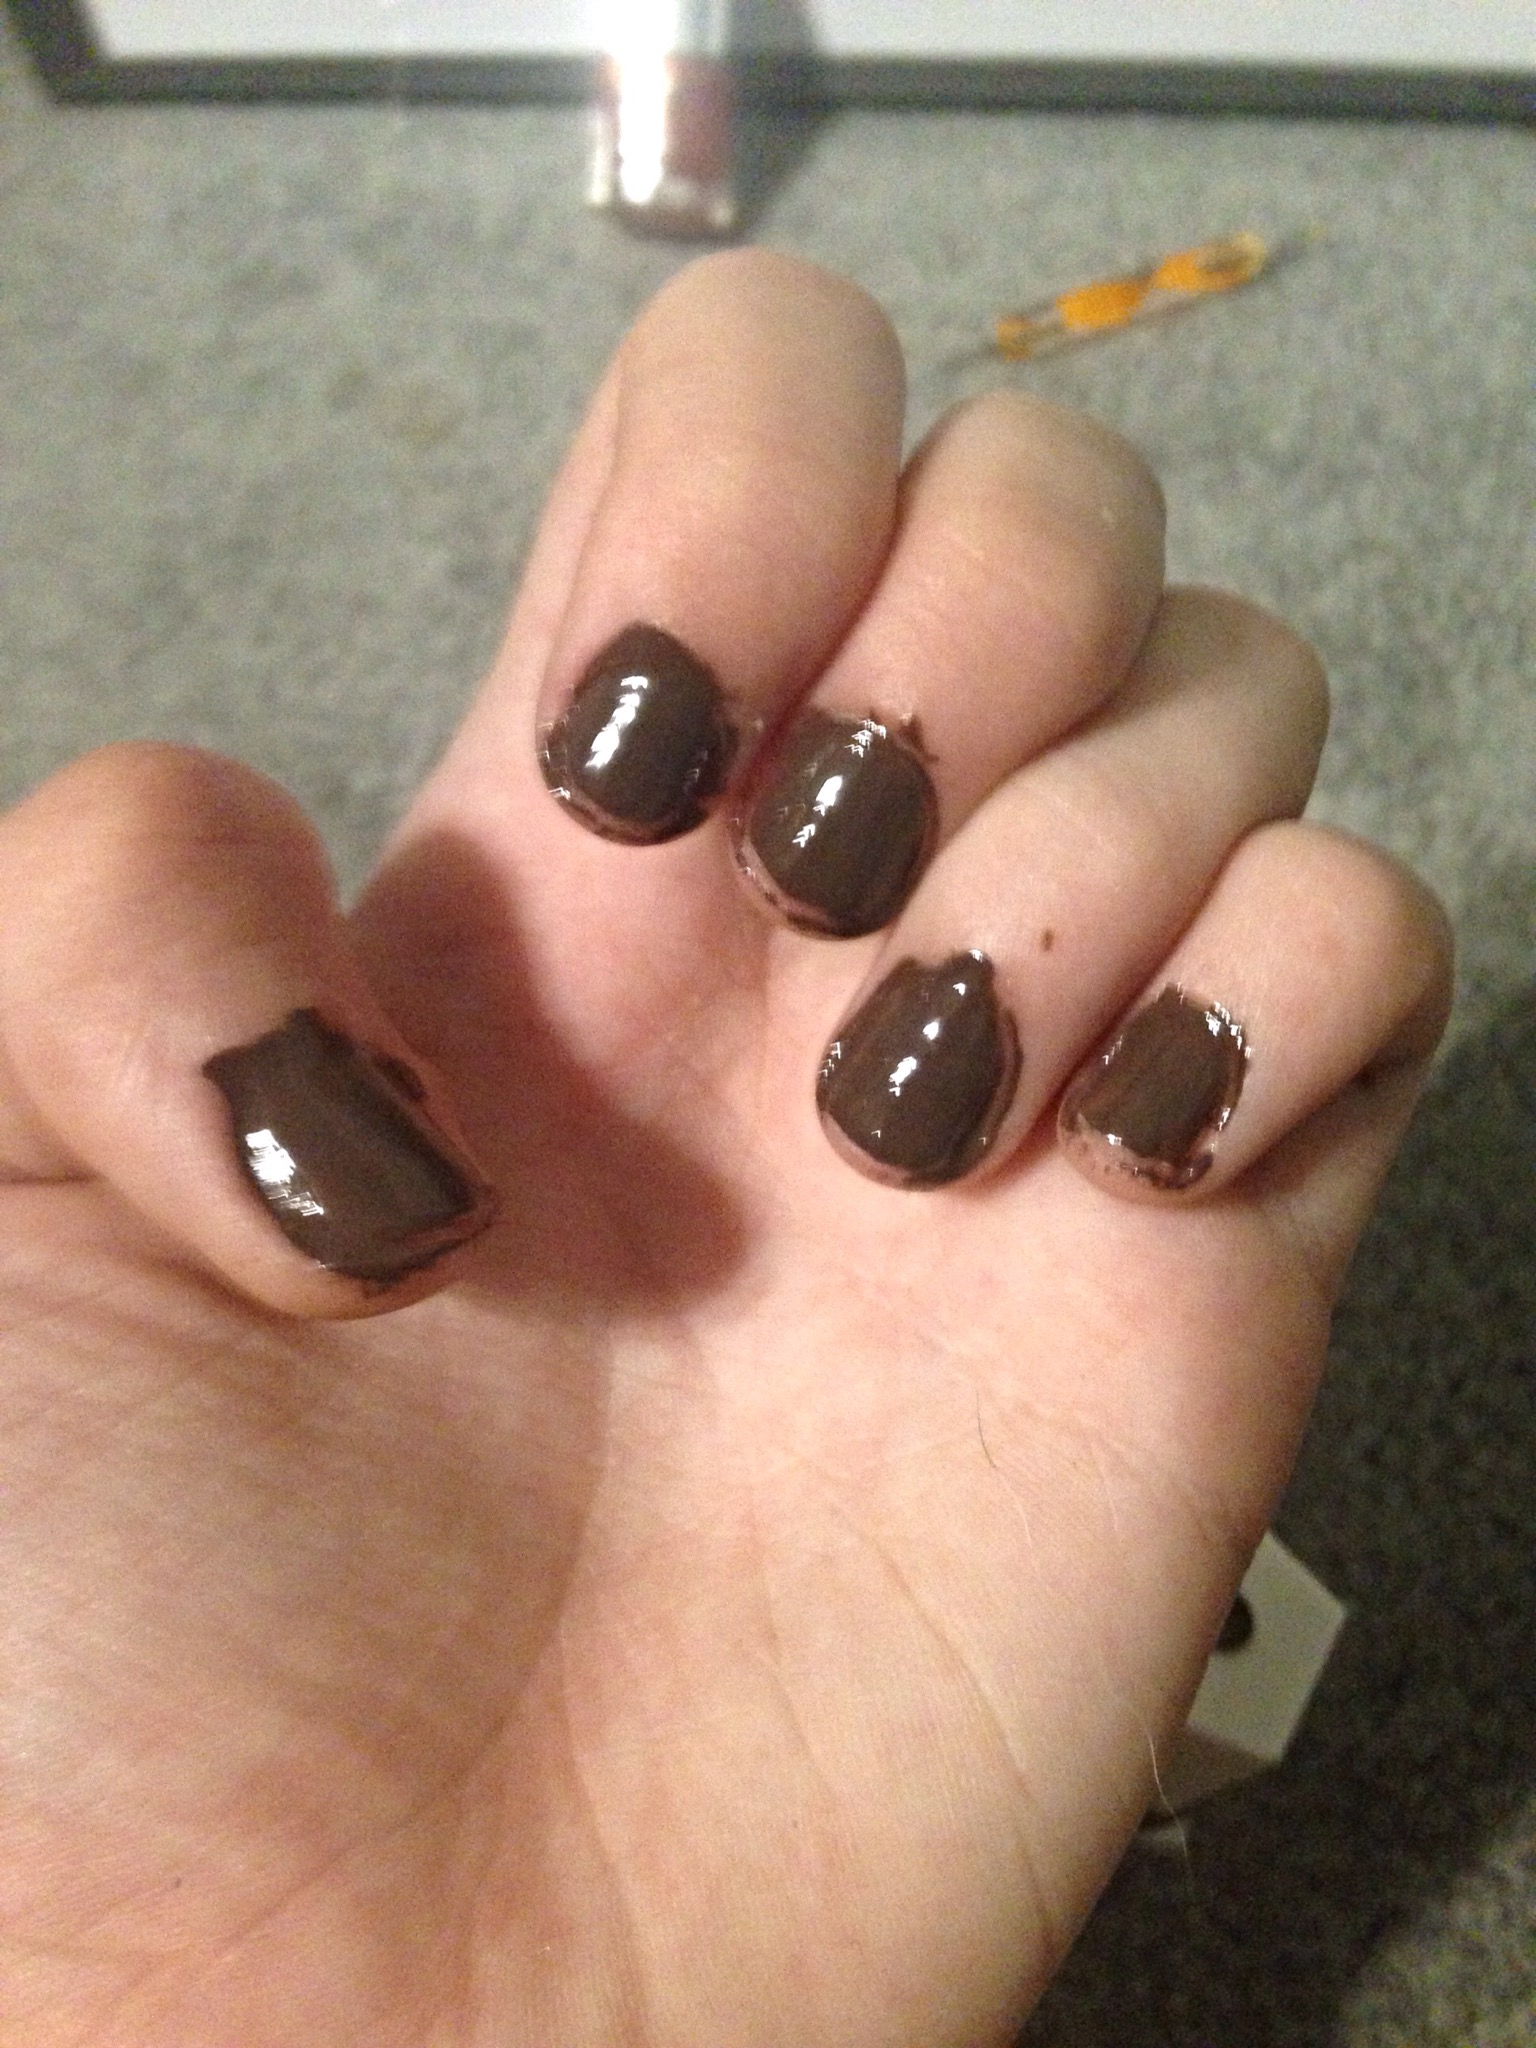
Cover with your clear top coat and you are done! This is an easy nail art tutorial and it doesn’t take very long either! I love doing things like this for school. I will see you later, bye. 🙂 


What a cute wee leaf! That brown is a lovely base colour too. (P.S remember to clean up the excess polish around your nails with a cotton bud, and give us a final photo of the finished, clean look!)
LikeLike
I know! Thanks!
LikeLike
That is so cute! You should totally do that for school
LikeLike
I did but I peeled it off 😉
LikeLike